

















Turning an embroidery hobby into a business can be exciting. You already enjoy transforming artwork into textured designs, experimenting with thread colors, and creating personalized products. The next question is whether those skills can generate reliable income.
An embroidery business can be profitable, but operating one requires more than owning a machine and producing attractive designs. You must choose the right customers, price your work accurately, control production time, maintain consistent quality, and create a steady source of orders.
This guide explains how to start an embroidery business, choose products and equipment, calculate pricing, manage production, and attract customers—with additional advice for businesses specializing in custom embroidered hats.

Is an Embroidery Business Profitable?
An embroidery business can be profitable when the selling price covers the complete cost of each order, including labor and overhead.
Profitability usually depends on:
- Product cost
- Digitizing cost
- Stitch count
- Machine running time
- Hooping and setup time
- Thread changes
- Order quantity
- Production errors
- Packaging and shipping
- Marketing expenses
- The value customers place on customization
A small personalized order may generate a strong margin because customers value names, dates, and individual designs. A larger company or team order may earn less per item but provide better production efficiency and repeat business.
The goal is not simply to keep the embroidery machine running. The goal is to use machine time, labor, and materials efficiently enough to produce a sustainable profit.
Understand the Realities Before You Start
Embroidery can appear simple from the outside, but several hidden tasks affect production time and cost.
Digitizing Takes Skill
An image file cannot usually be sent directly to an embroidery machine. The artwork must first be converted into a stitch file through a process called digitizing.
Digitizing controls:
- Stitch type
- Stitch direction
- Stitch density
- Underlay
- Pull compensation
- Color sequence
- Trims
- Entry and exit points
Poor digitizing can cause thread breaks, gaps, puckering, distorted letters, and excessive production time.
Beginners can outsource digitizing while learning production and customer service. After order volume becomes consistent, bringing digitizing in-house may provide more control and faster revisions.
Machine Time Is Only Part of the Work
A design may take only a few minutes to stitch, but the complete order also requires:
- Reviewing artwork
- Communicating with the customer
- Preparing a quote
- Ordering blank products
- Creating or approving the stitch file
- Selecting thread
- Hooping
- Running samples
- Trimming and finishing
- Inspecting the product
- Packaging and shipping
All these steps must be considered when calculating prices and delivery times.
Mistakes Affect Profit
Misaligned designs, incorrect colors, thread breaks, damaged products, spelling errors, and customer changes can quickly reduce profit.
A clear proof and approval process helps prevent avoidable production errors.
Equipment Requires Maintenance
A business depends on consistent machine performance. Regular cleaning, oiling, tension adjustment, needle replacement, and professional servicing should be included in the operating plan.

Step 1: Choose Your Embroidery Niche
Trying to serve every possible customer can make inventory, marketing, and production unnecessarily complicated.
A clear niche helps you select the right blanks, build relevant samples, and create more focused marketing.
Potential embroidery customers include:
- Local businesses
- Restaurants and cafés
- Schools and universities
- Sports teams
- Golf, tennis, and running clubs
- Promotional product distributors
- Apparel brands
- Corporate buyers
- Wedding planners
- Nonprofit organizations
- Creators and merchandise sellers
- Construction and service companies
Local Business Embroidery
Local companies regularly need branded hats, polos, jackets, uniforms, and employee apparel.
These customers often value:
- Consistent logo placement
- Accurate thread colors
- Reliable reordering
- Clear delivery dates
- Small and medium order quantities
Team and Club Embroidery
Teams and clubs may order hats, jackets, bags, uniforms, and event merchandise.
These projects can lead to repeat orders for new members, tournaments, seasons, races, and fundraising activities.
Personalized Gifts
Names, initials, dates, monograms, and personal messages can be added to baby products, towels, robes, blankets, bags, and wedding gifts.
These orders may be smaller but can command higher prices because of their emotional and personalized value.
Custom Hat Embroidery
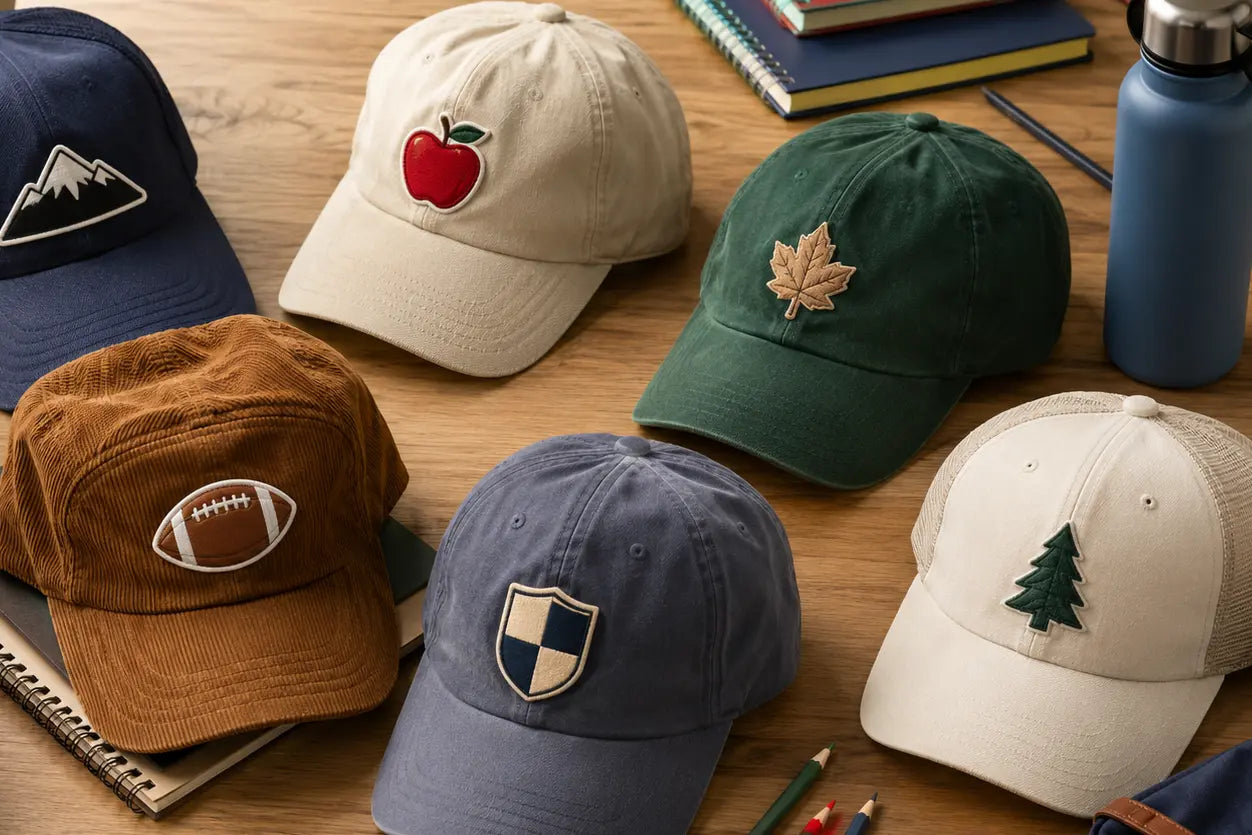
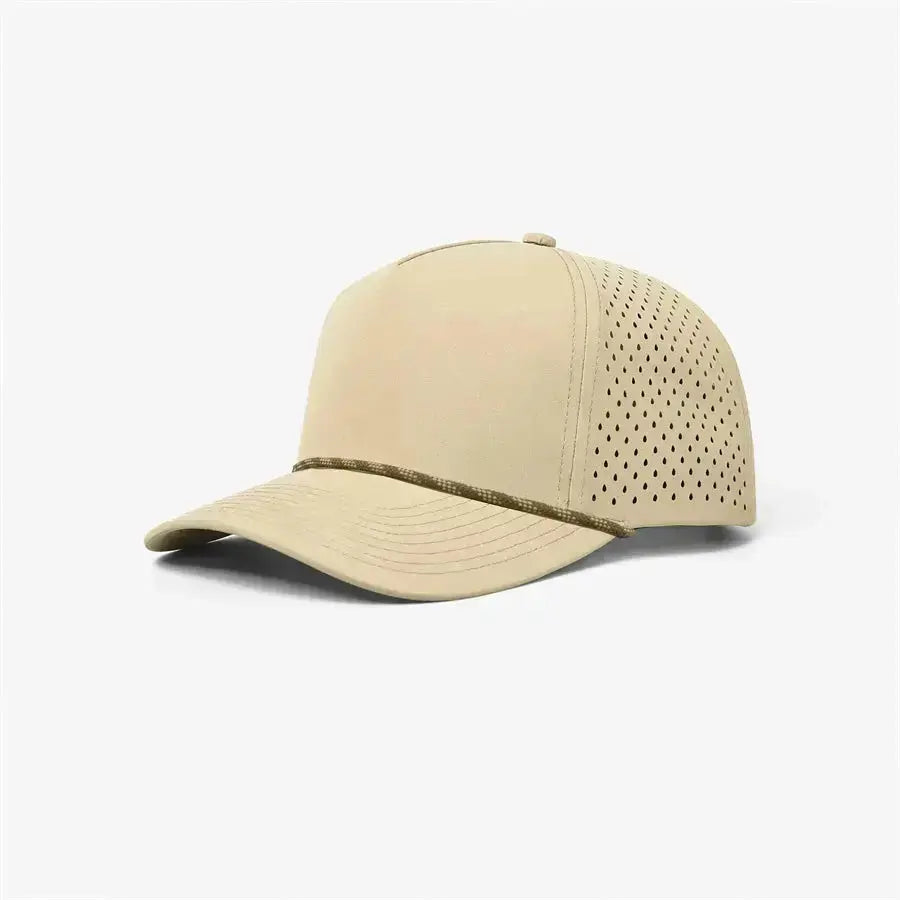
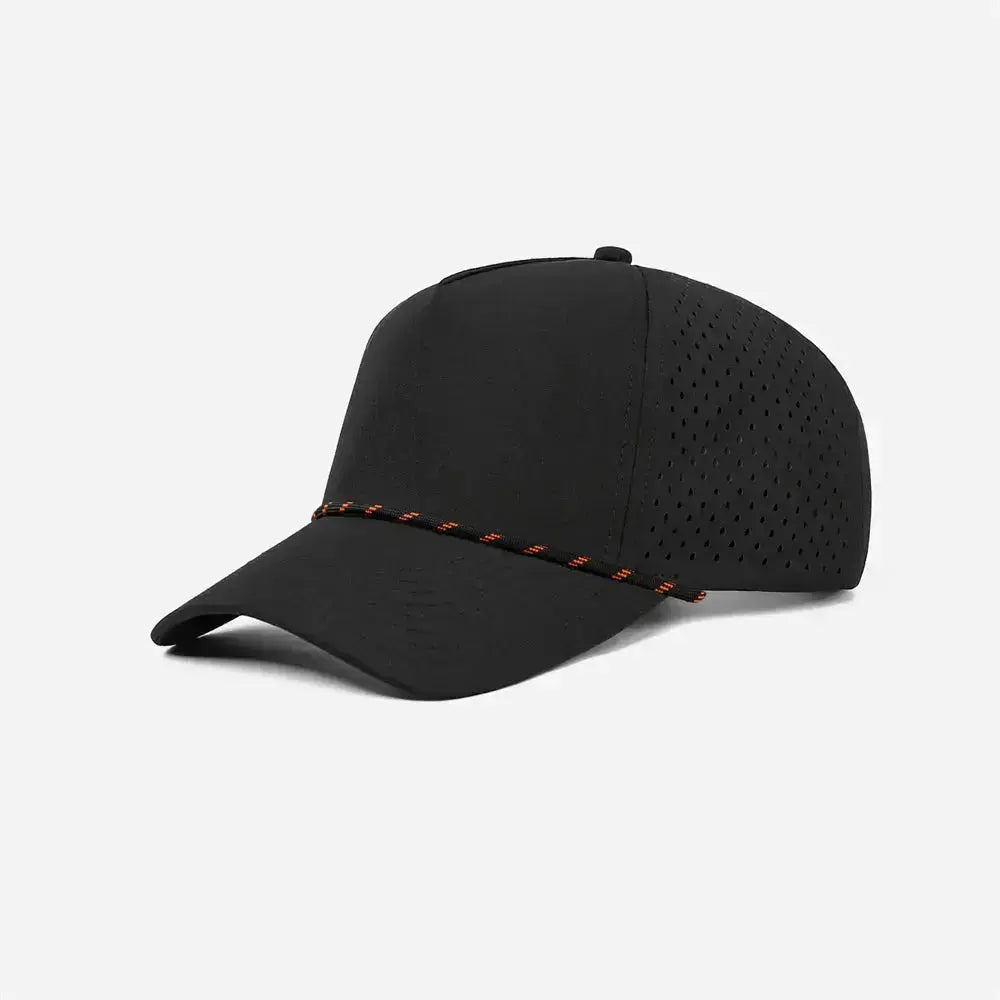
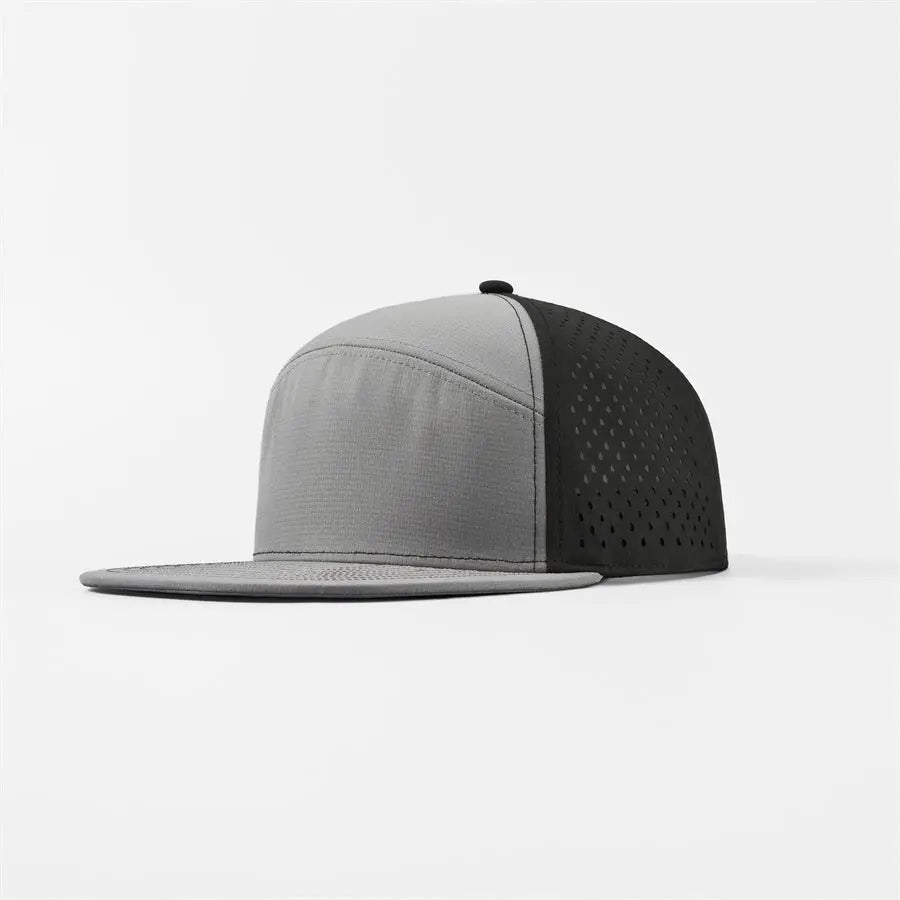
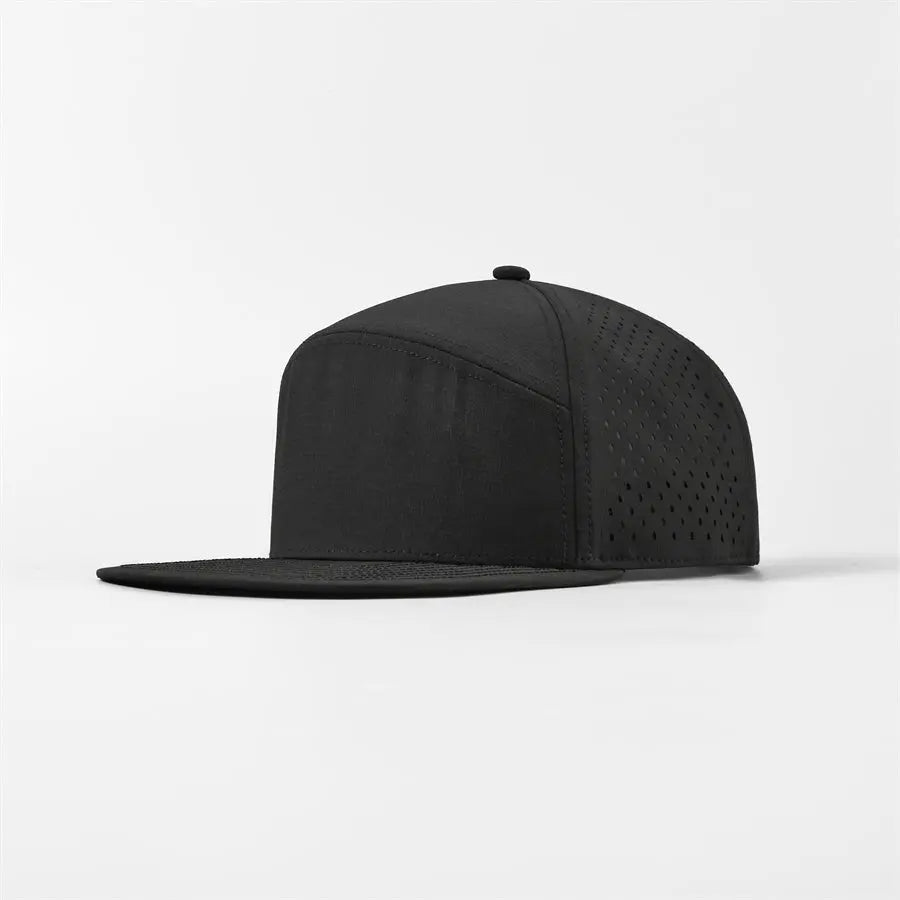
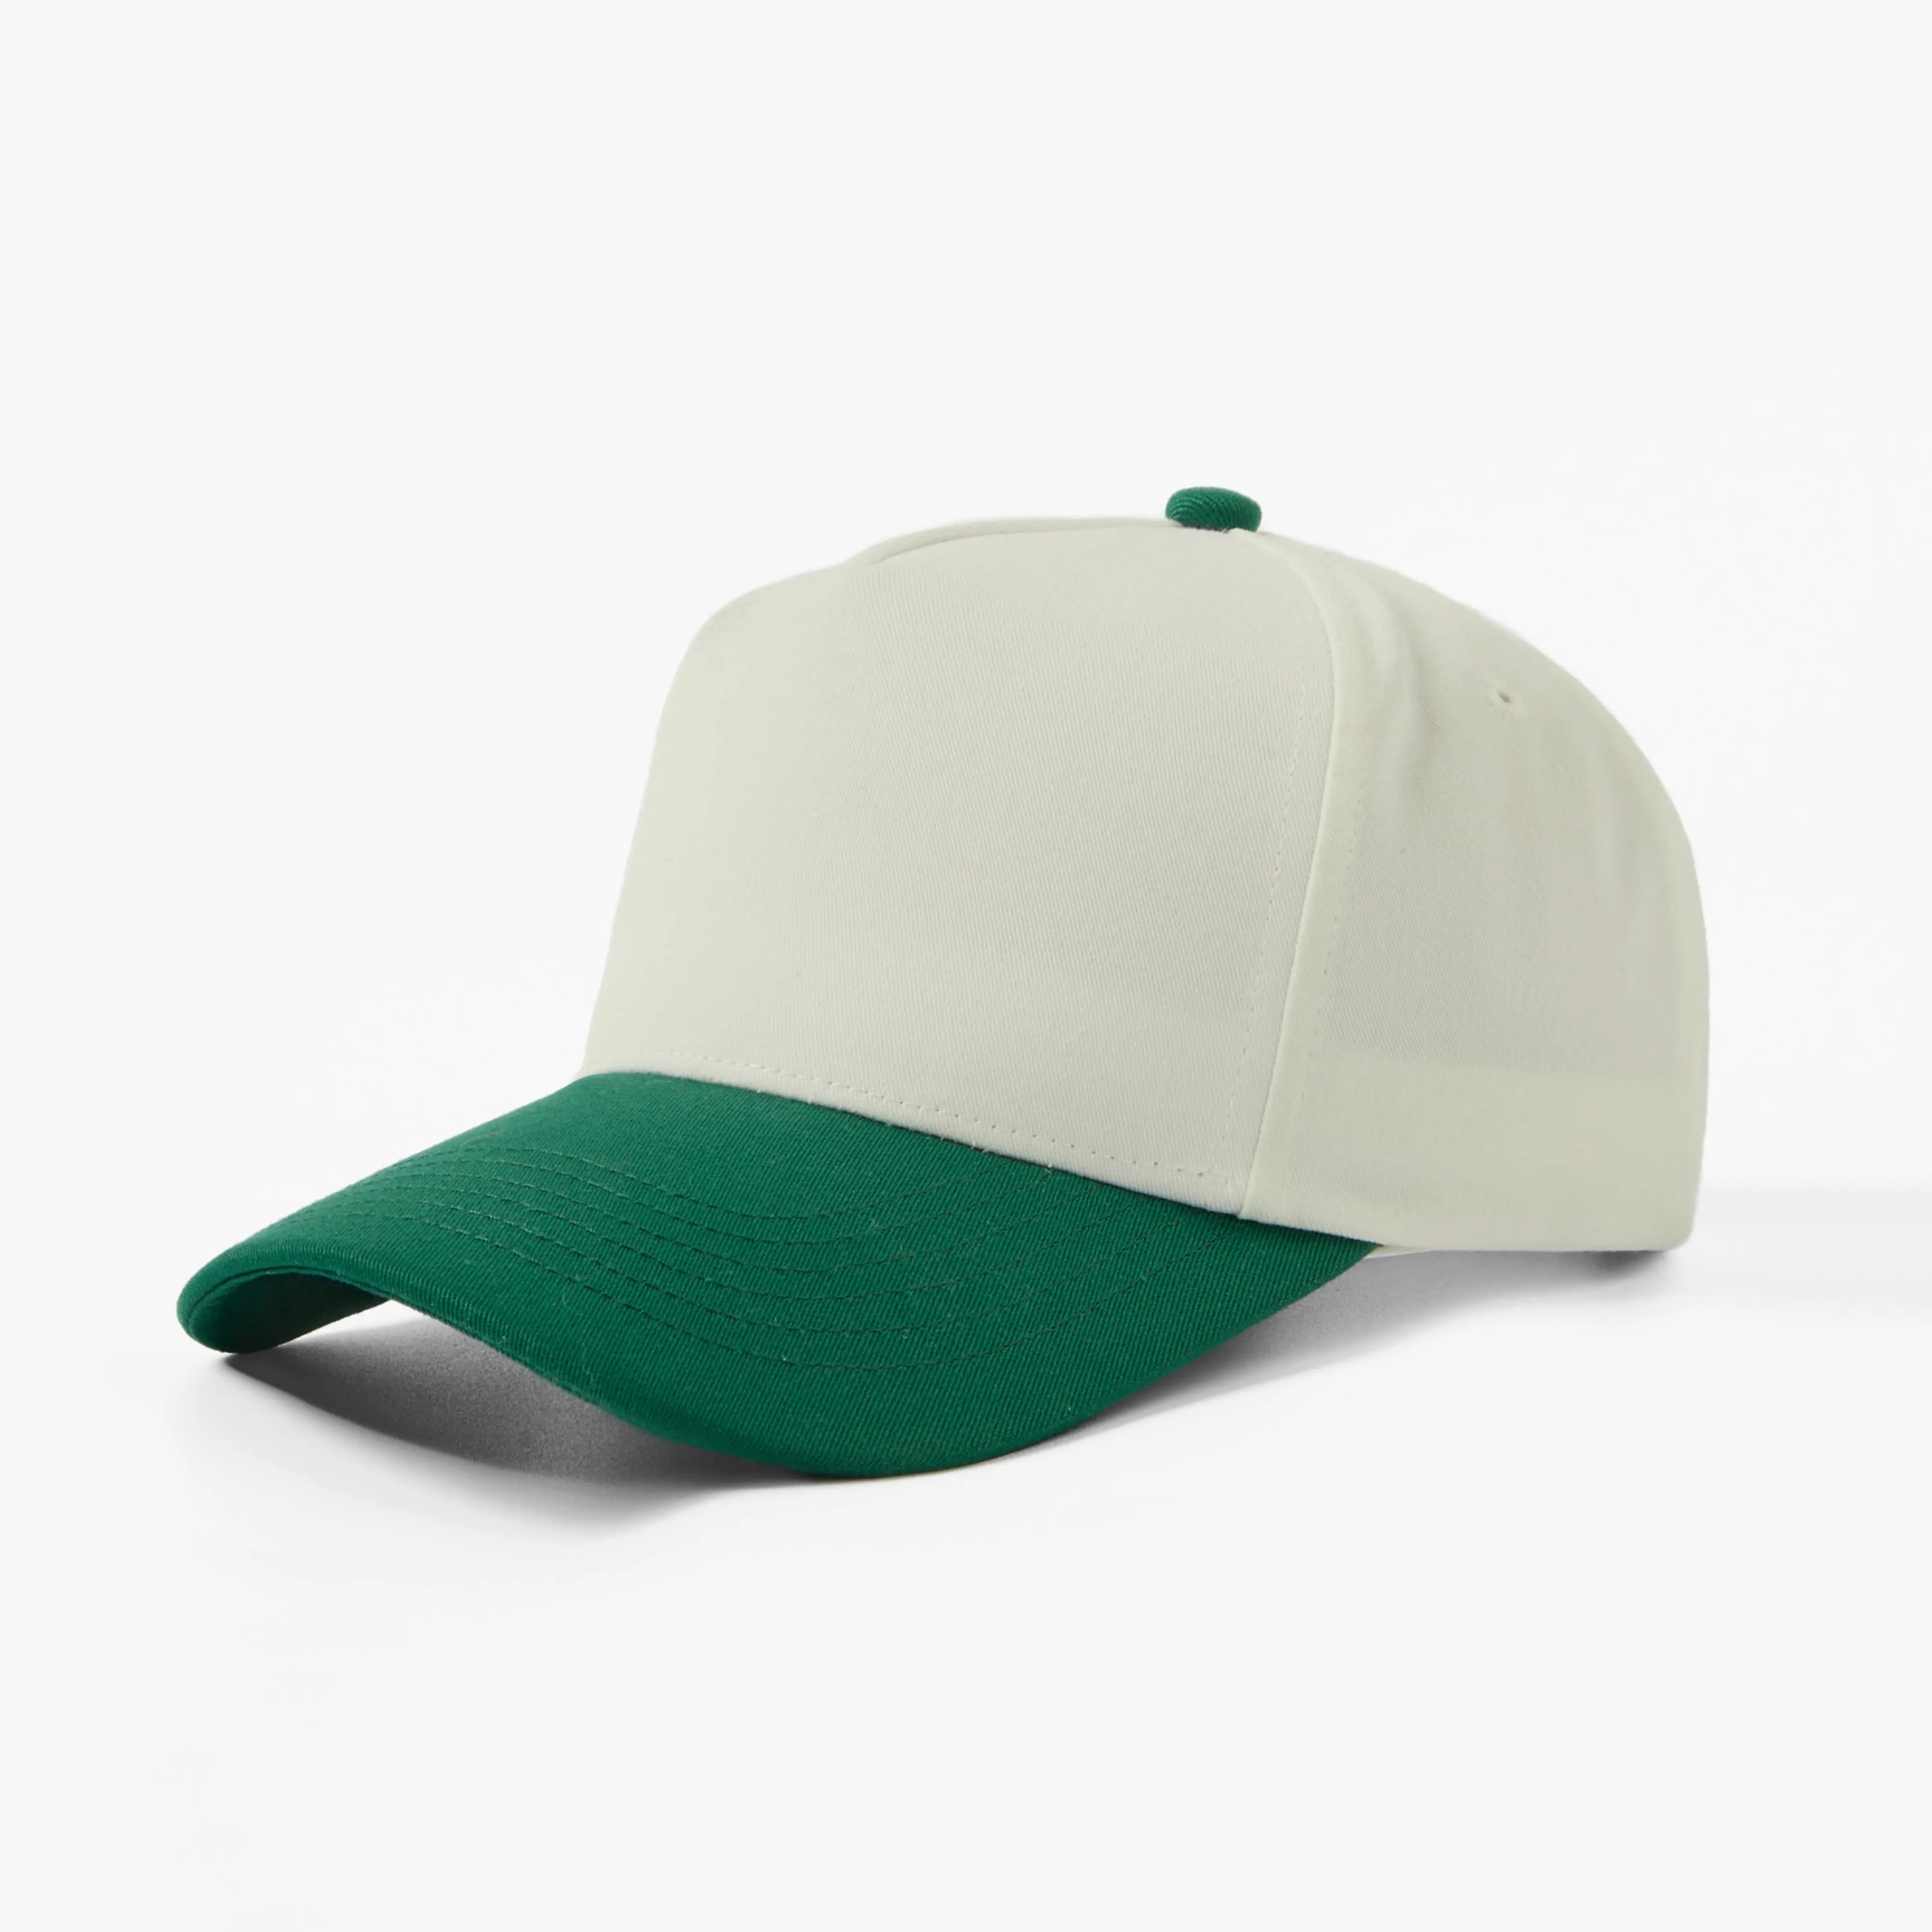
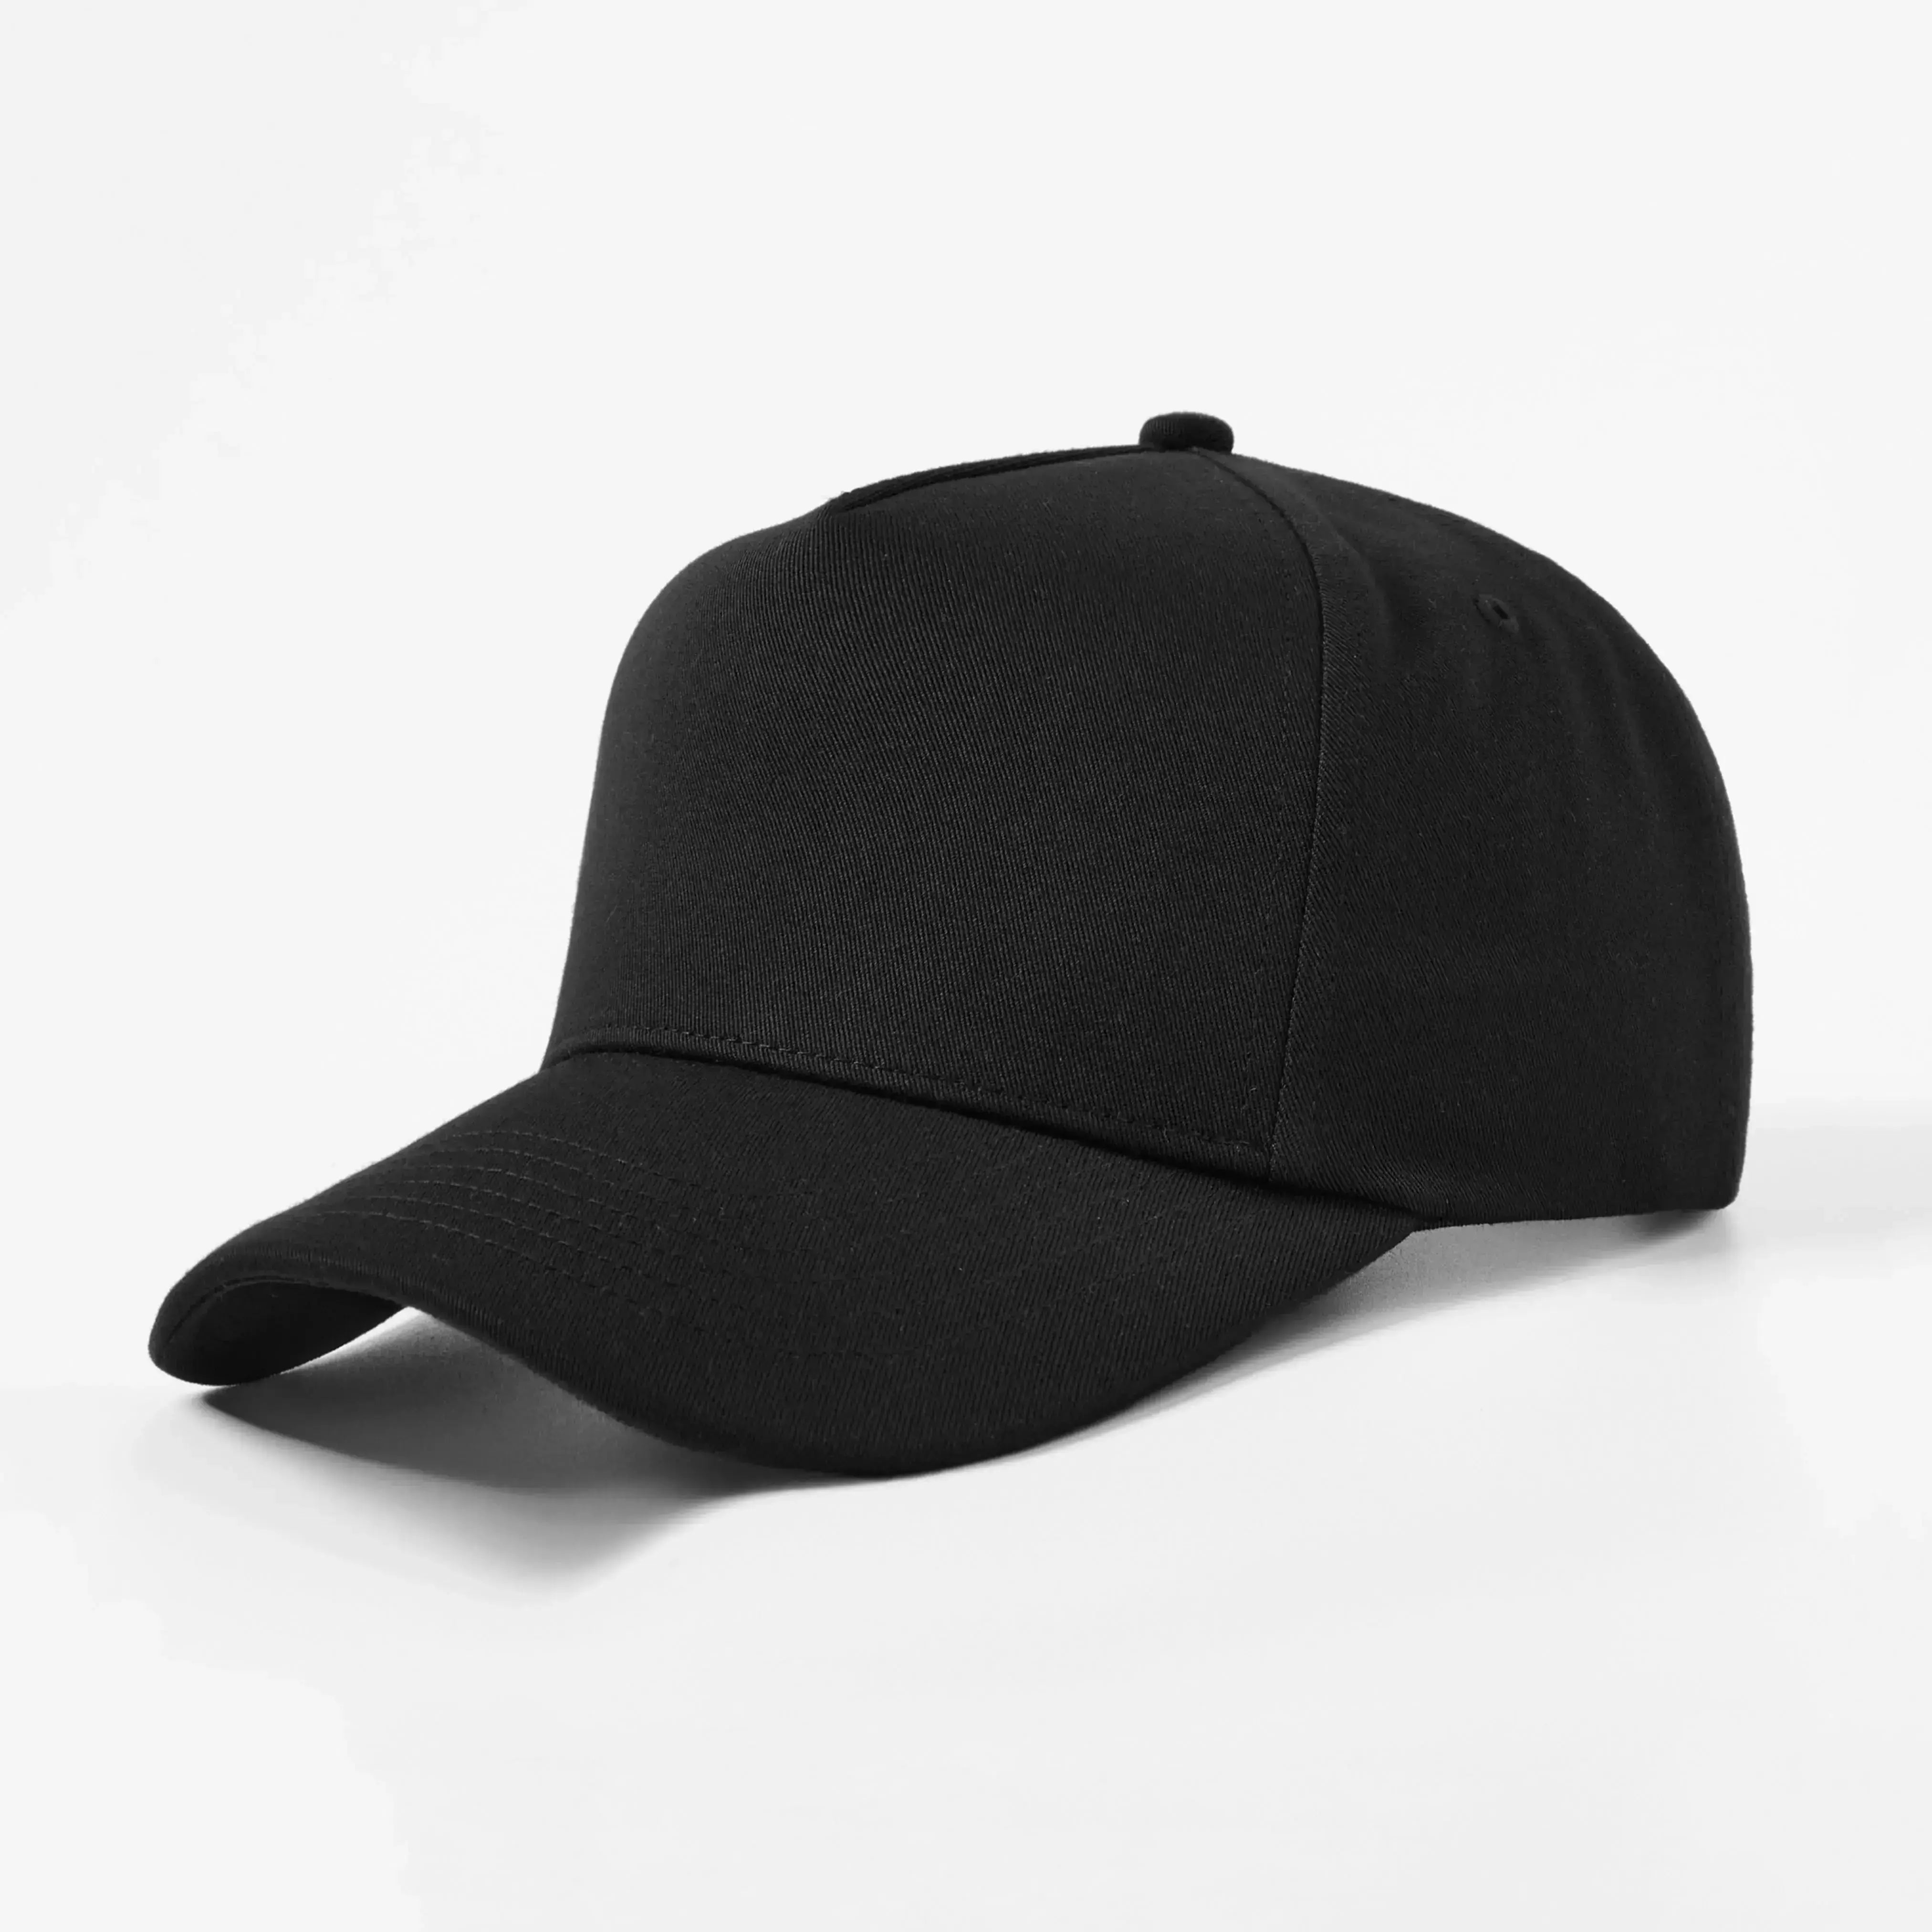
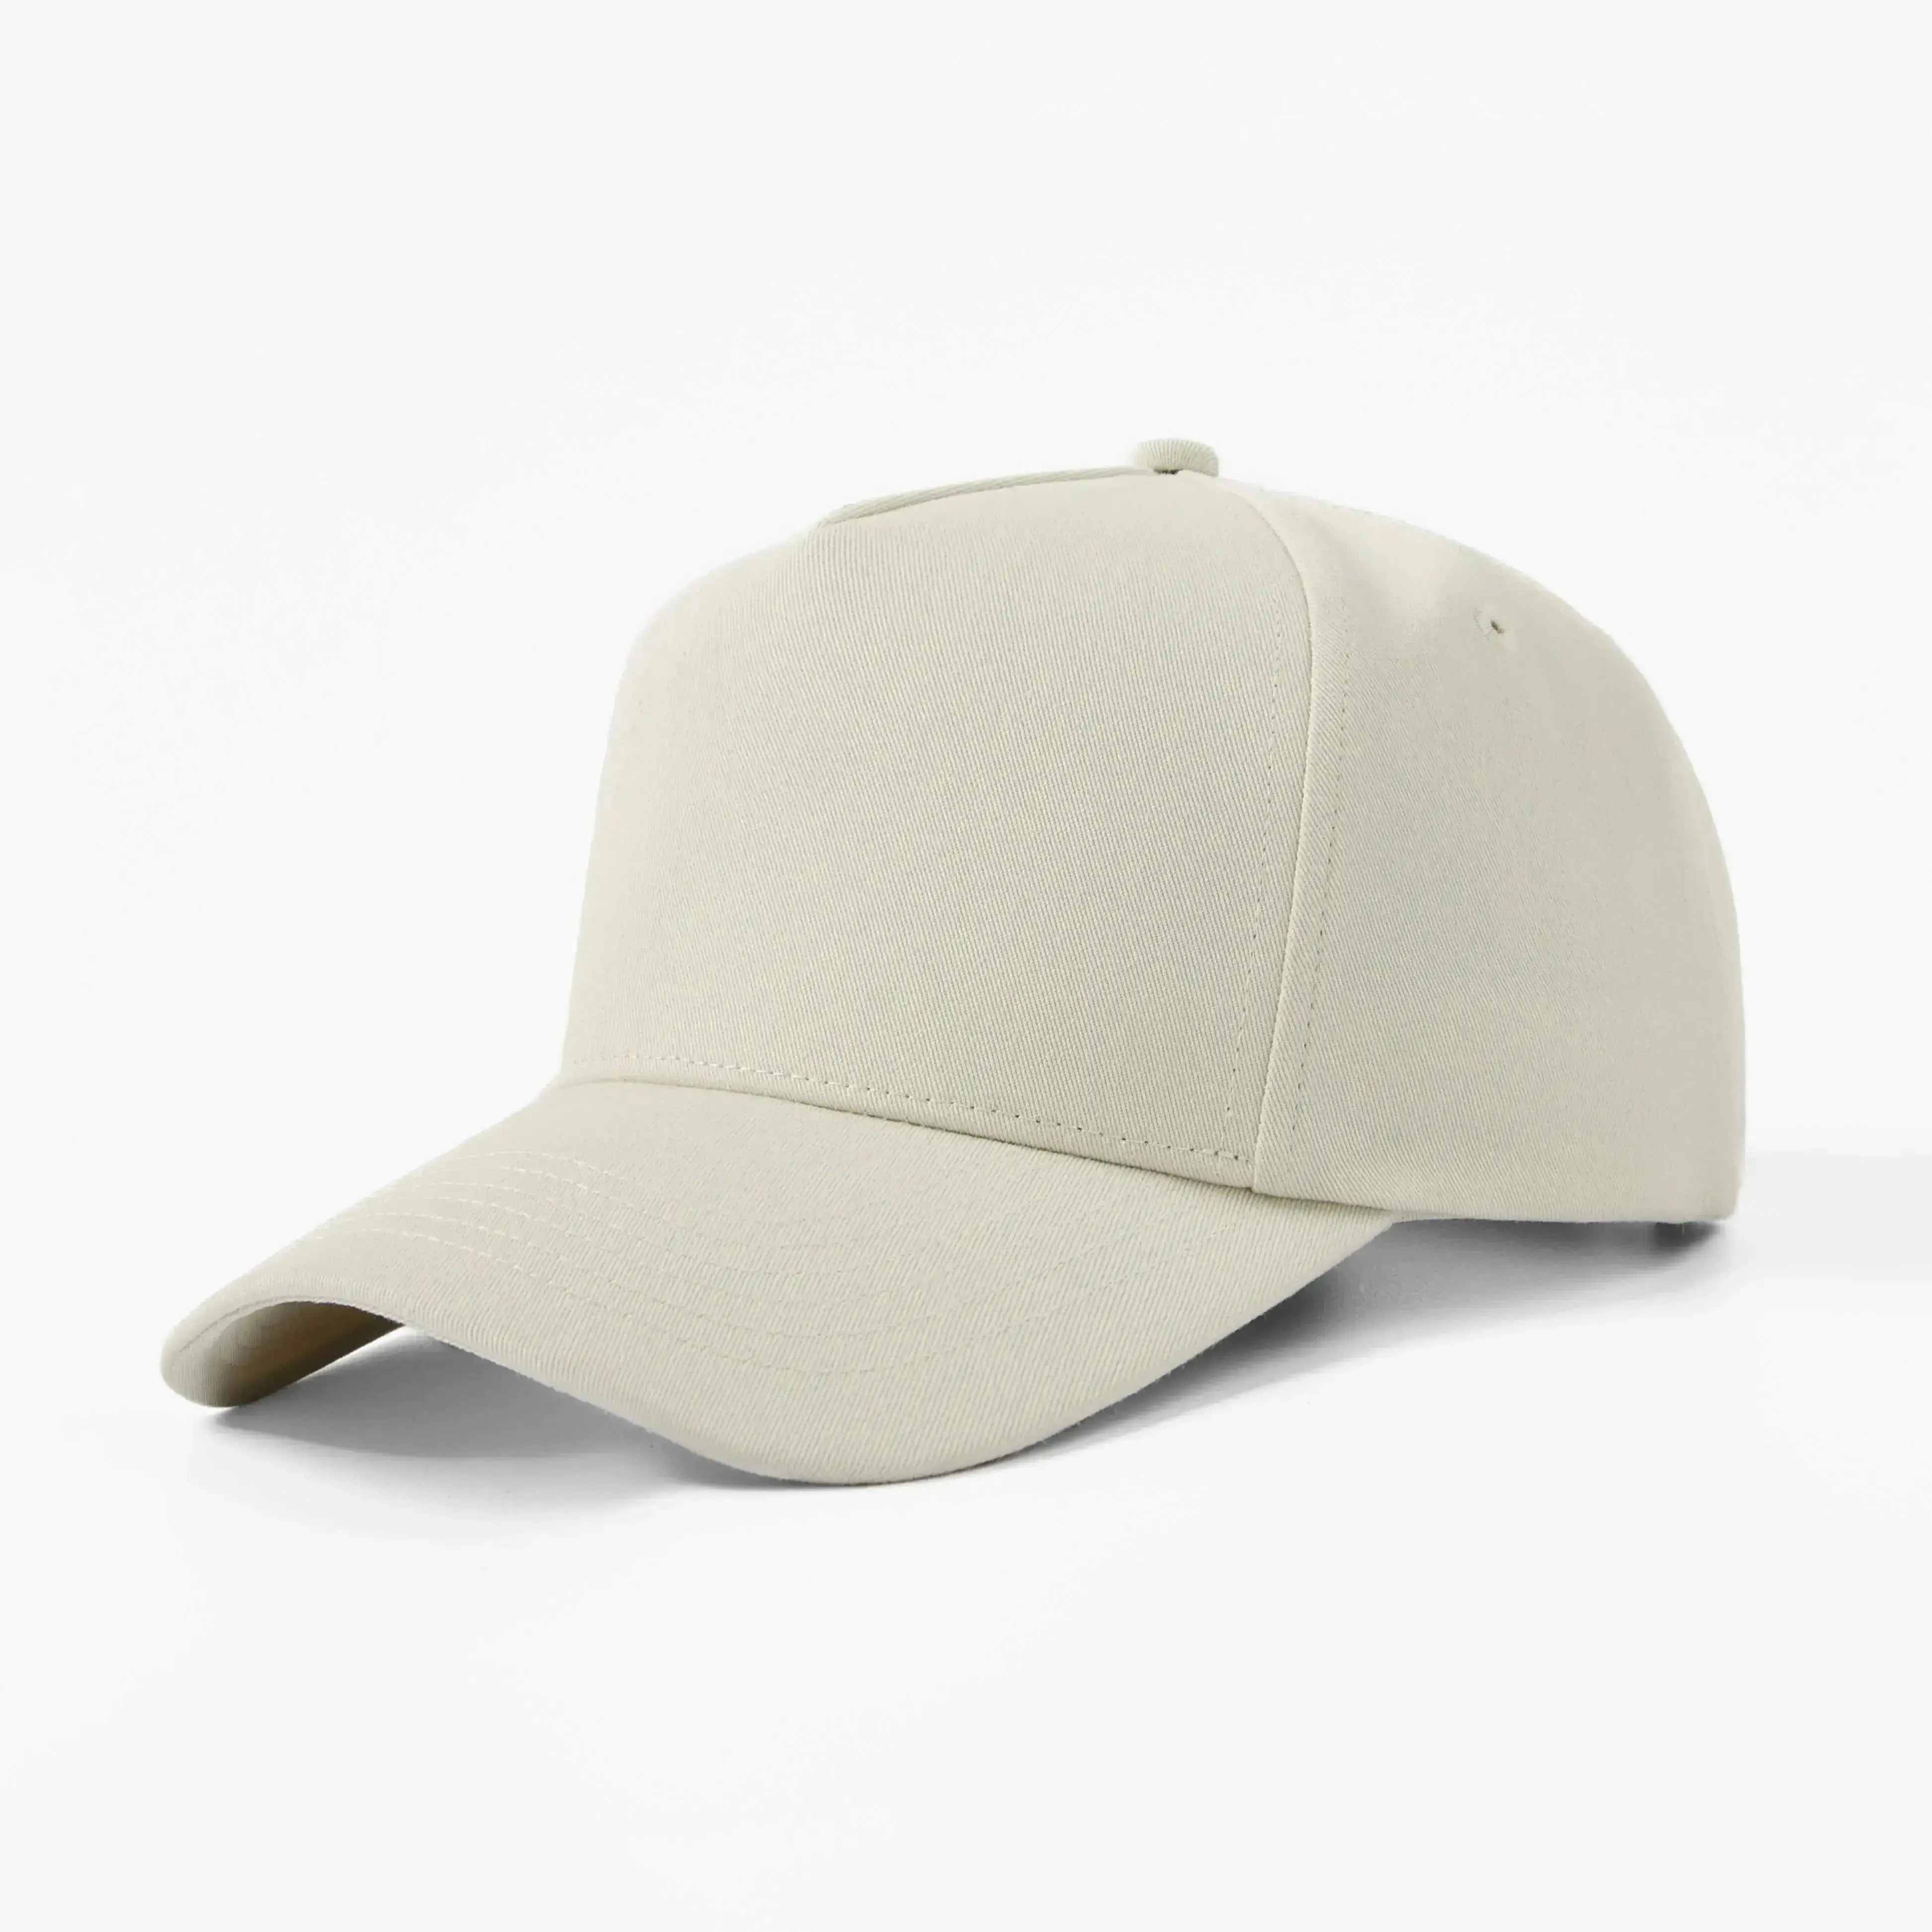
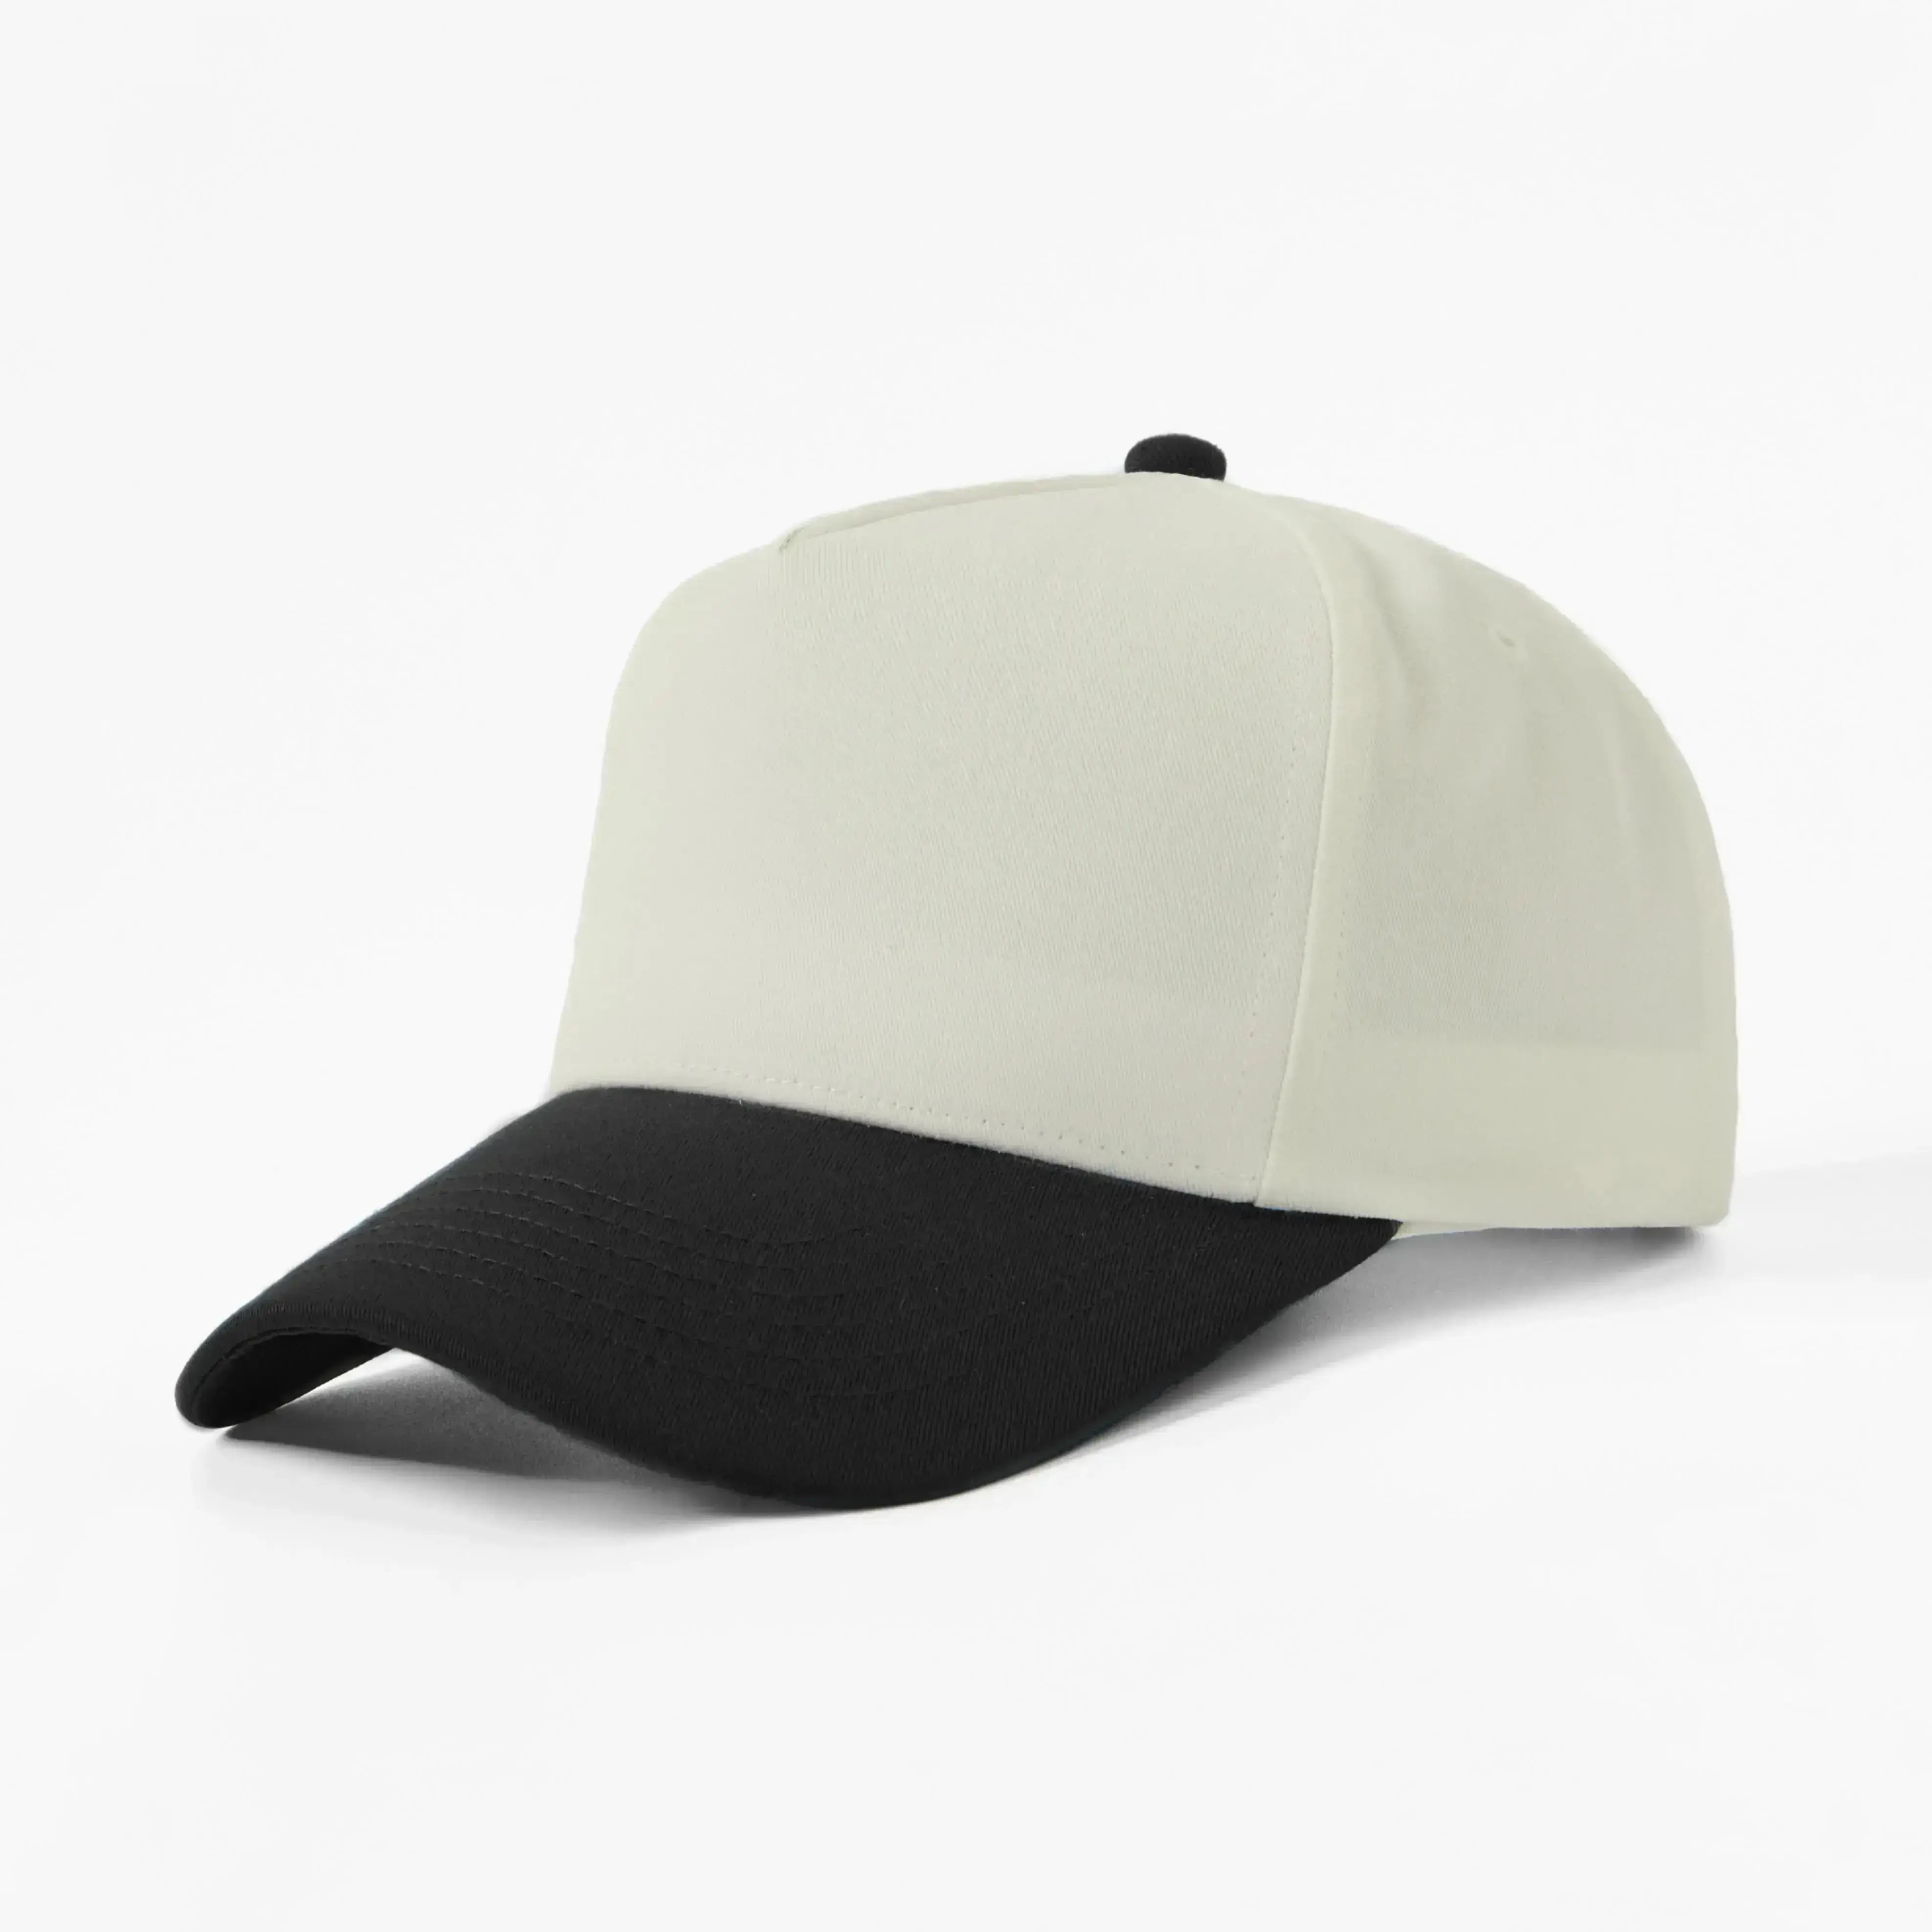
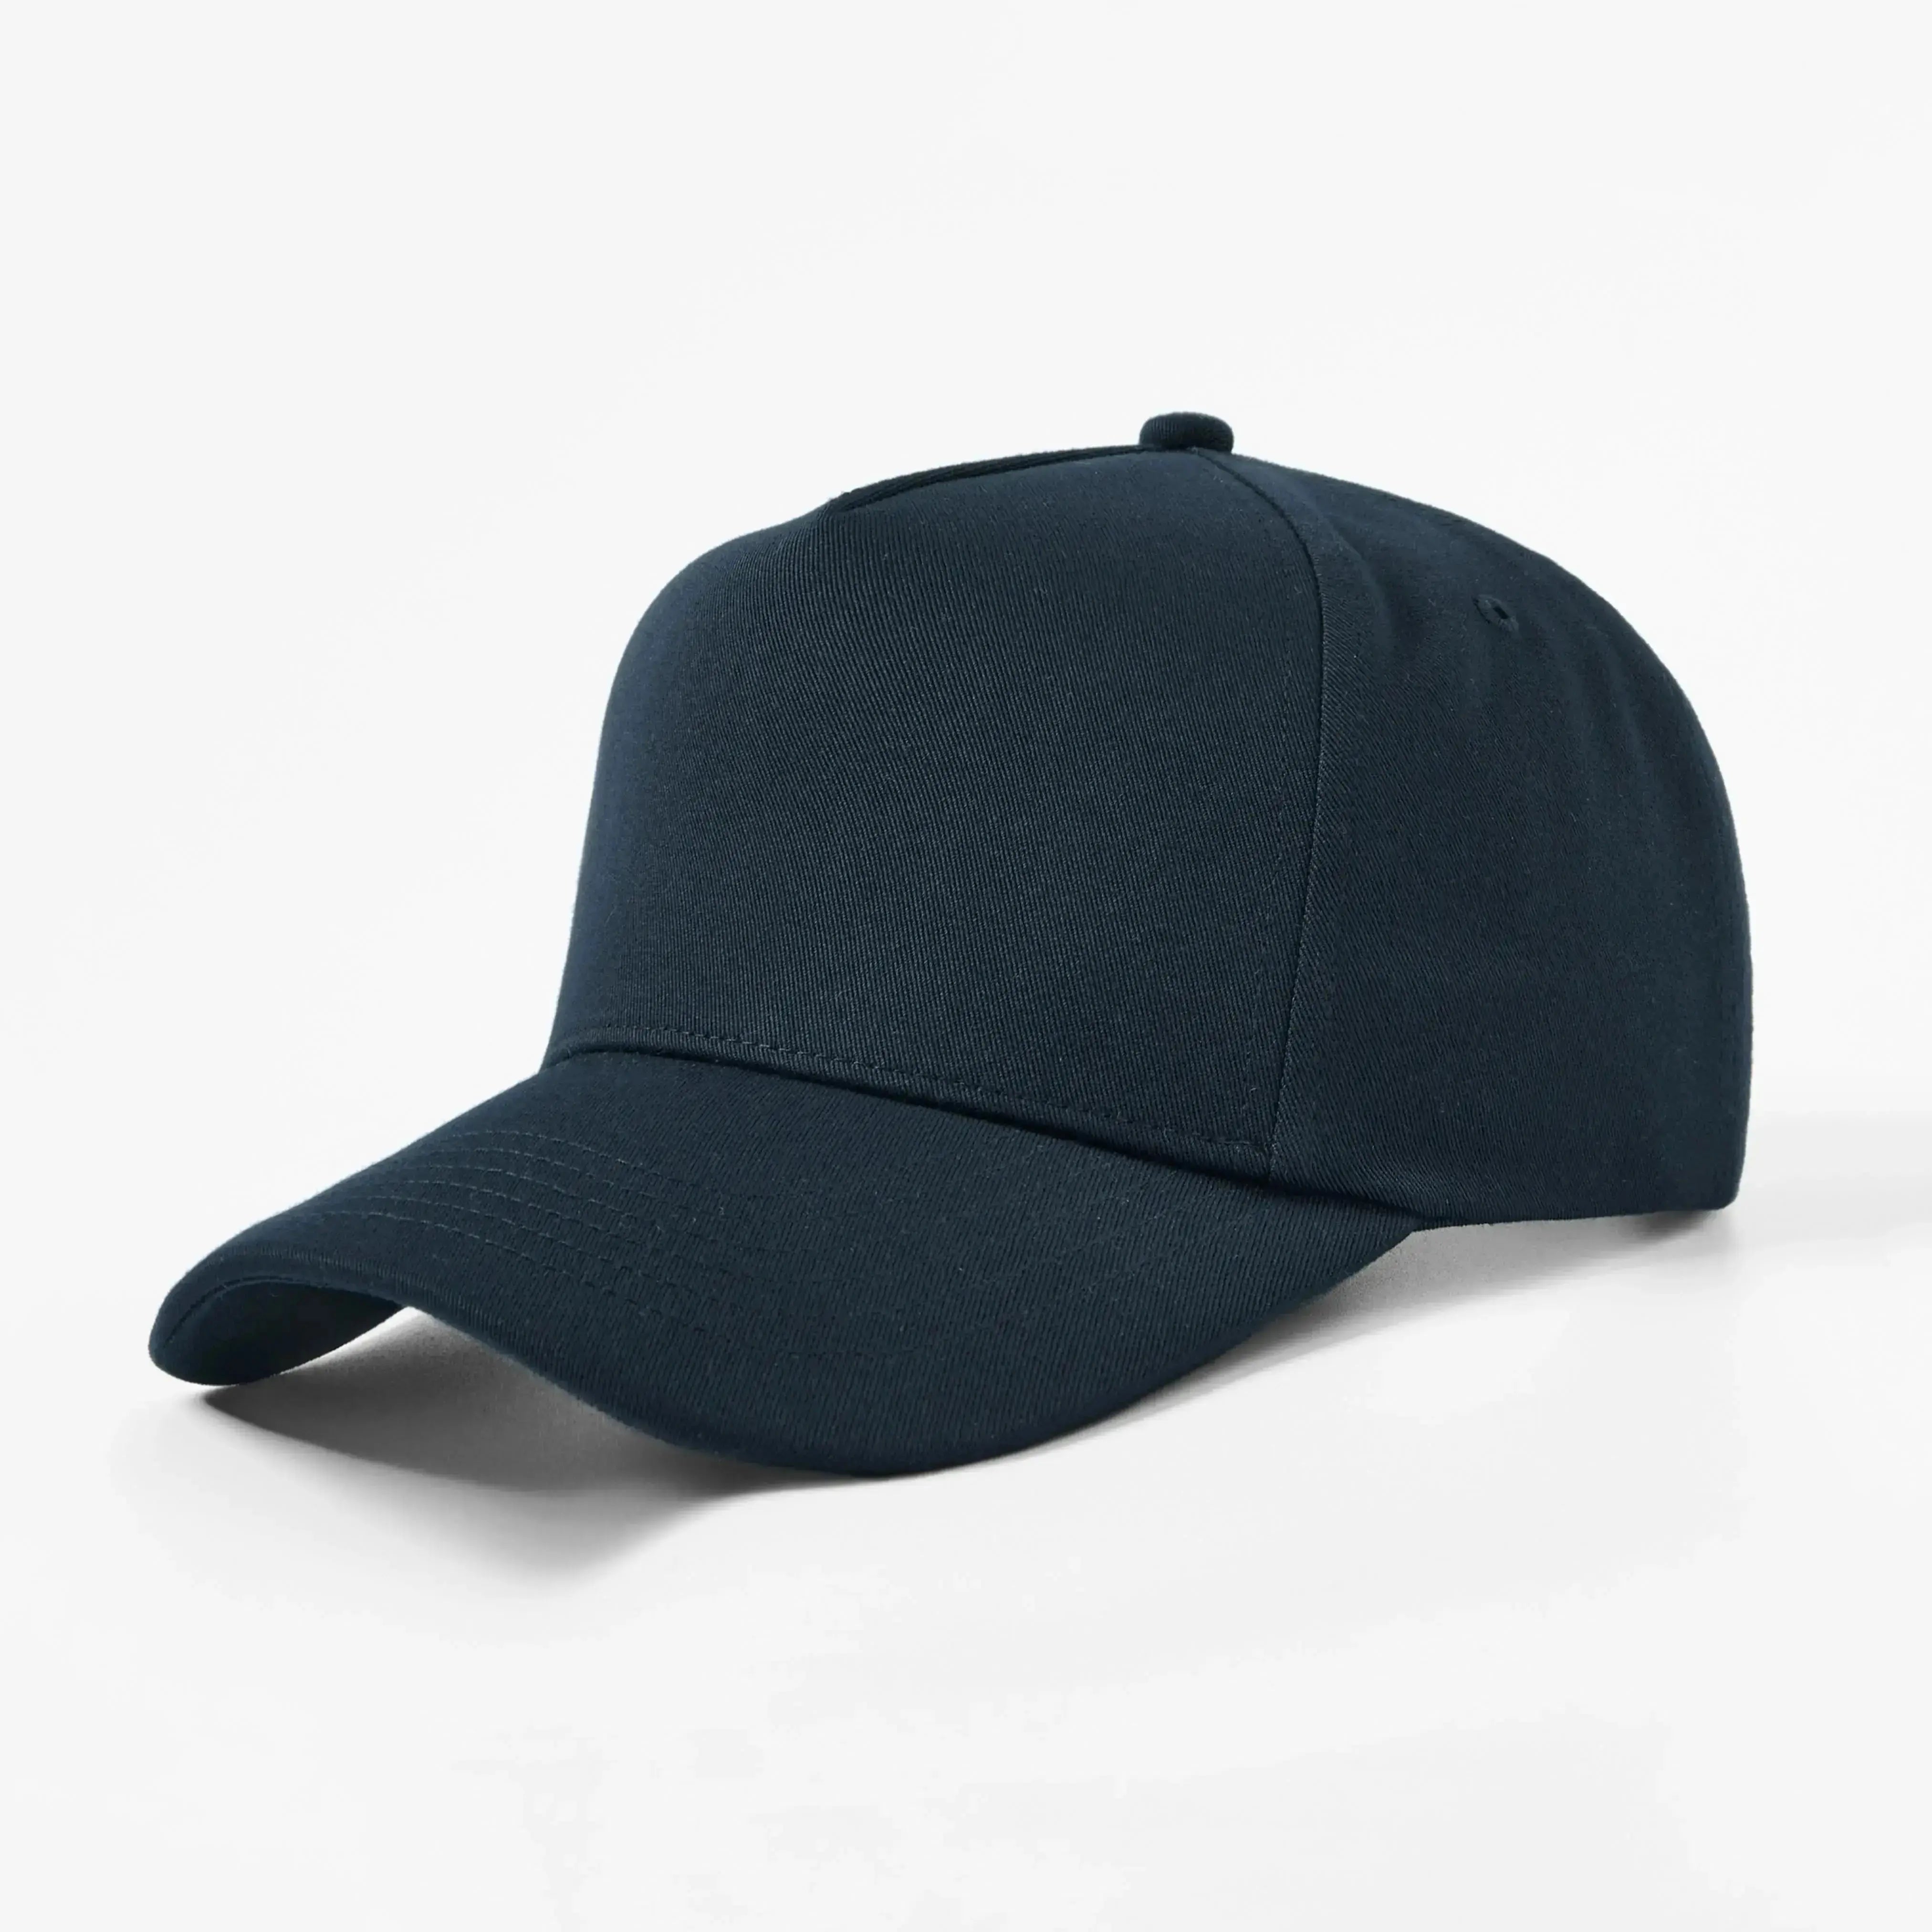
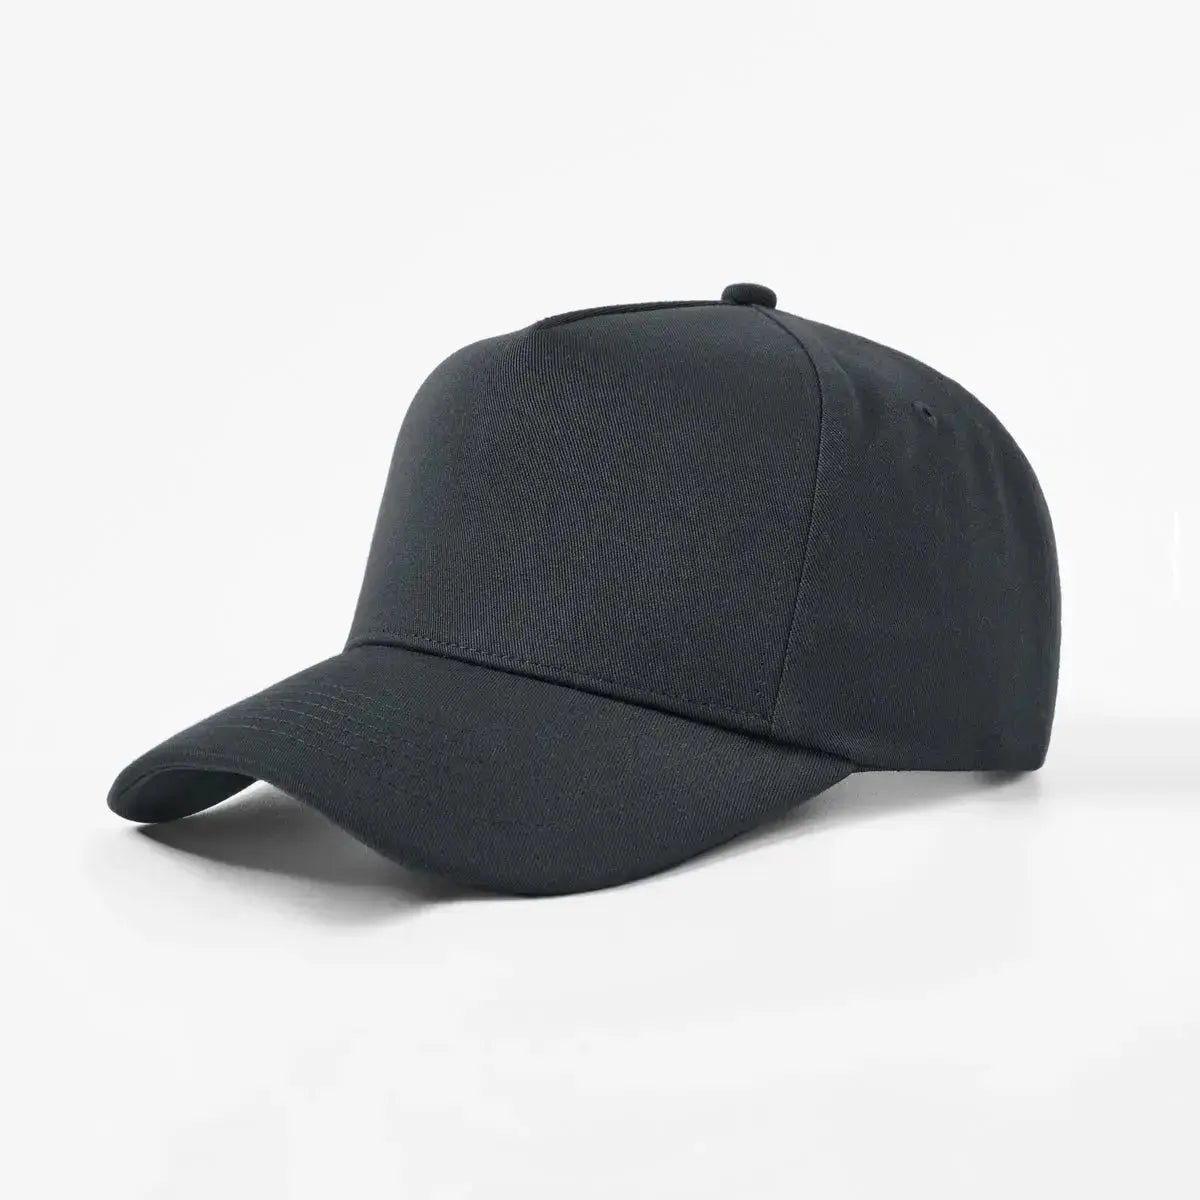
Hats are one of the most visible and versatile embroidered products. They are suitable for businesses, brands, clubs, teams, schools, events, and retail merchandise.
A business can specialize in:
- Corporate logo hats
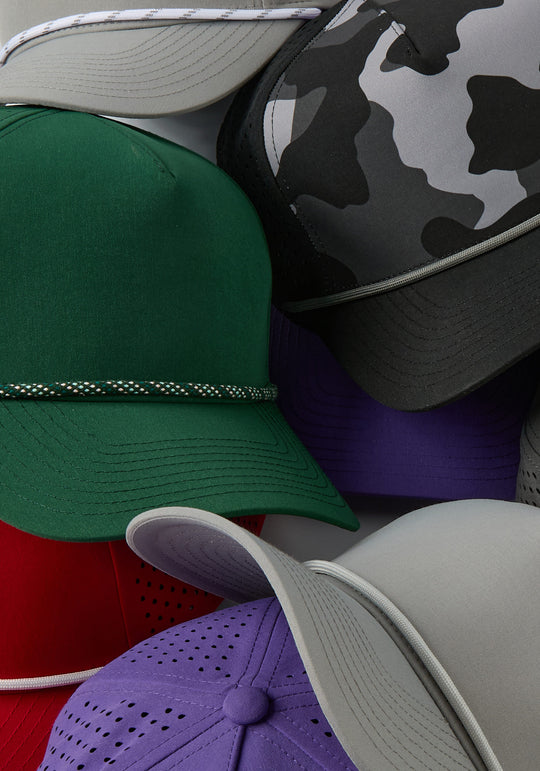
- Golf and rope hats
- Running club hats
- Trucker hats
- 3D puff snapbacks
- Embroidered dad hats
- Team caps
- Custom beanies
- Private-label headwear
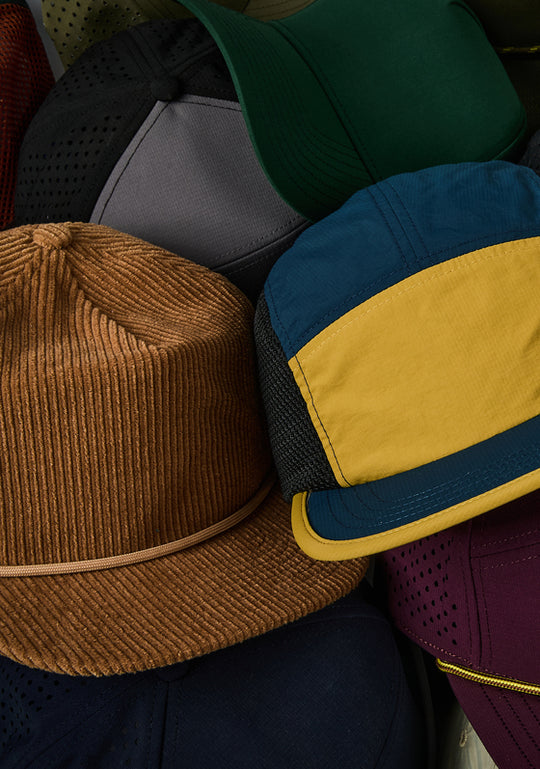
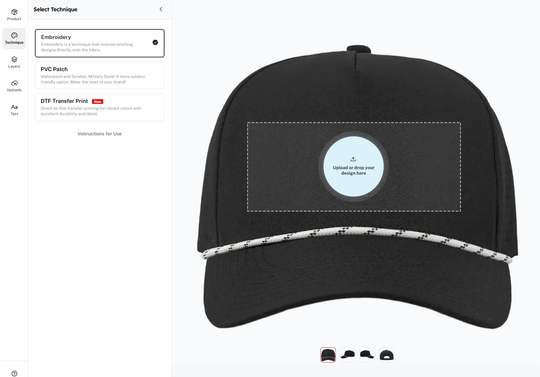
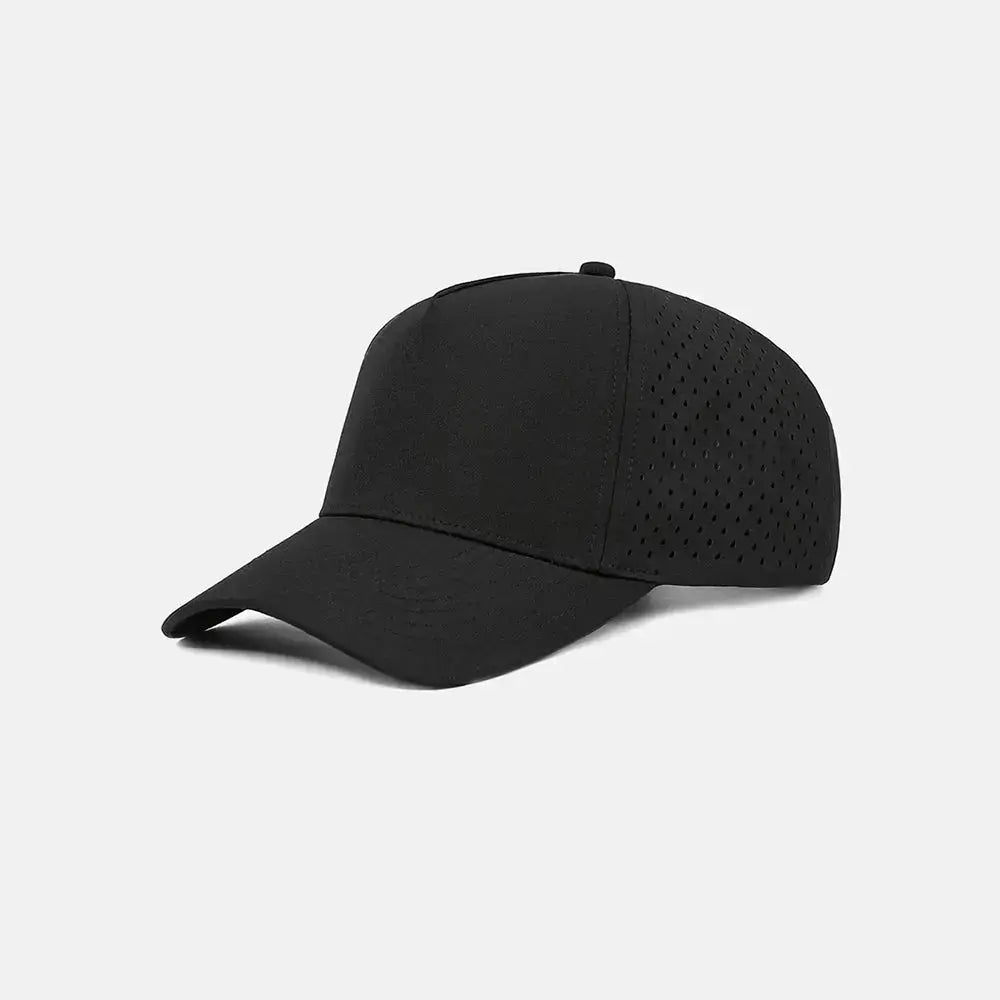
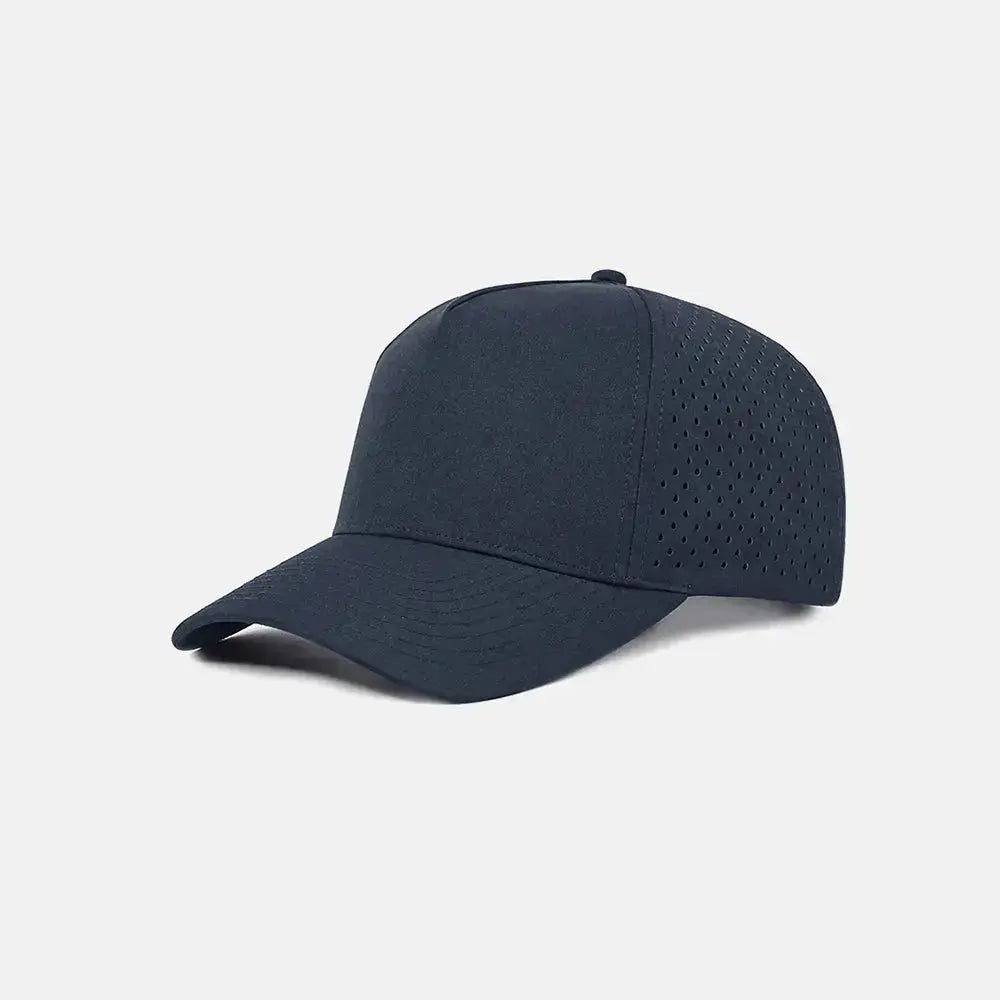
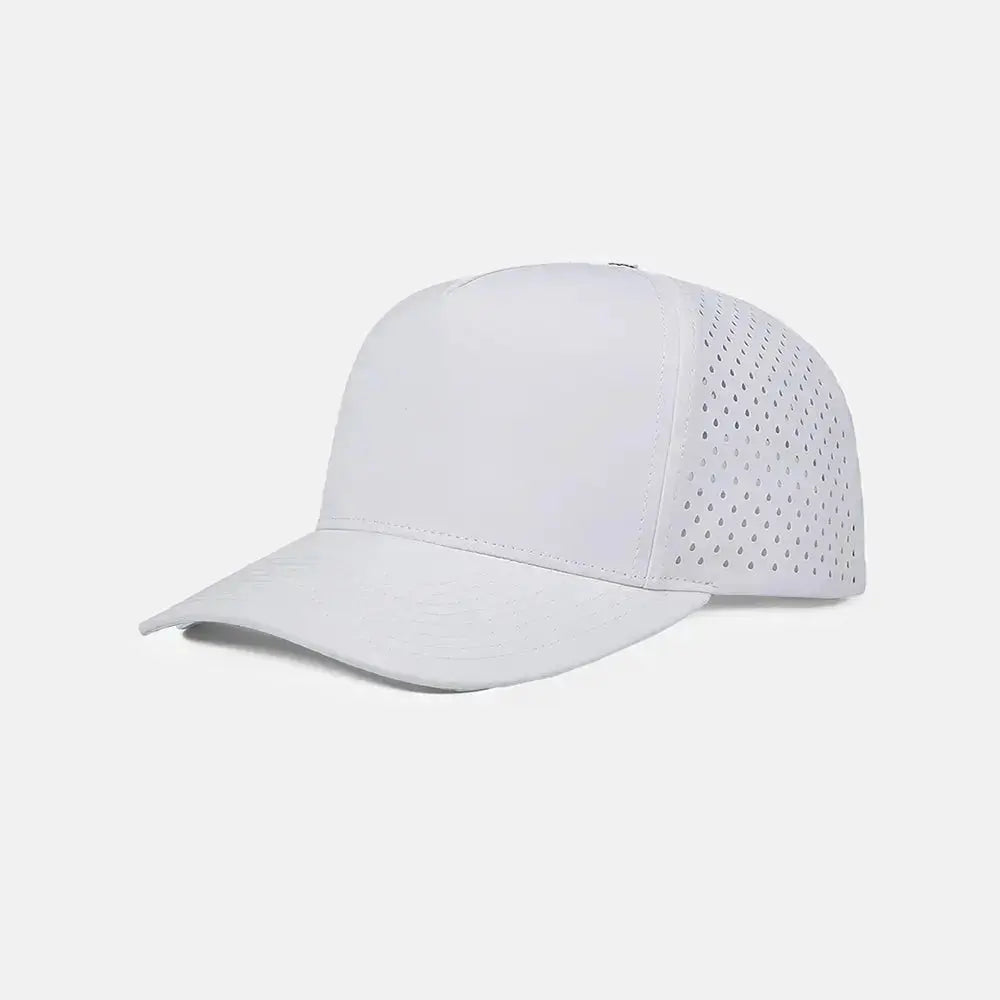
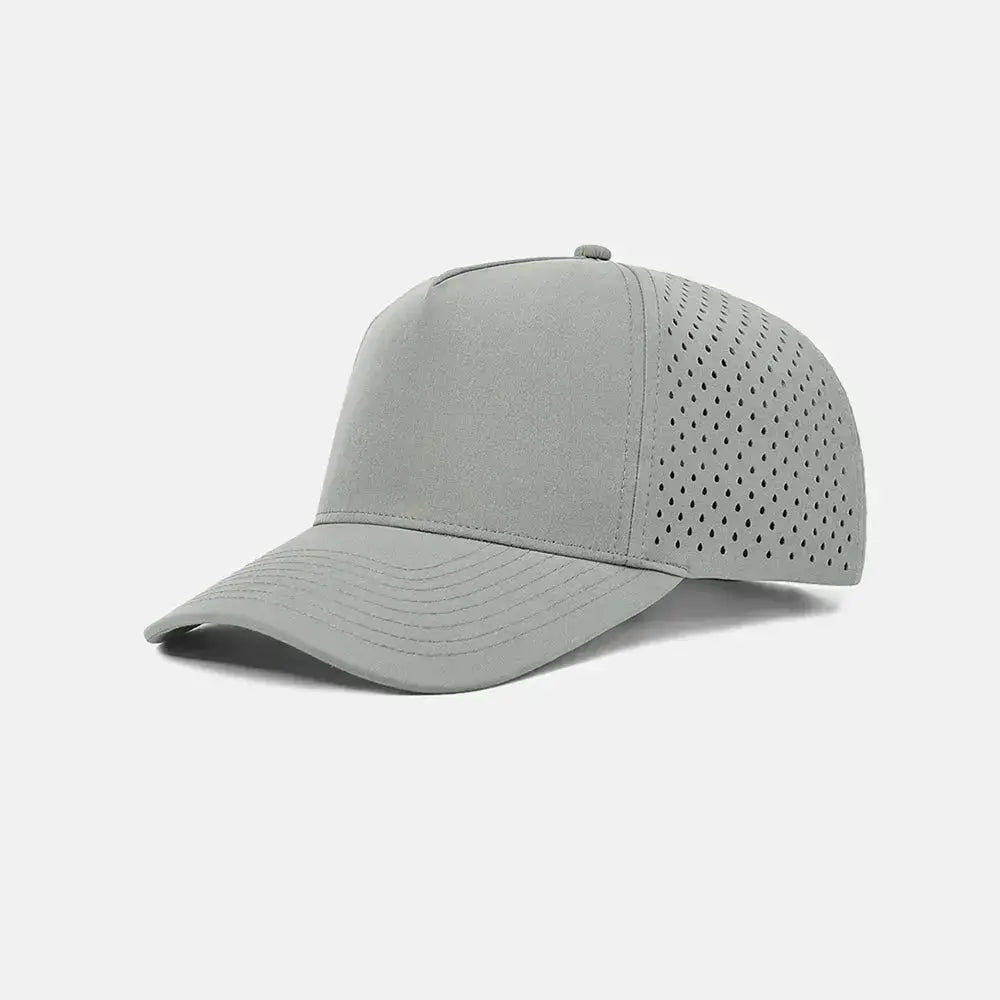
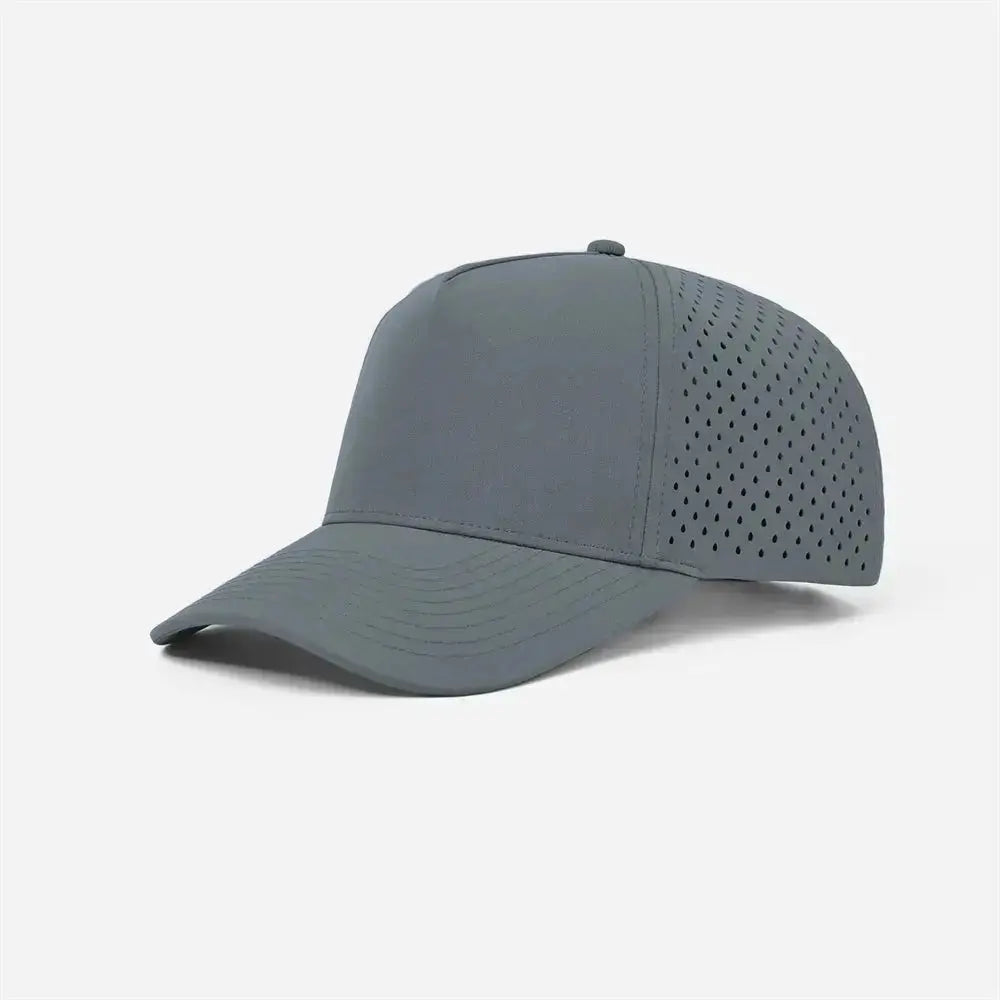
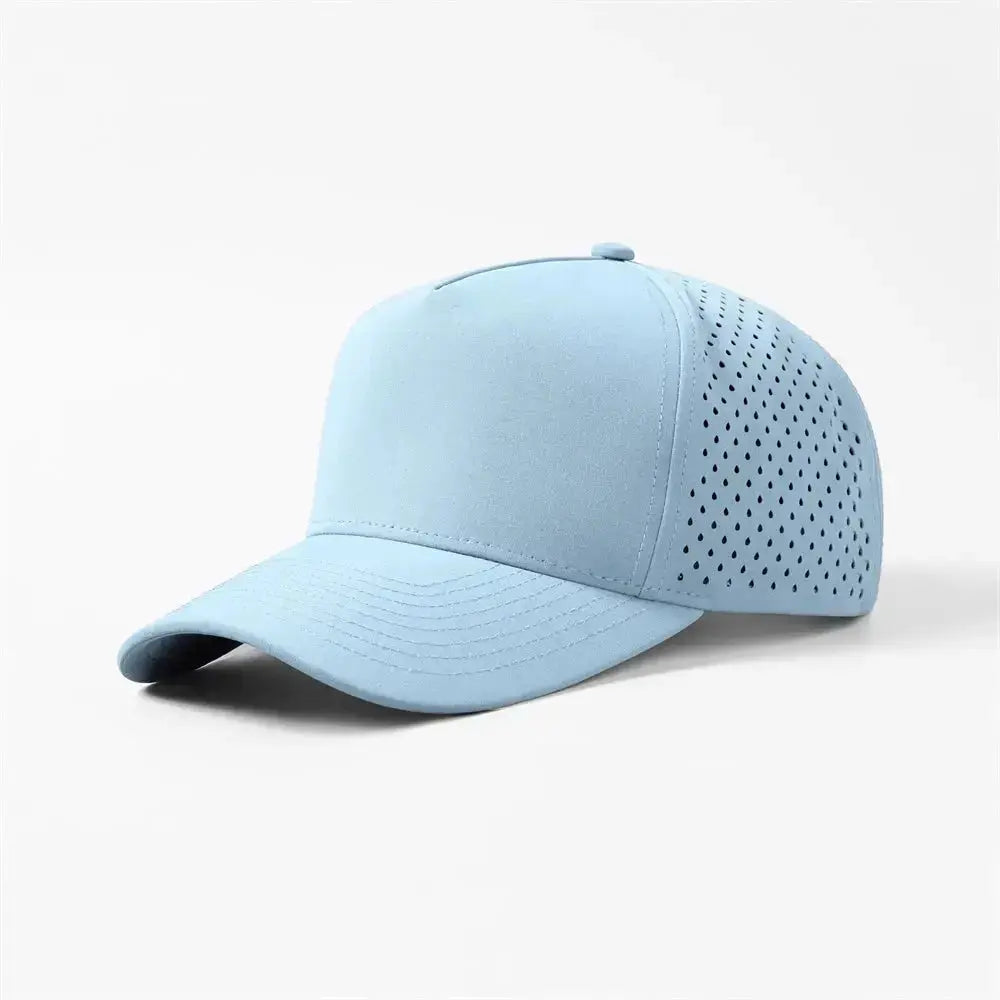
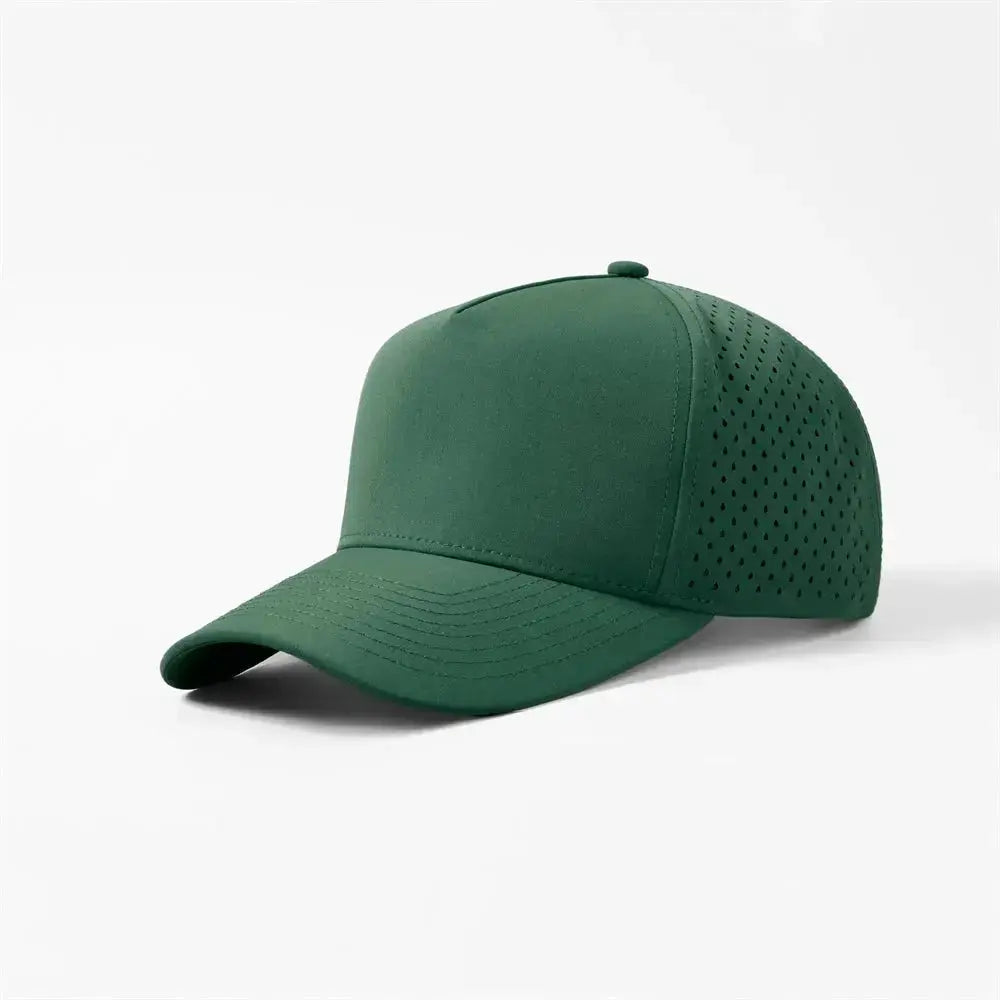
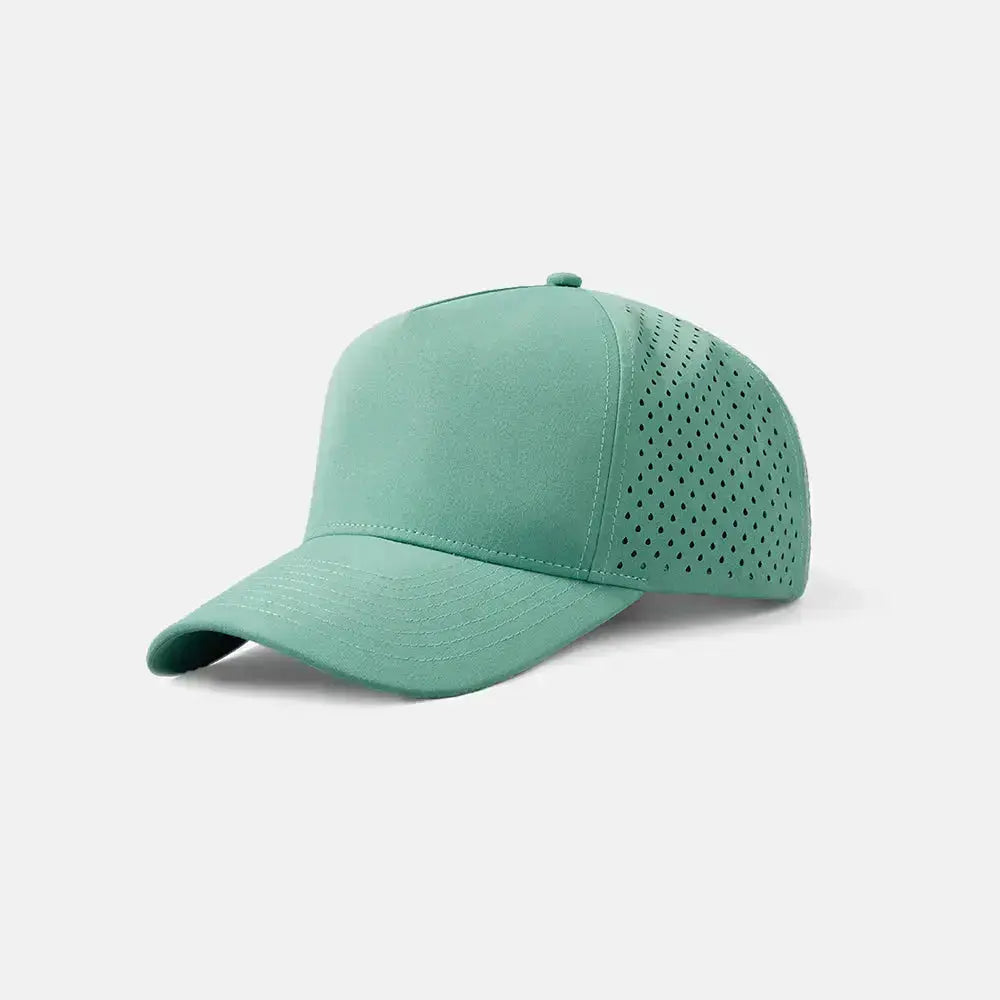
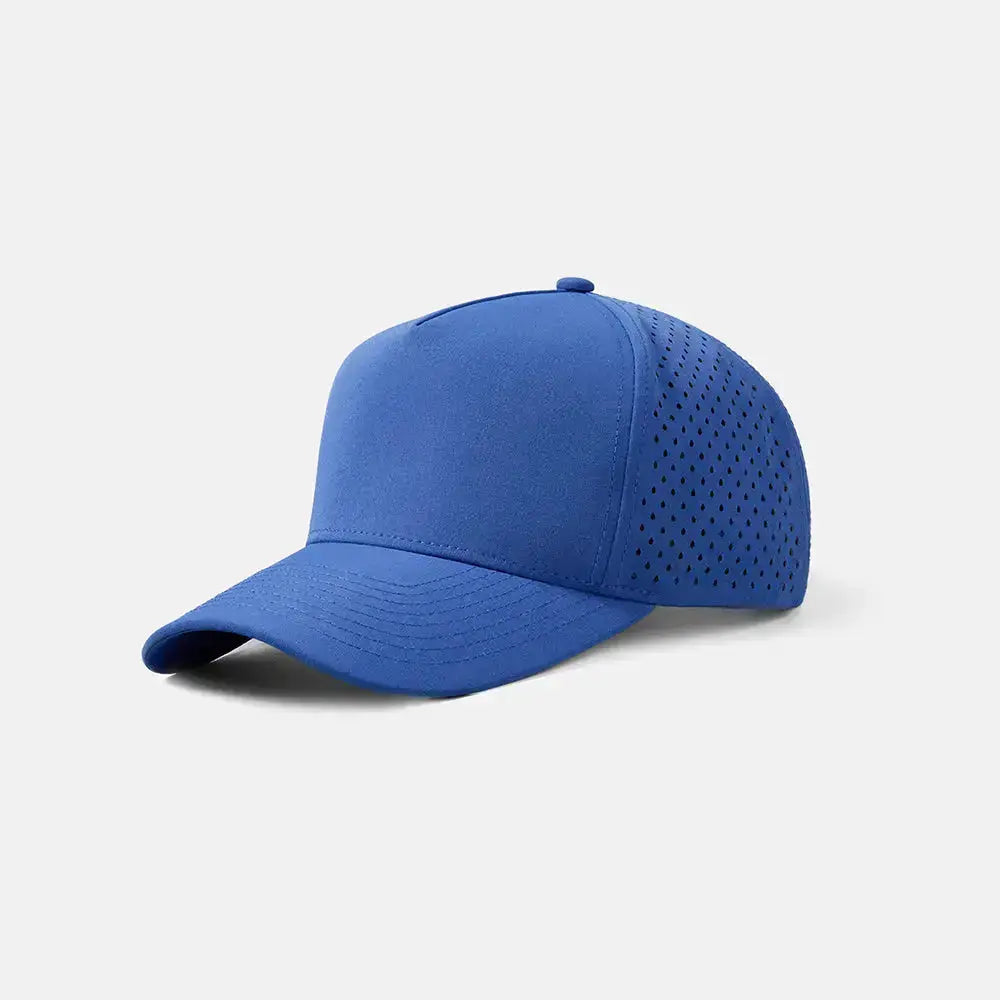
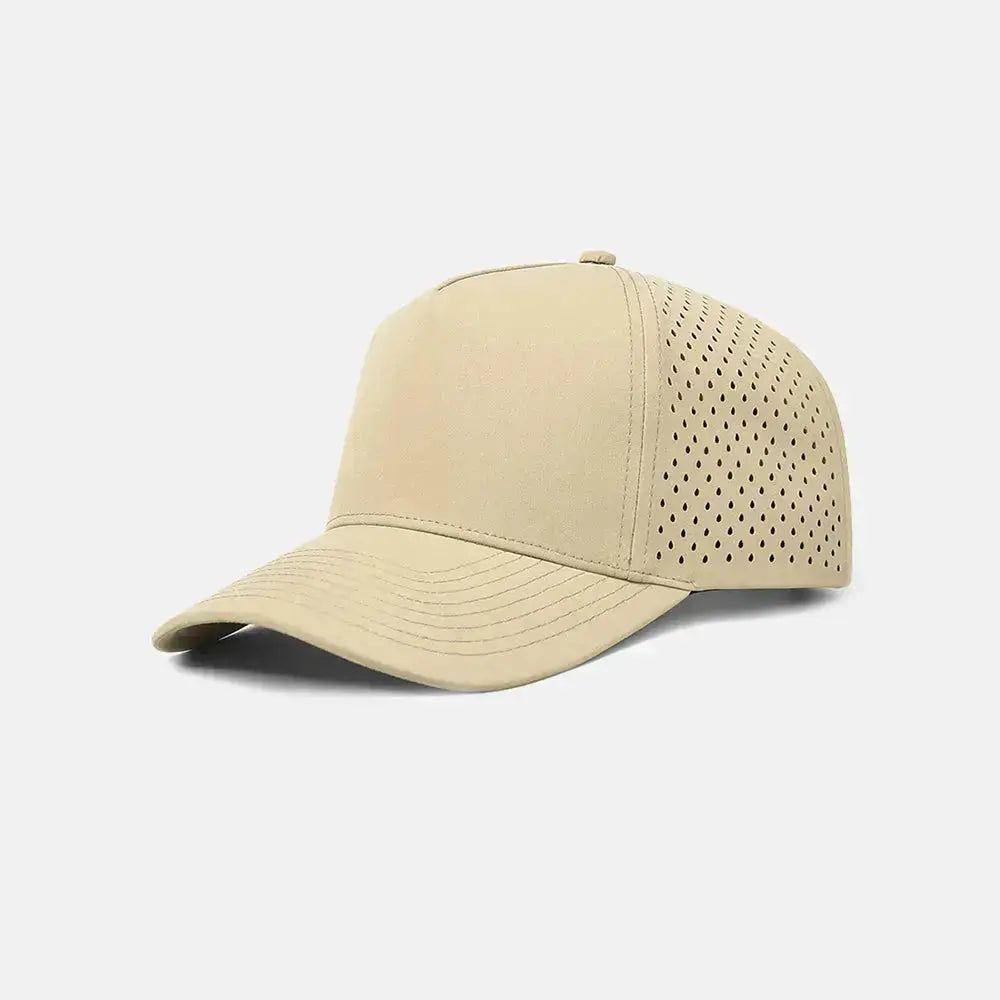
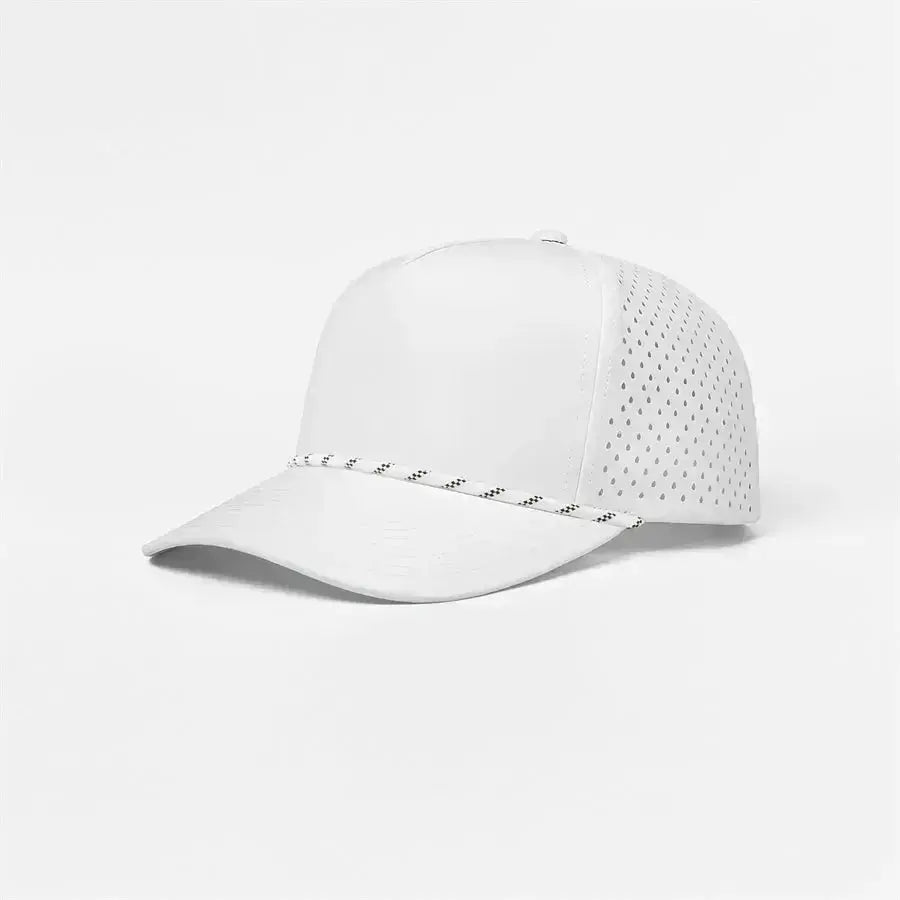
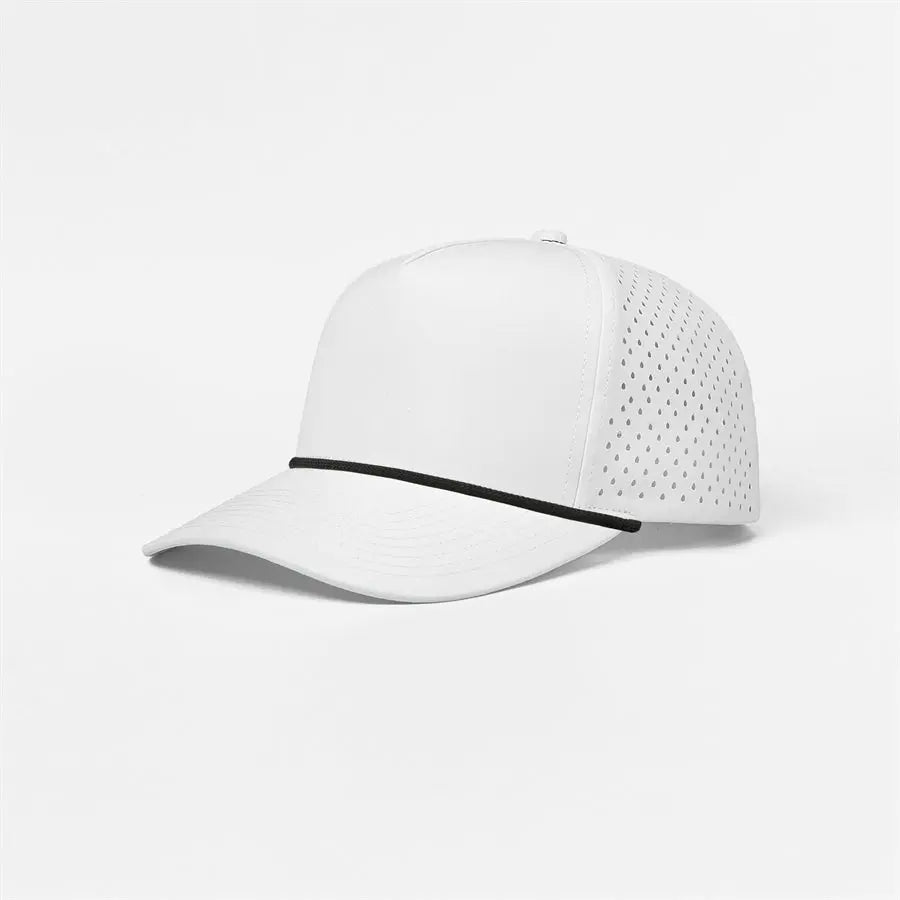
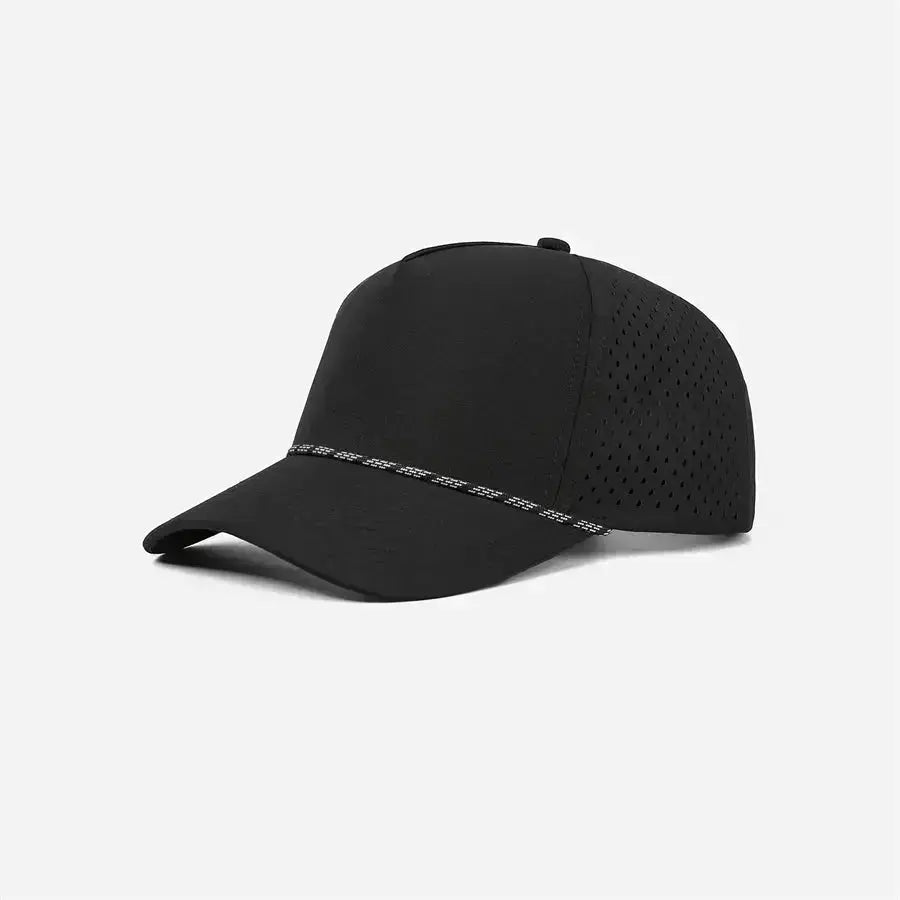
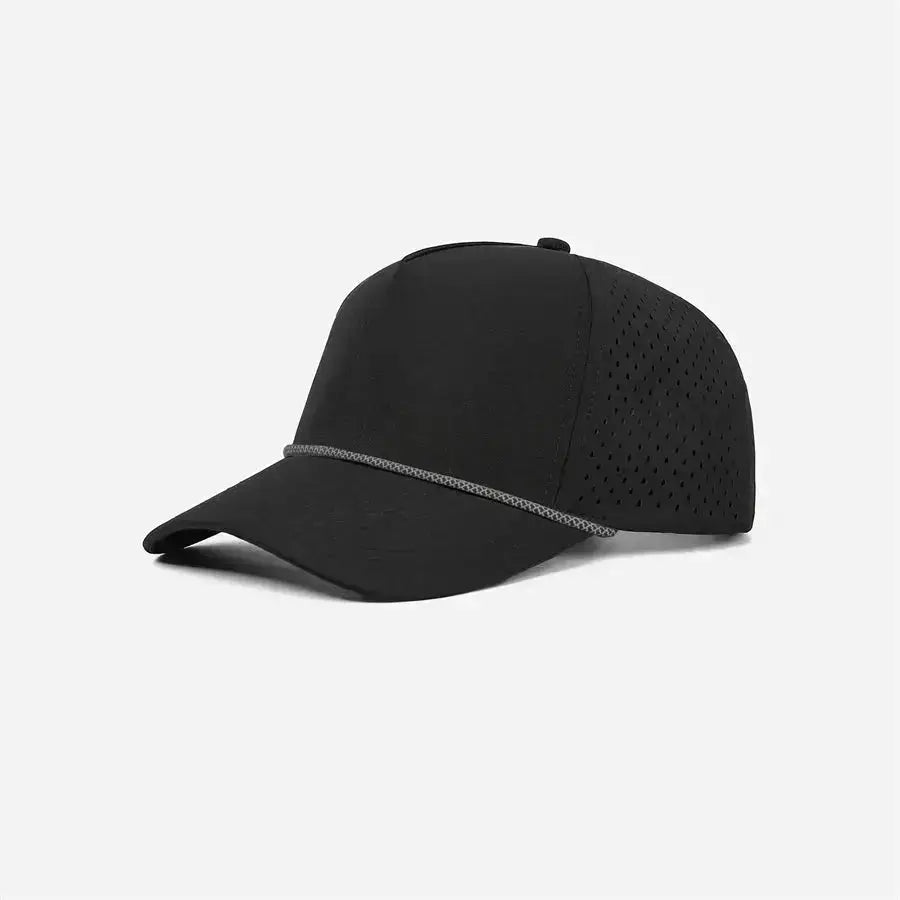
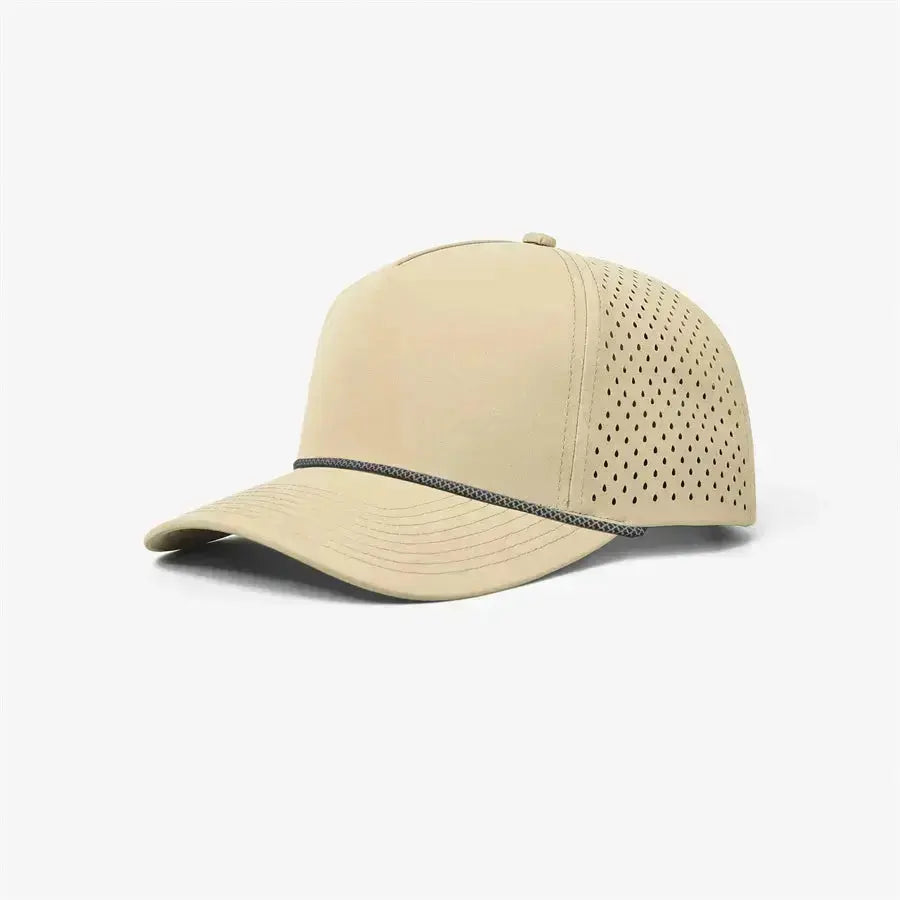
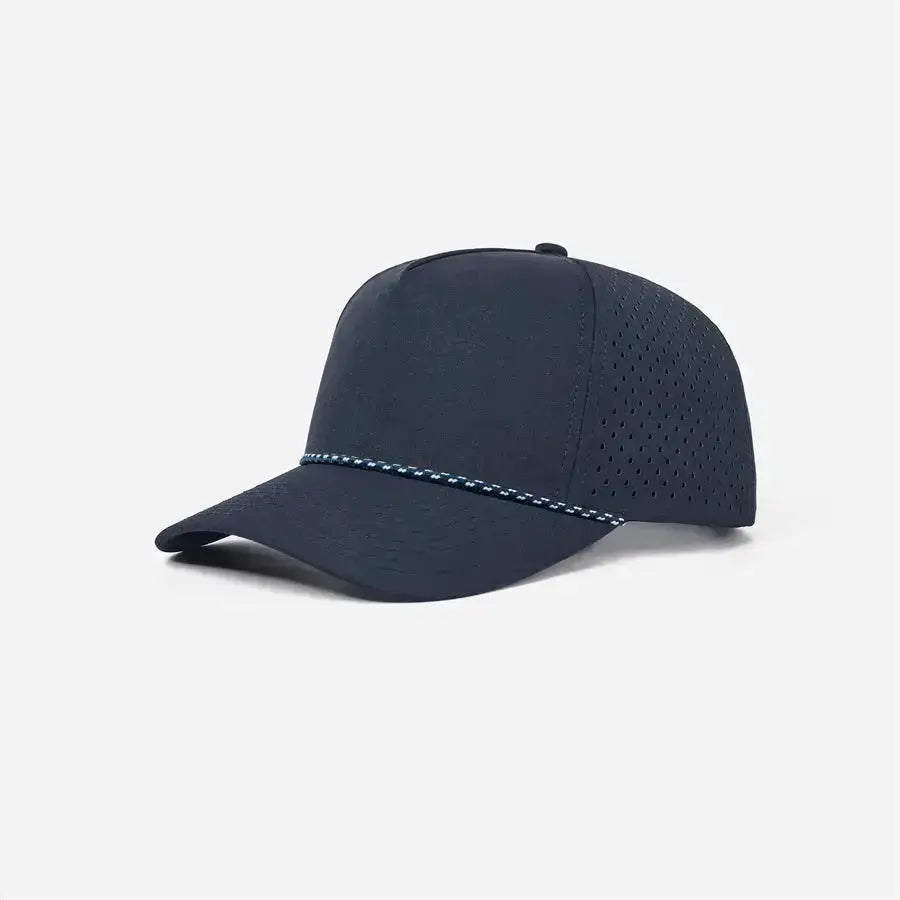
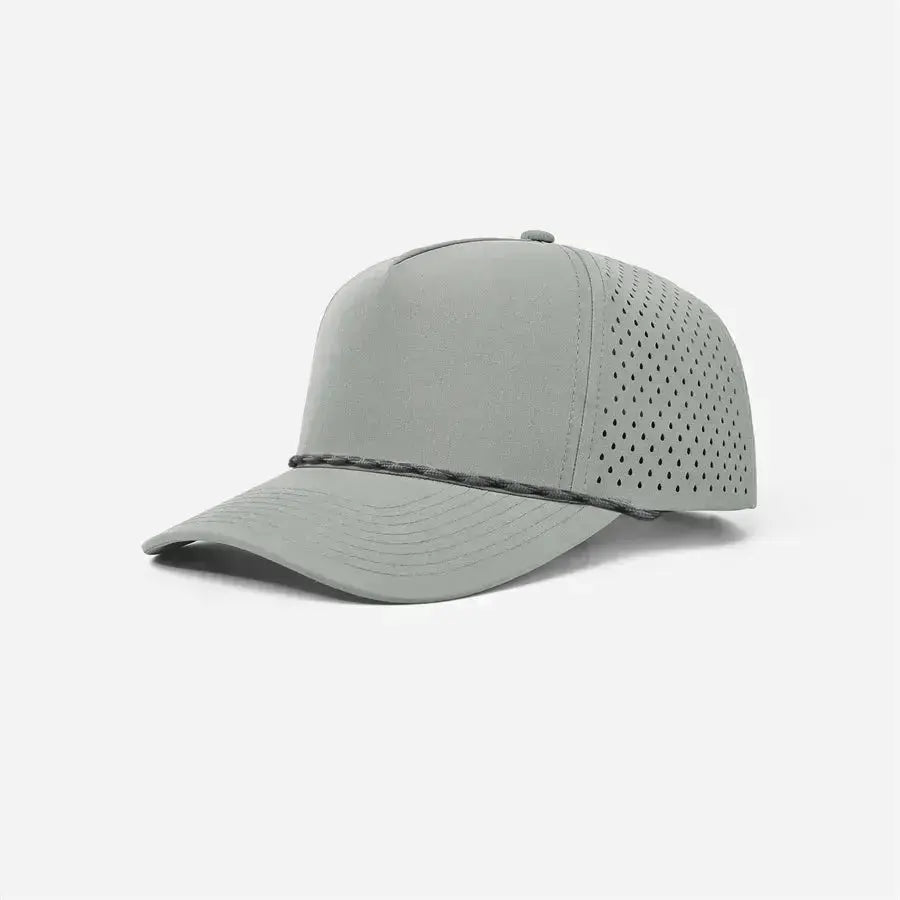
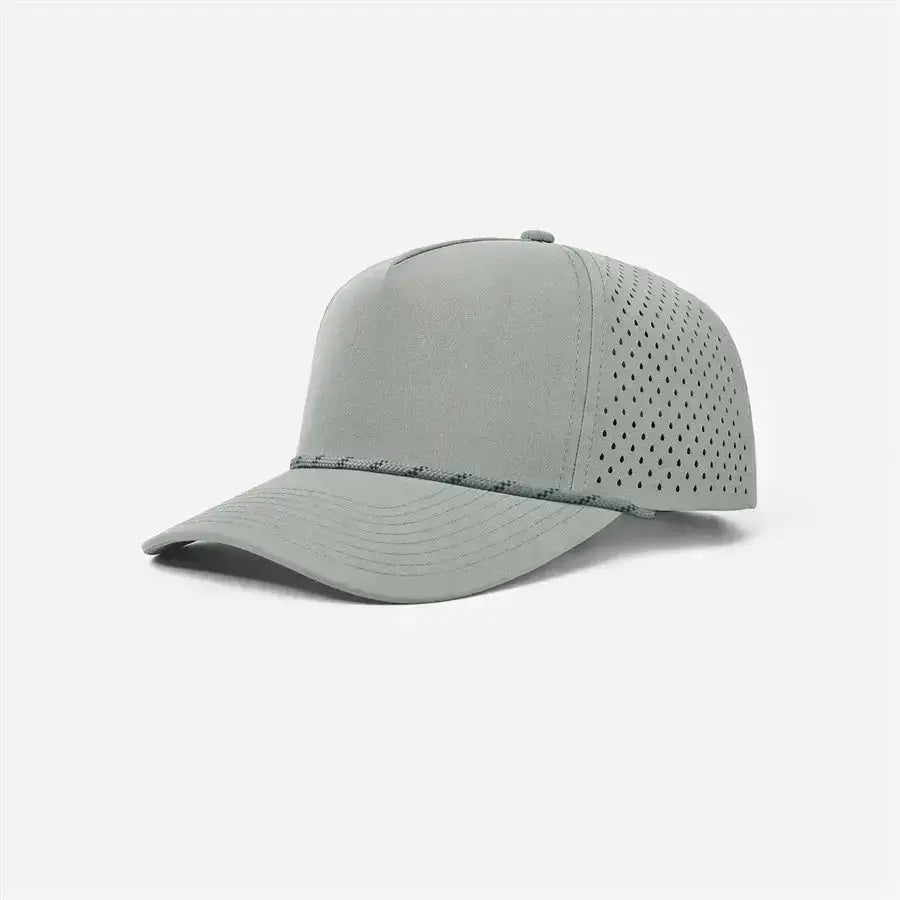
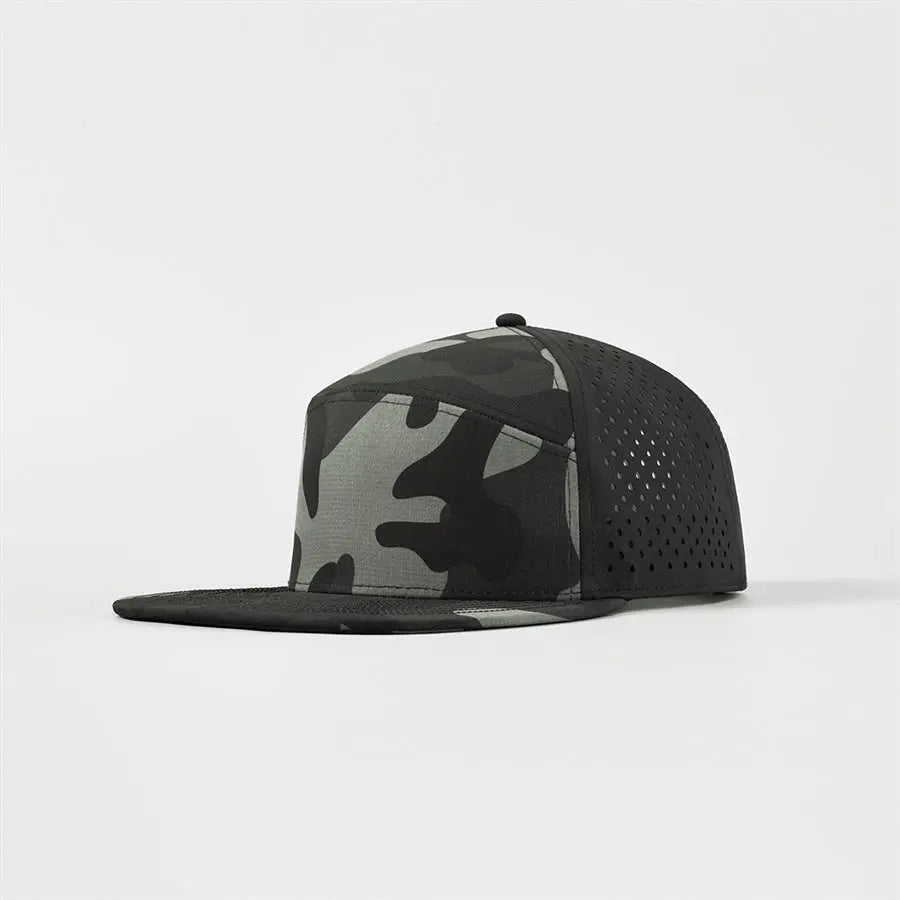
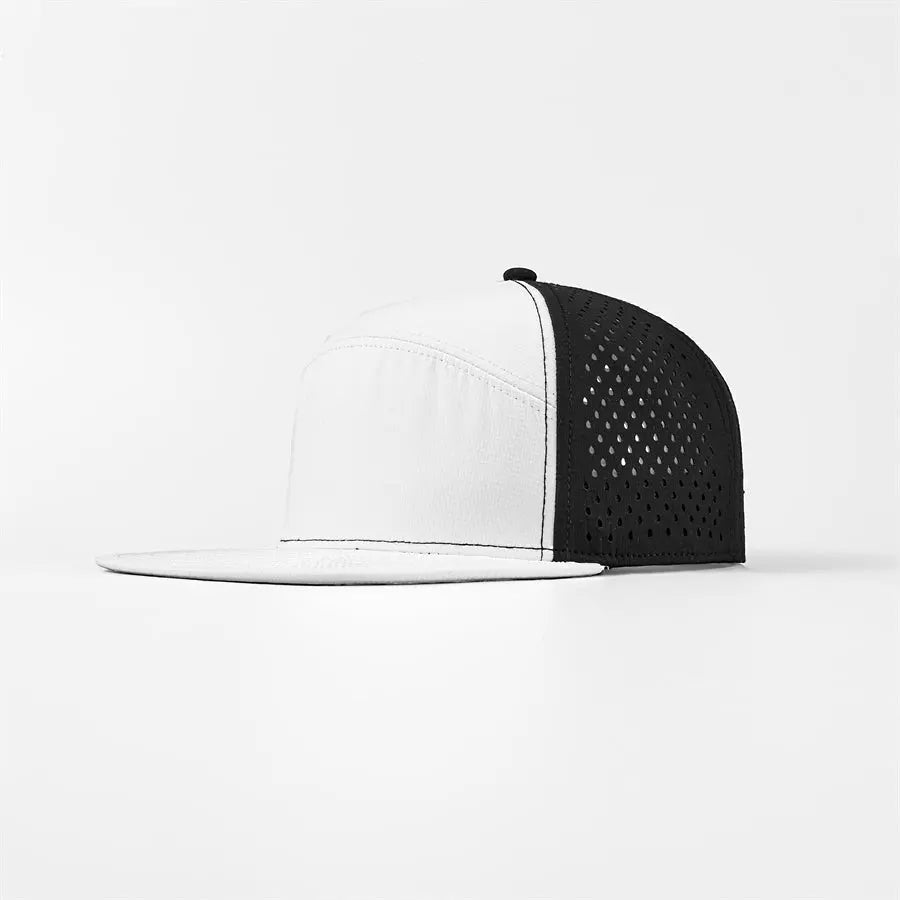
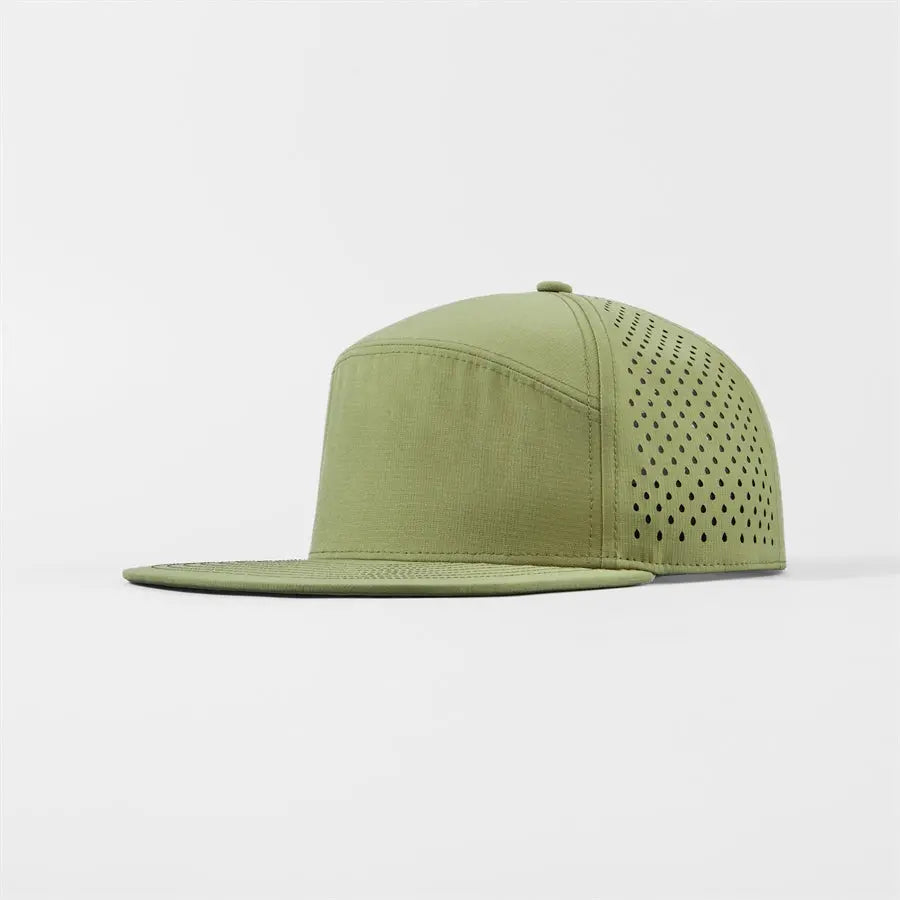
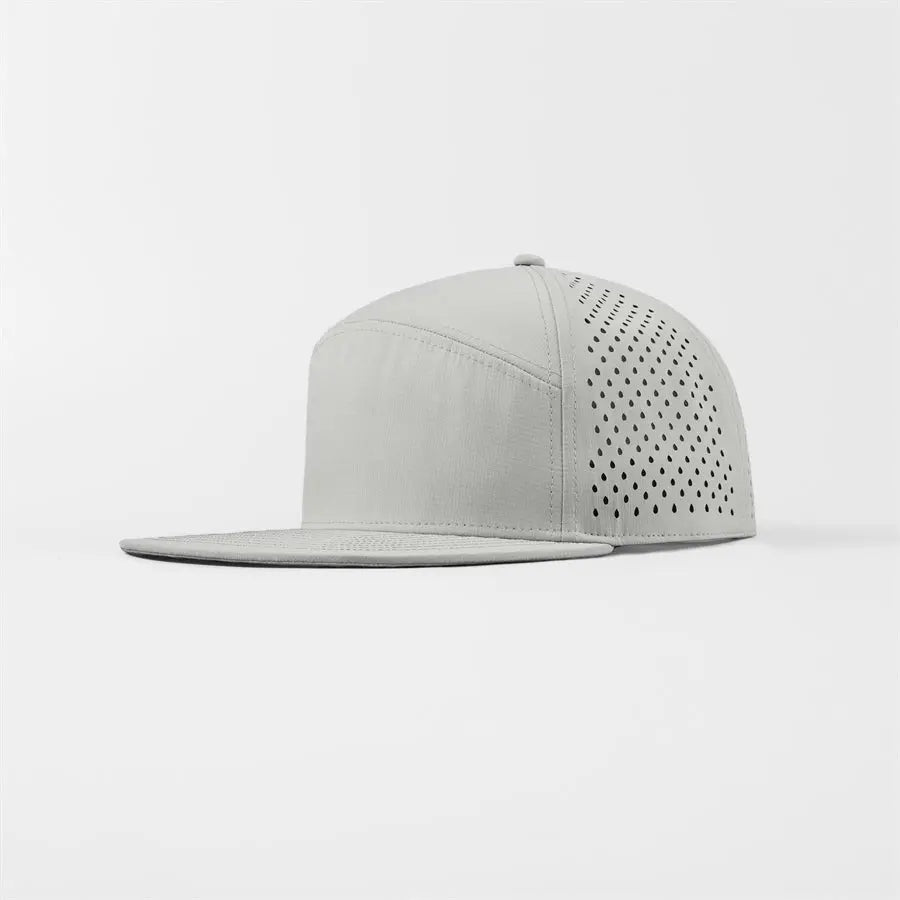
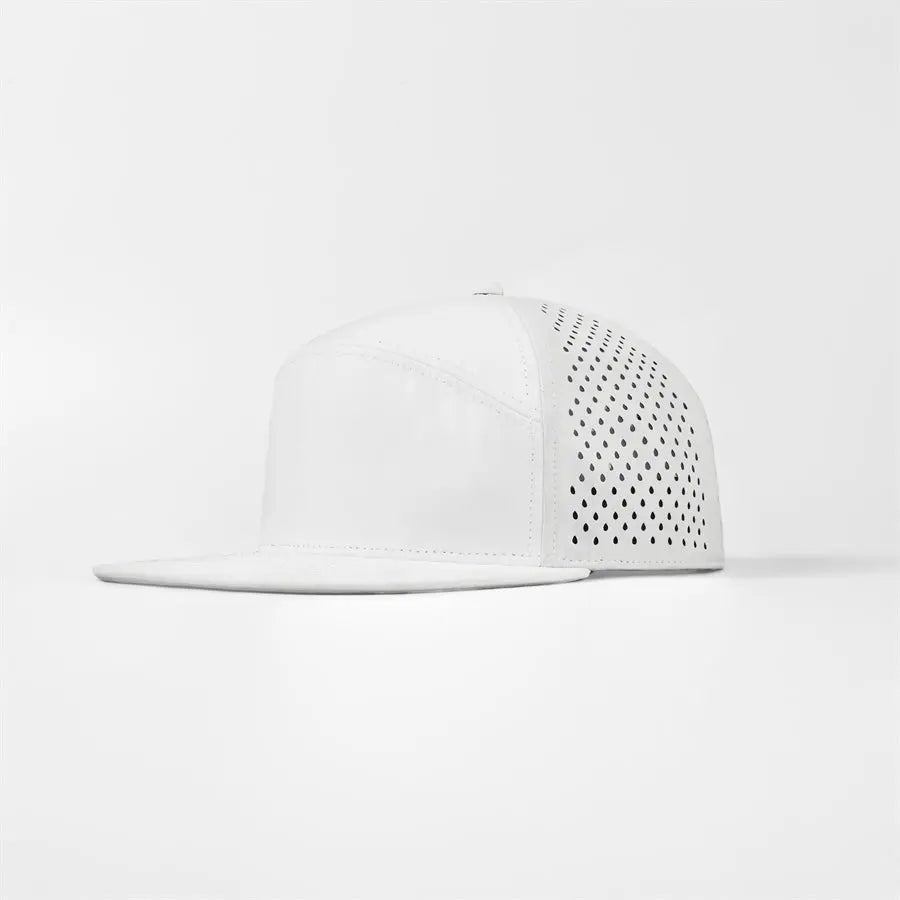
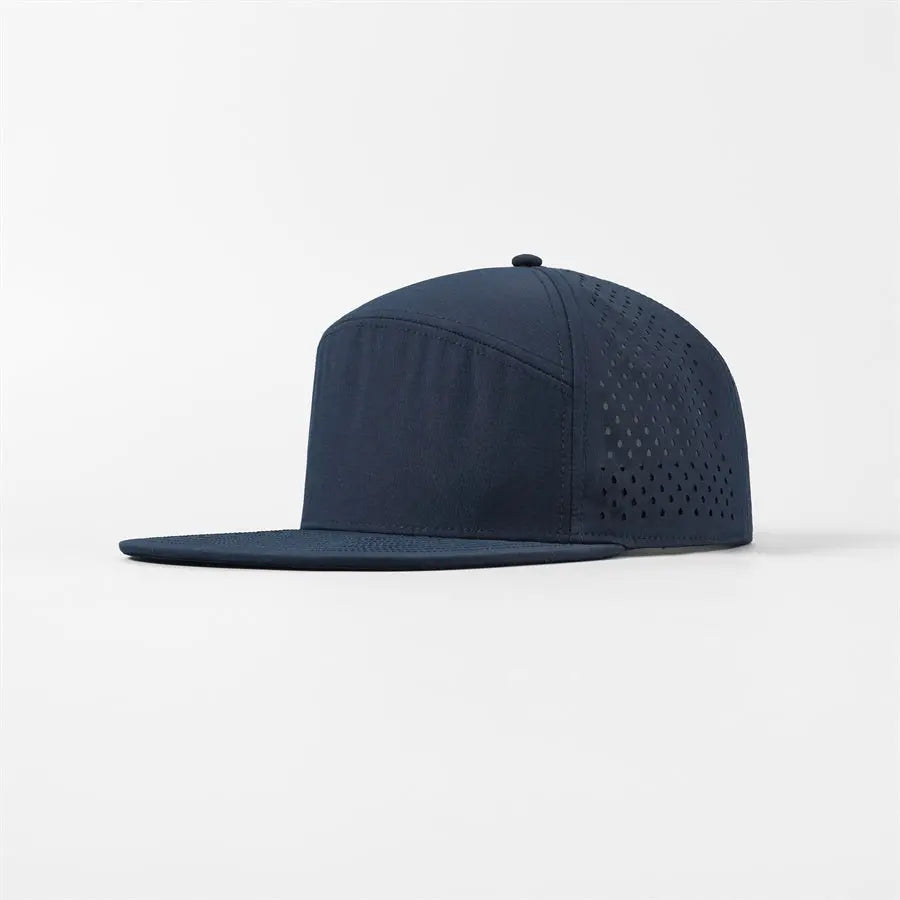
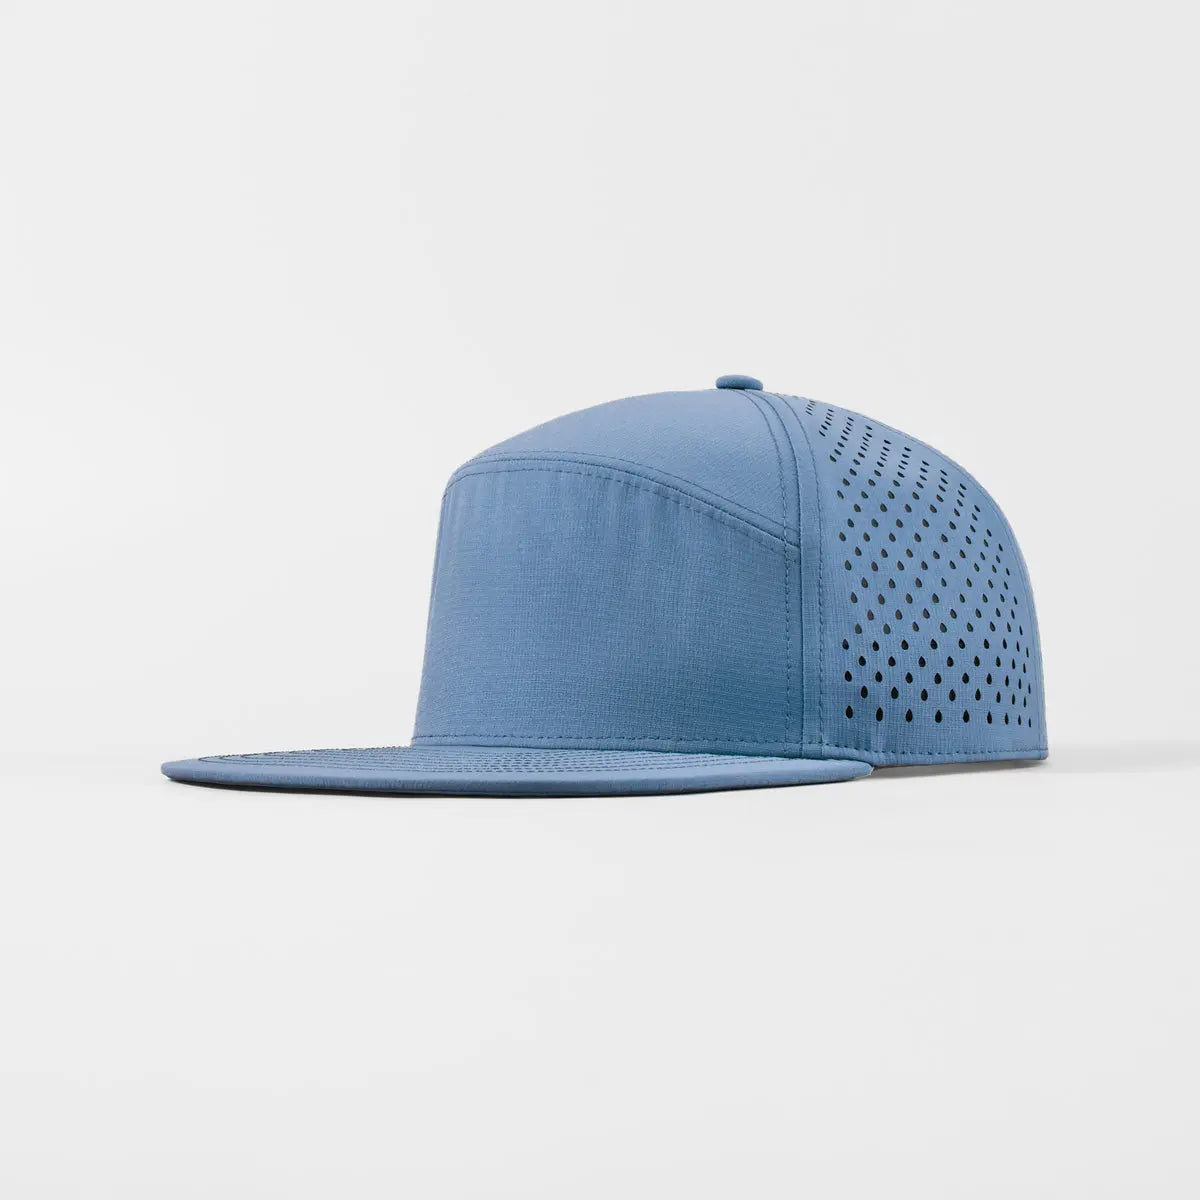
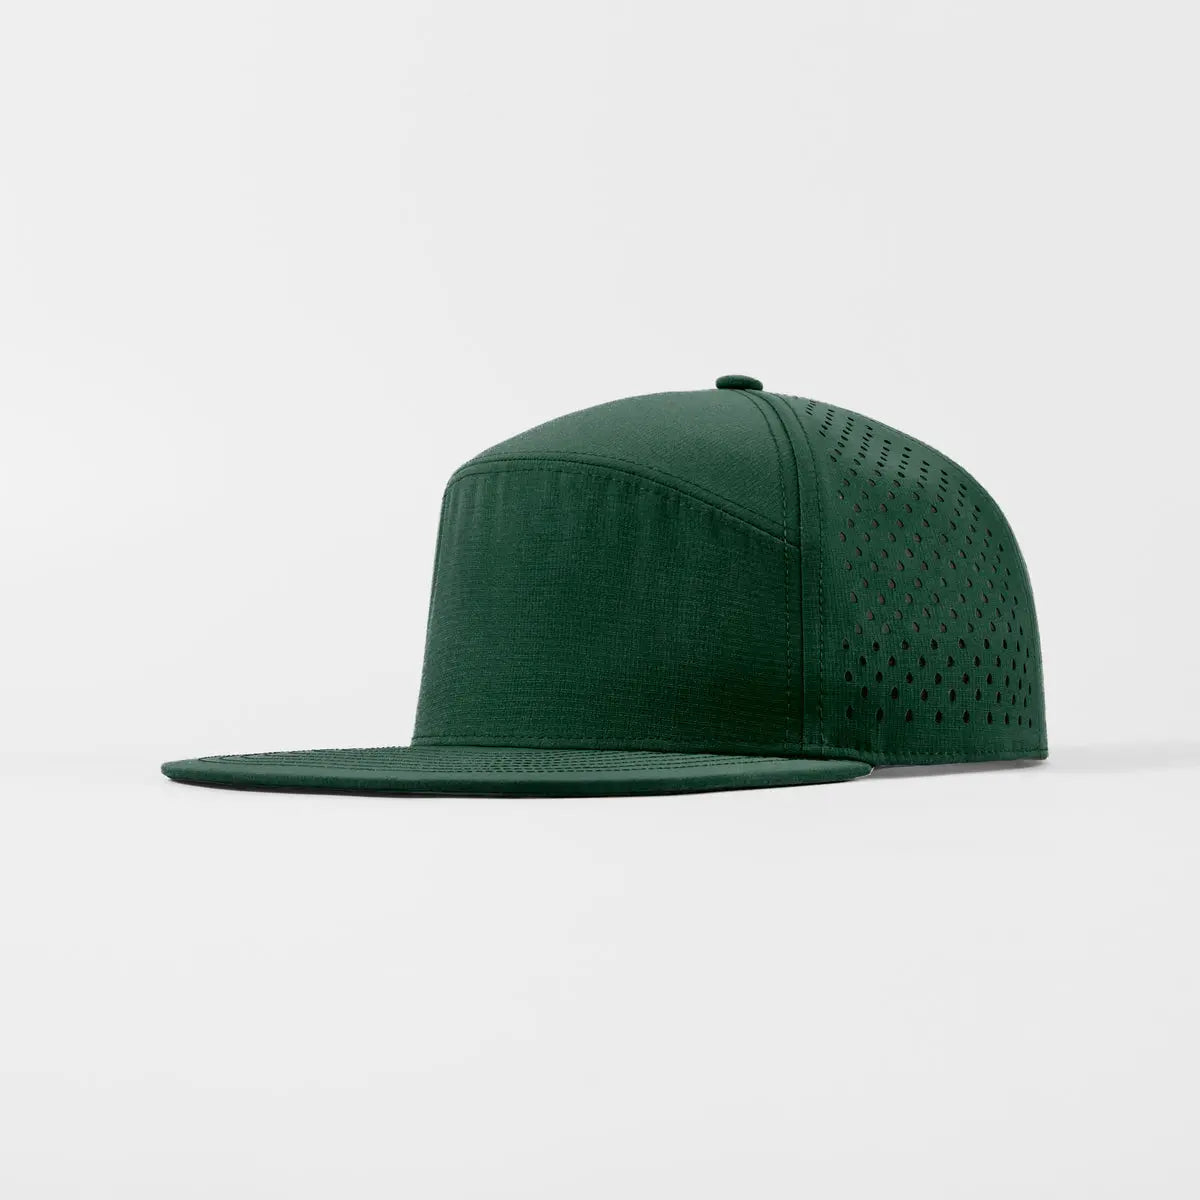
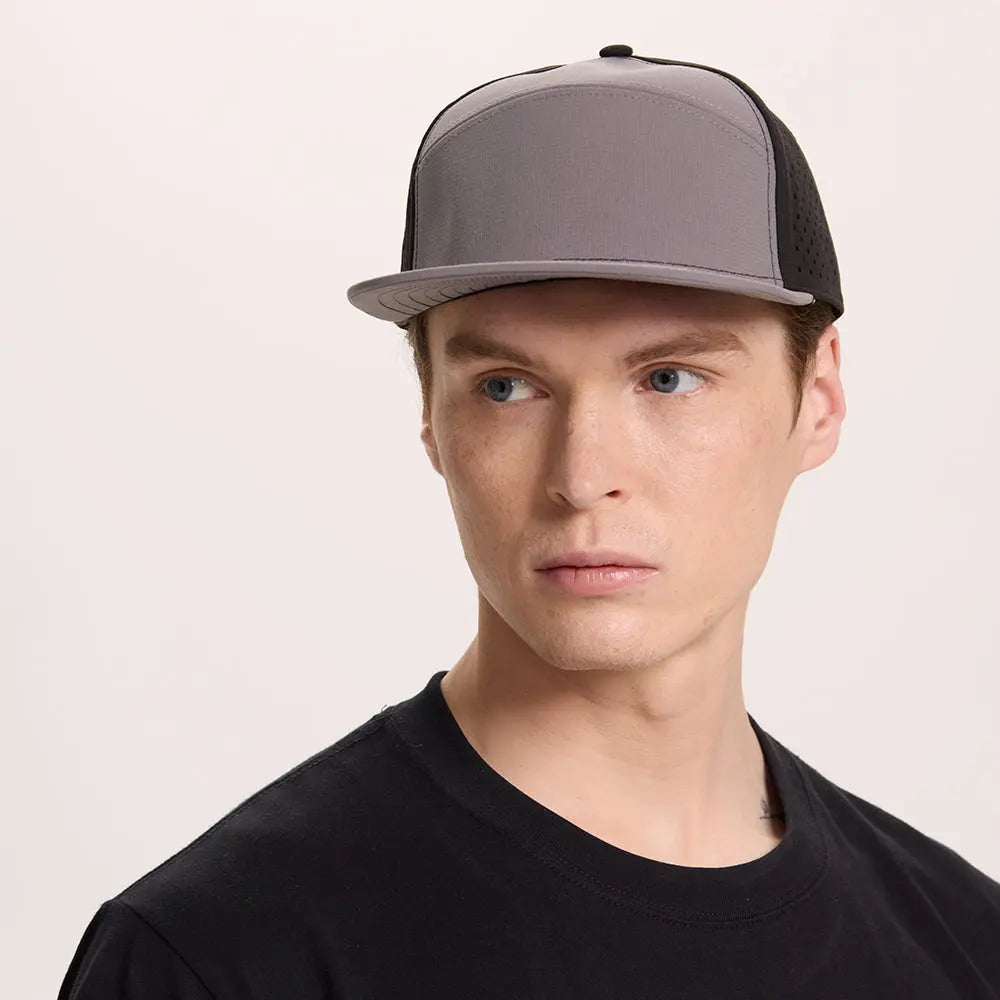
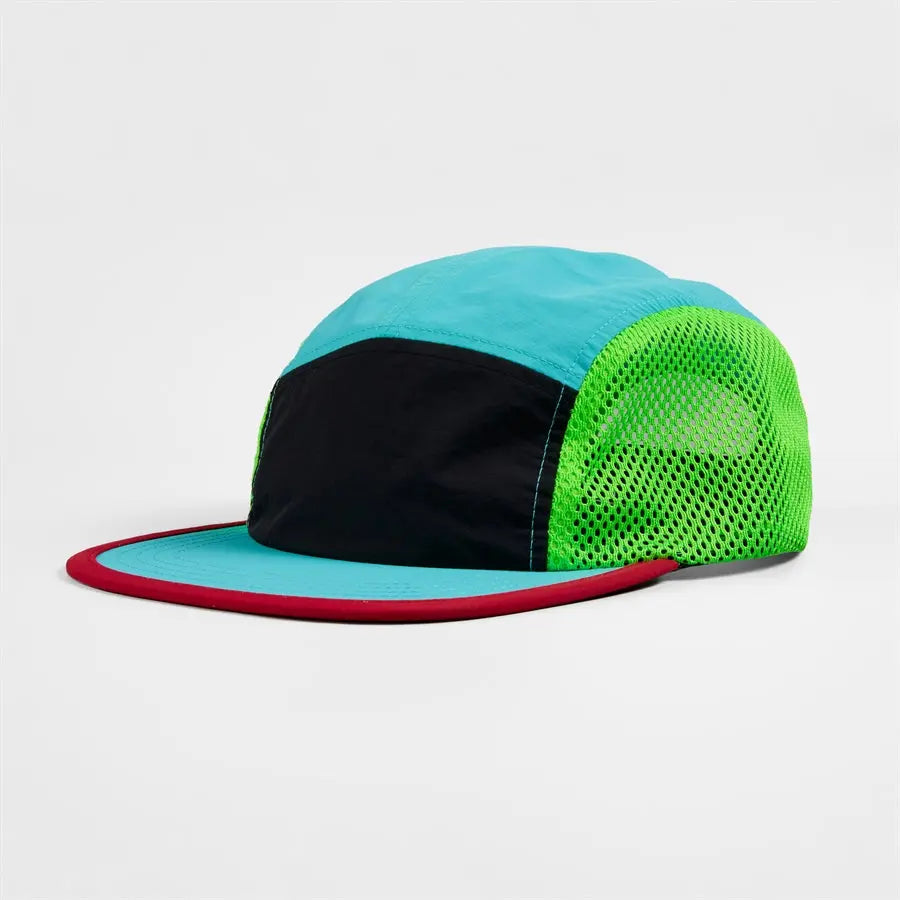
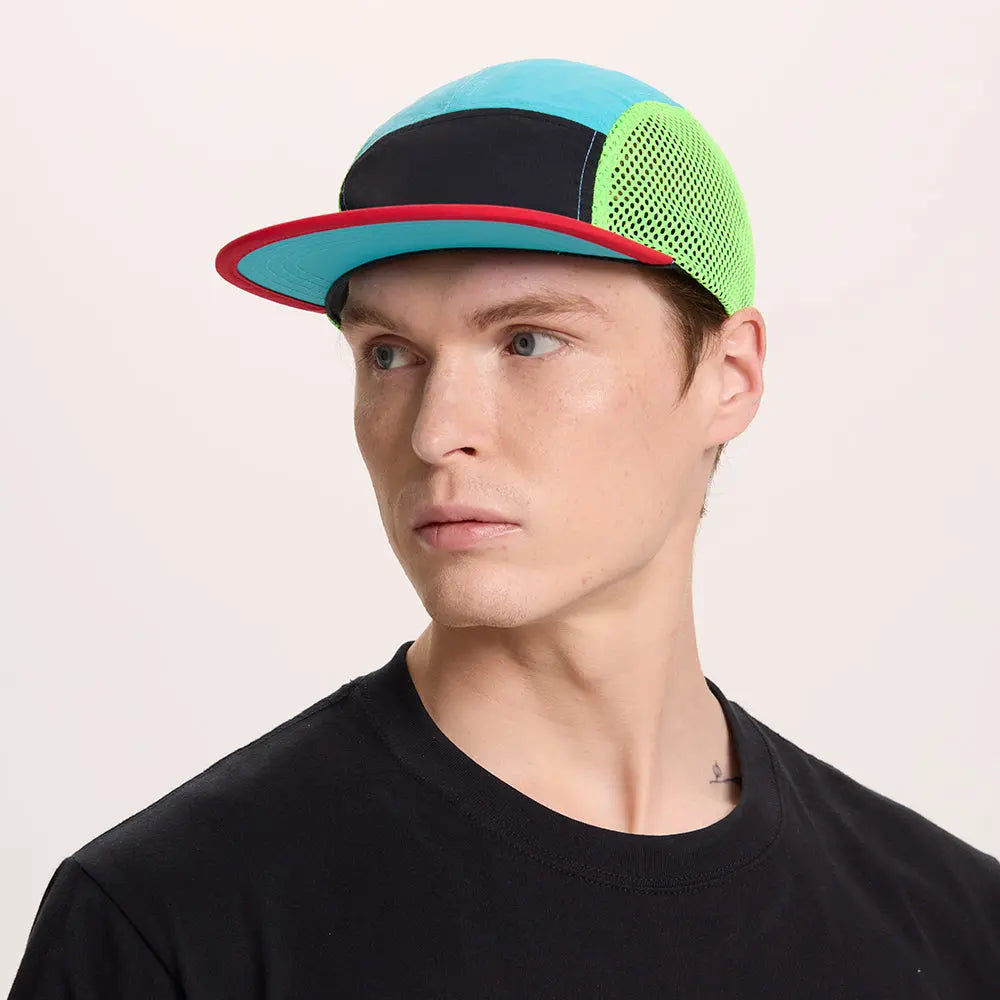
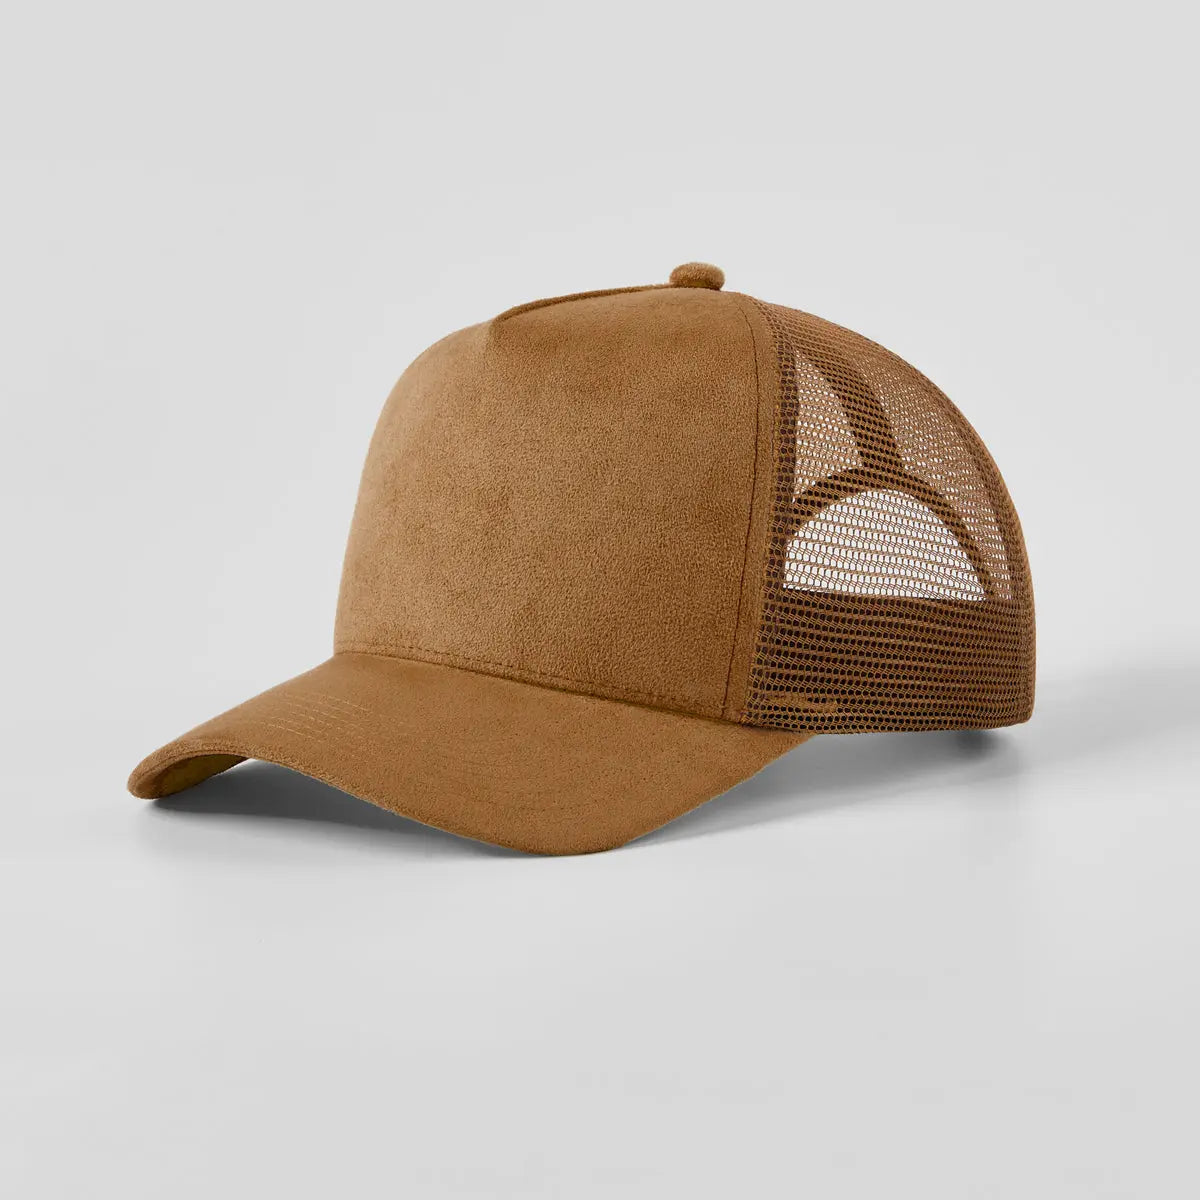
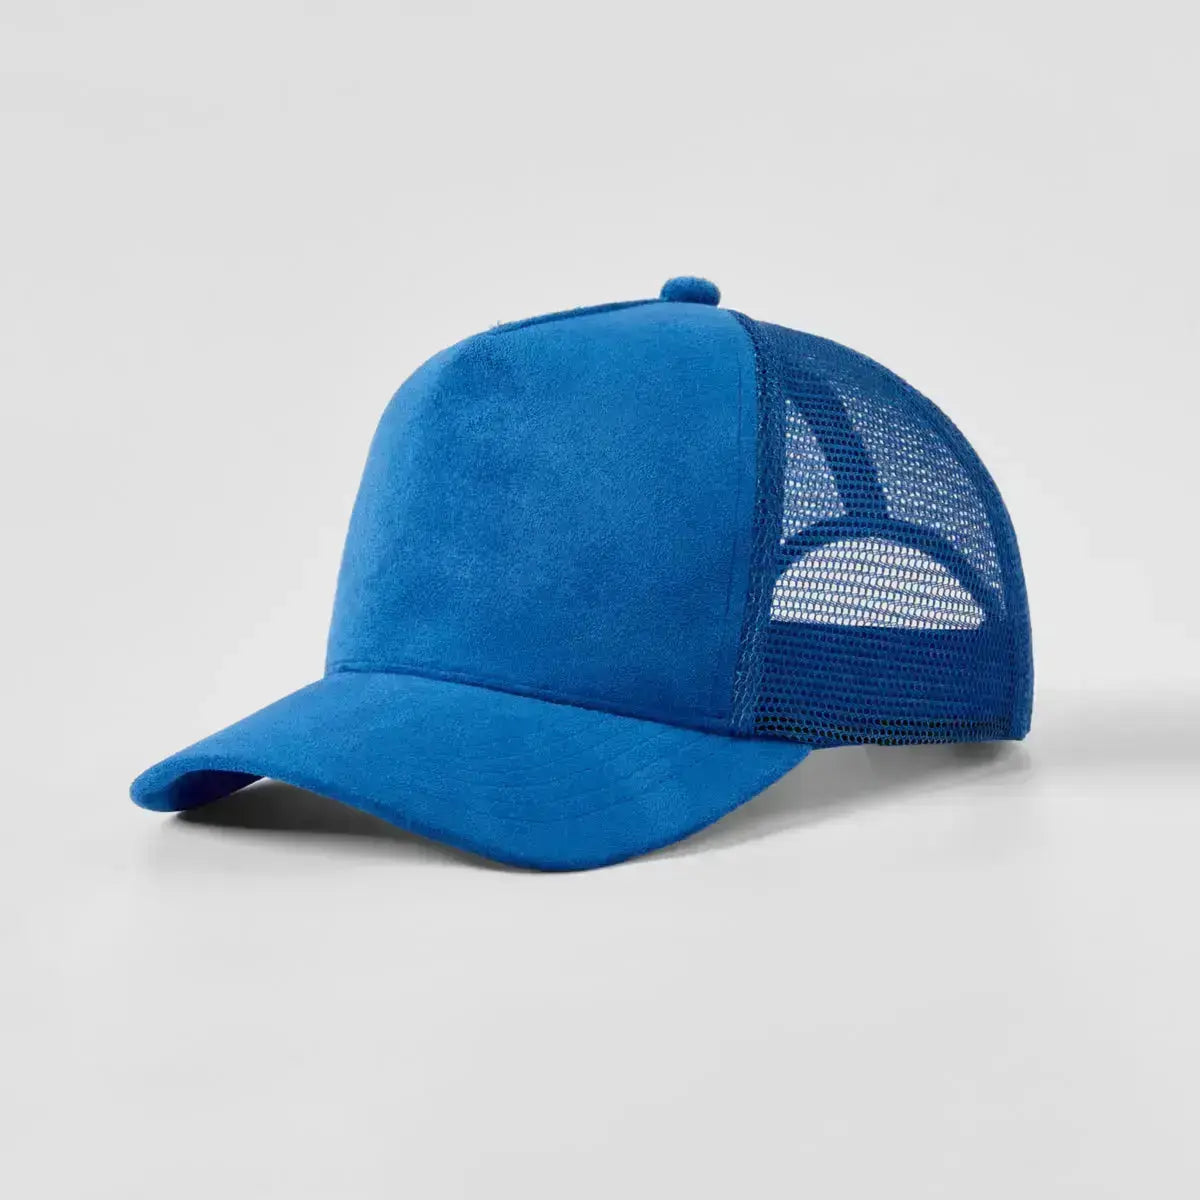
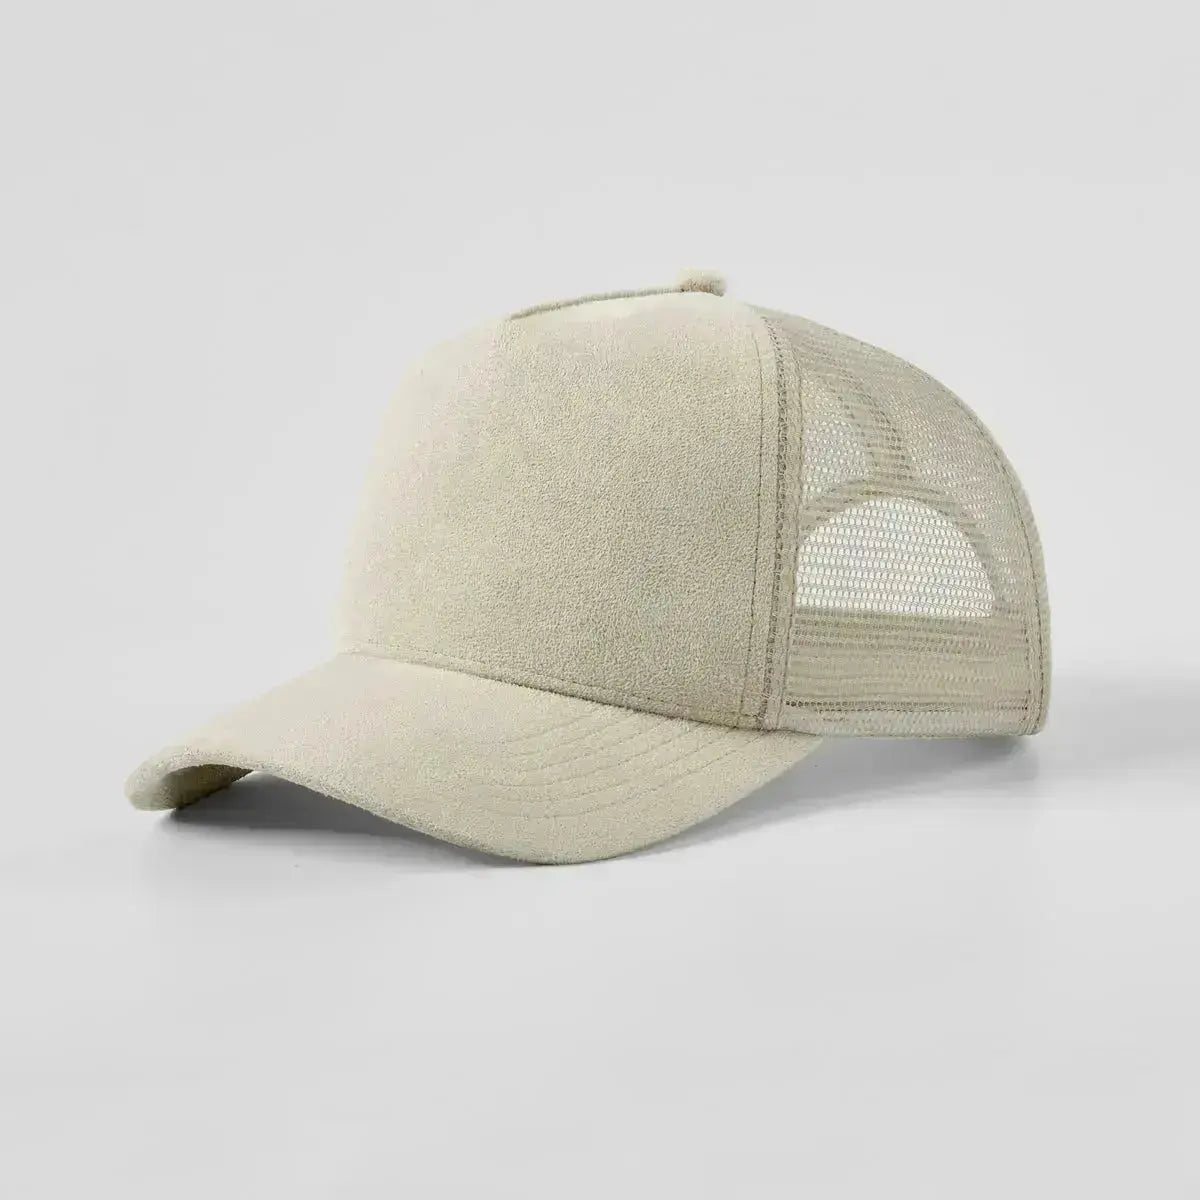
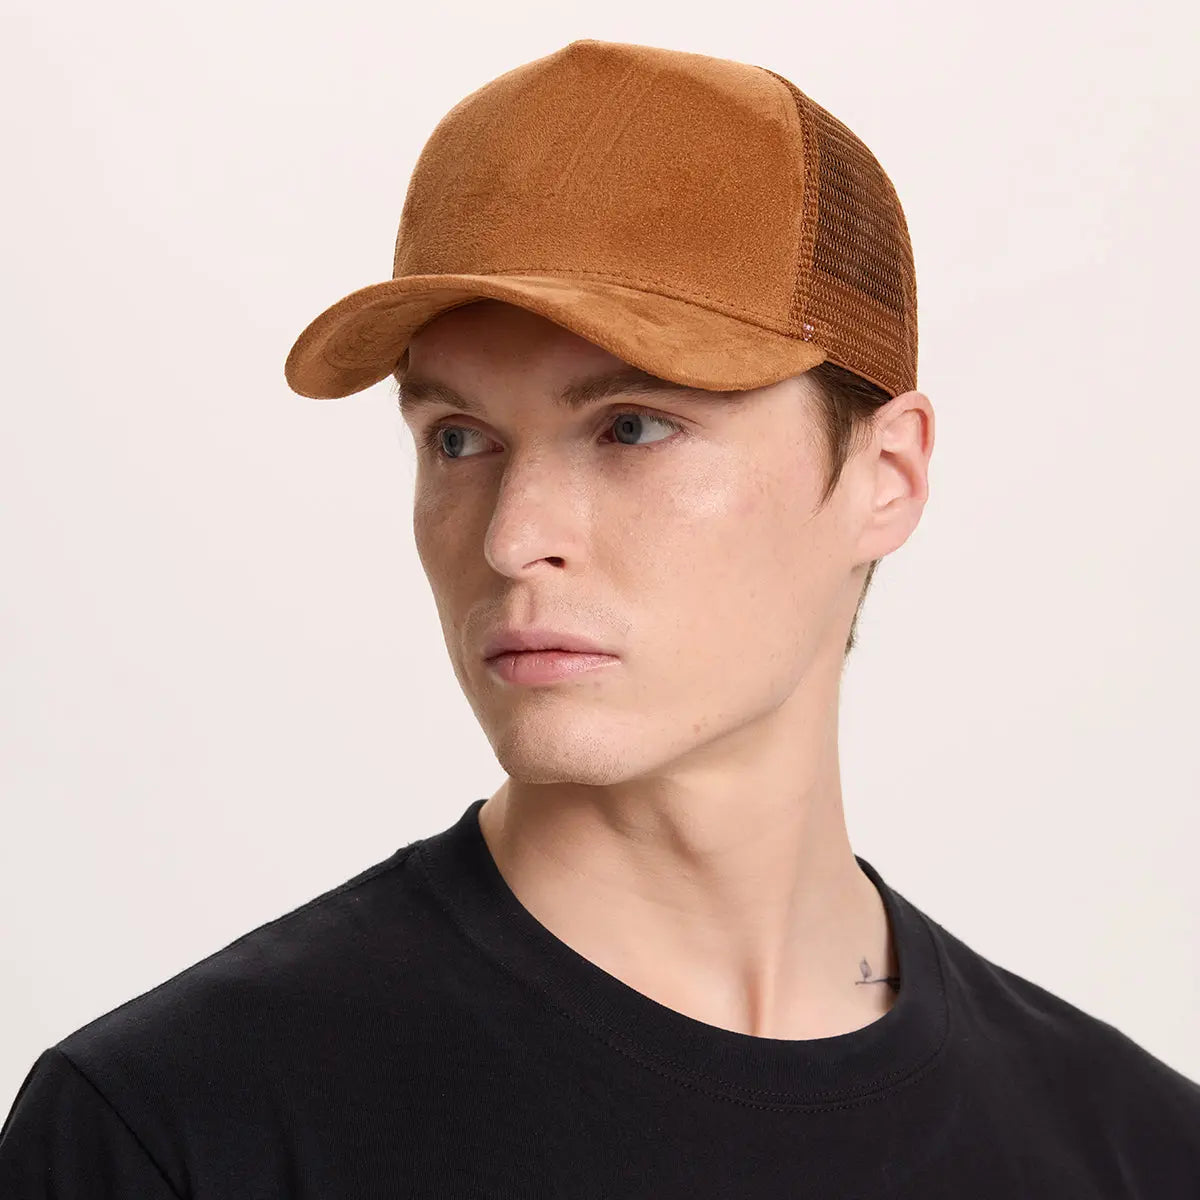
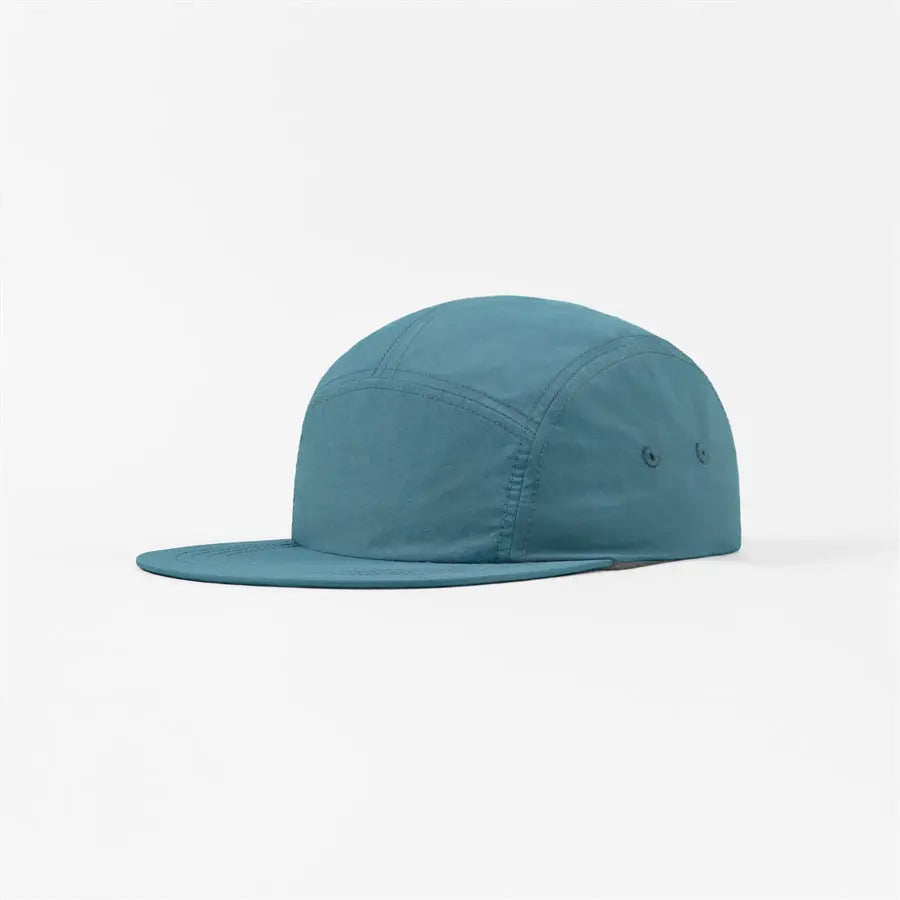
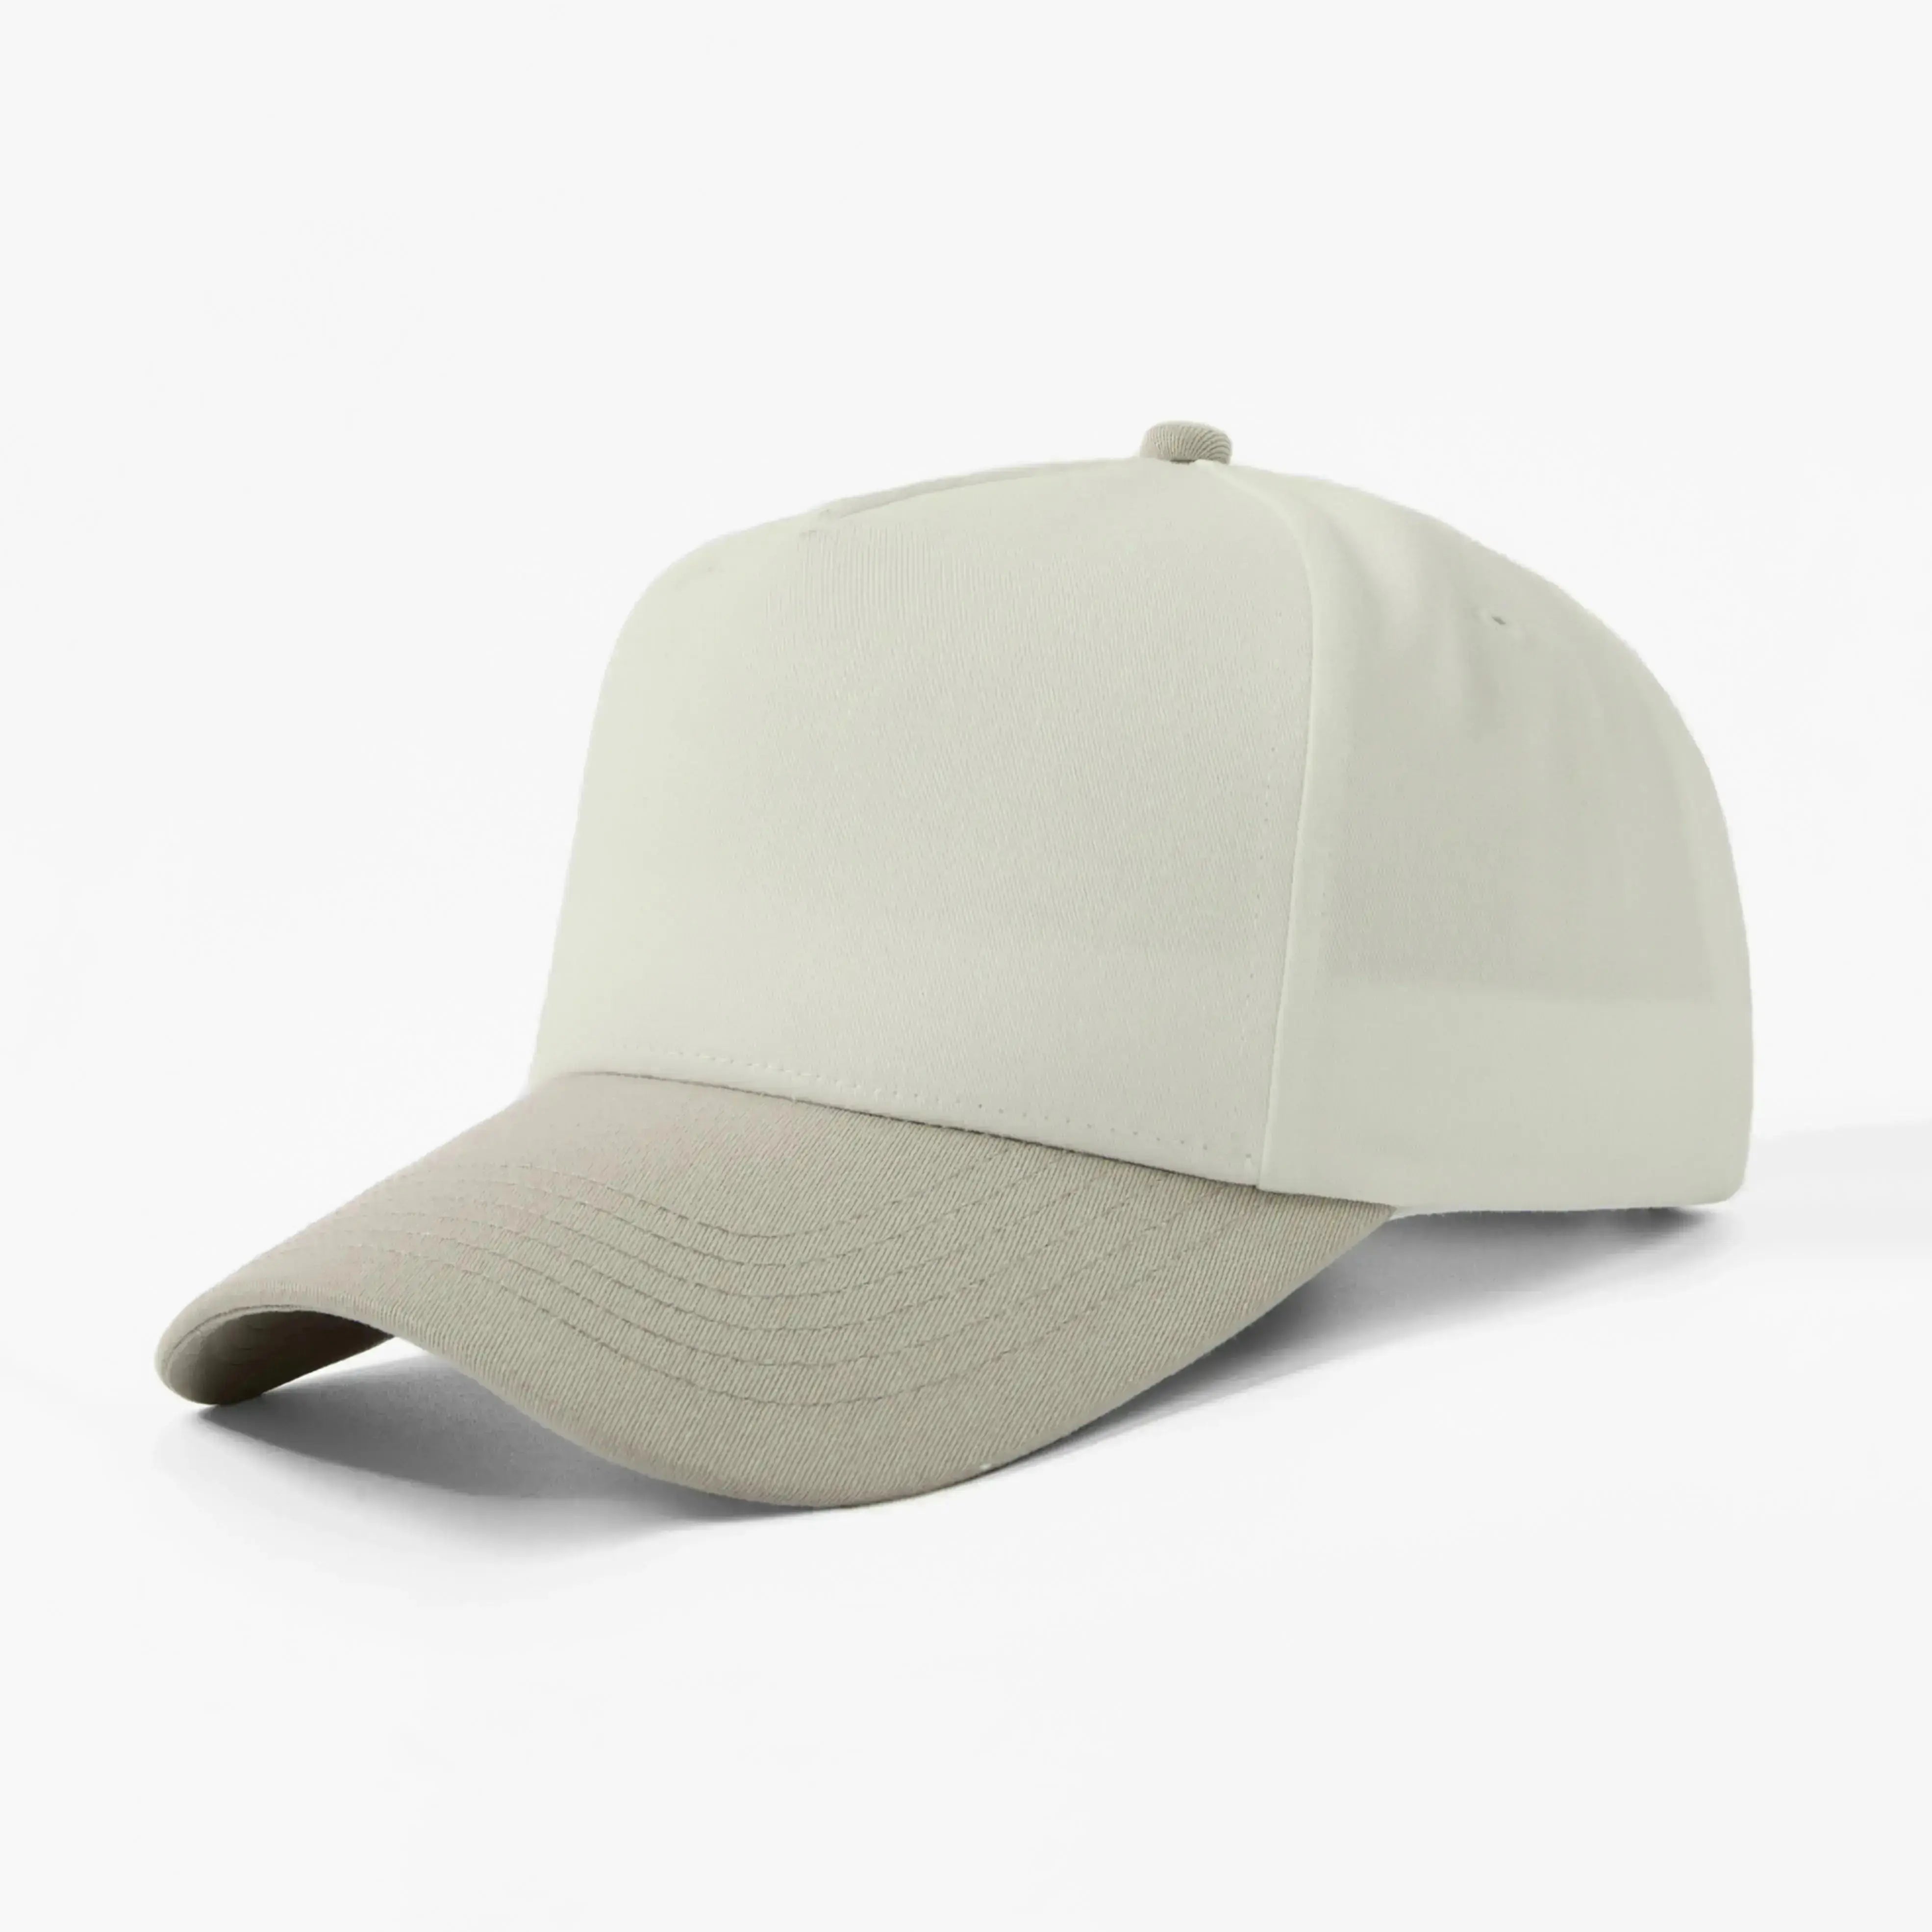
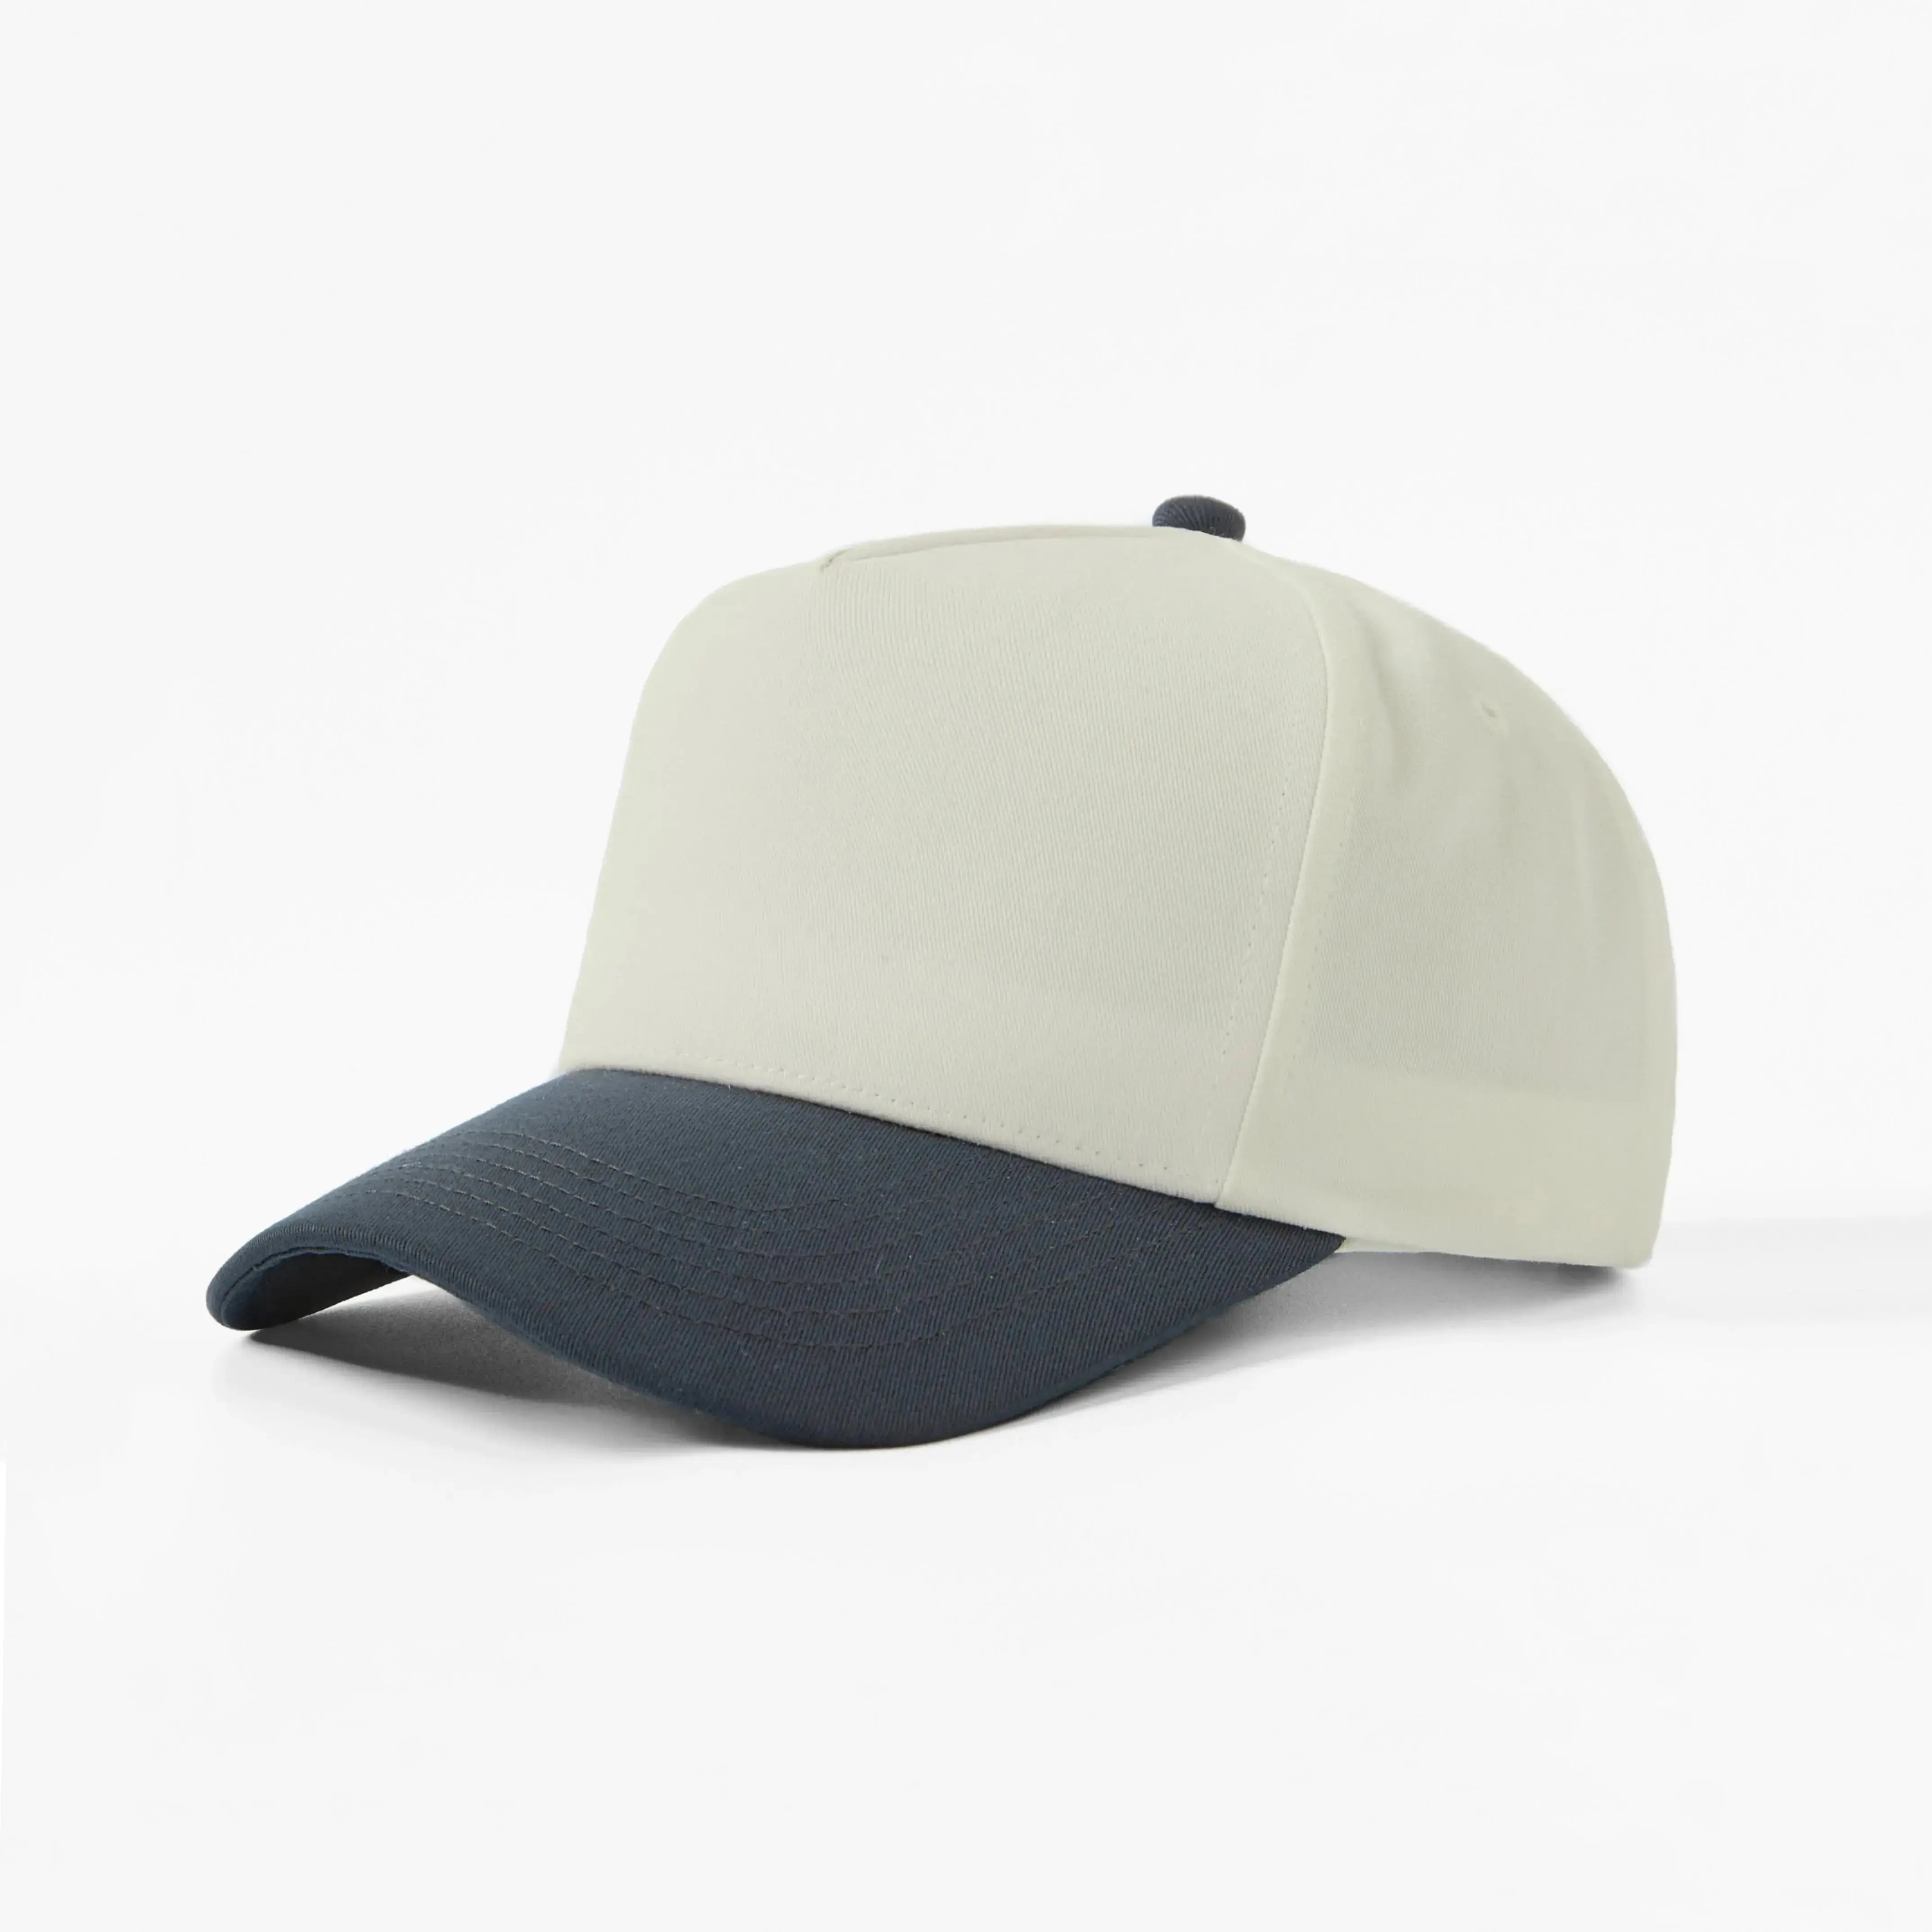
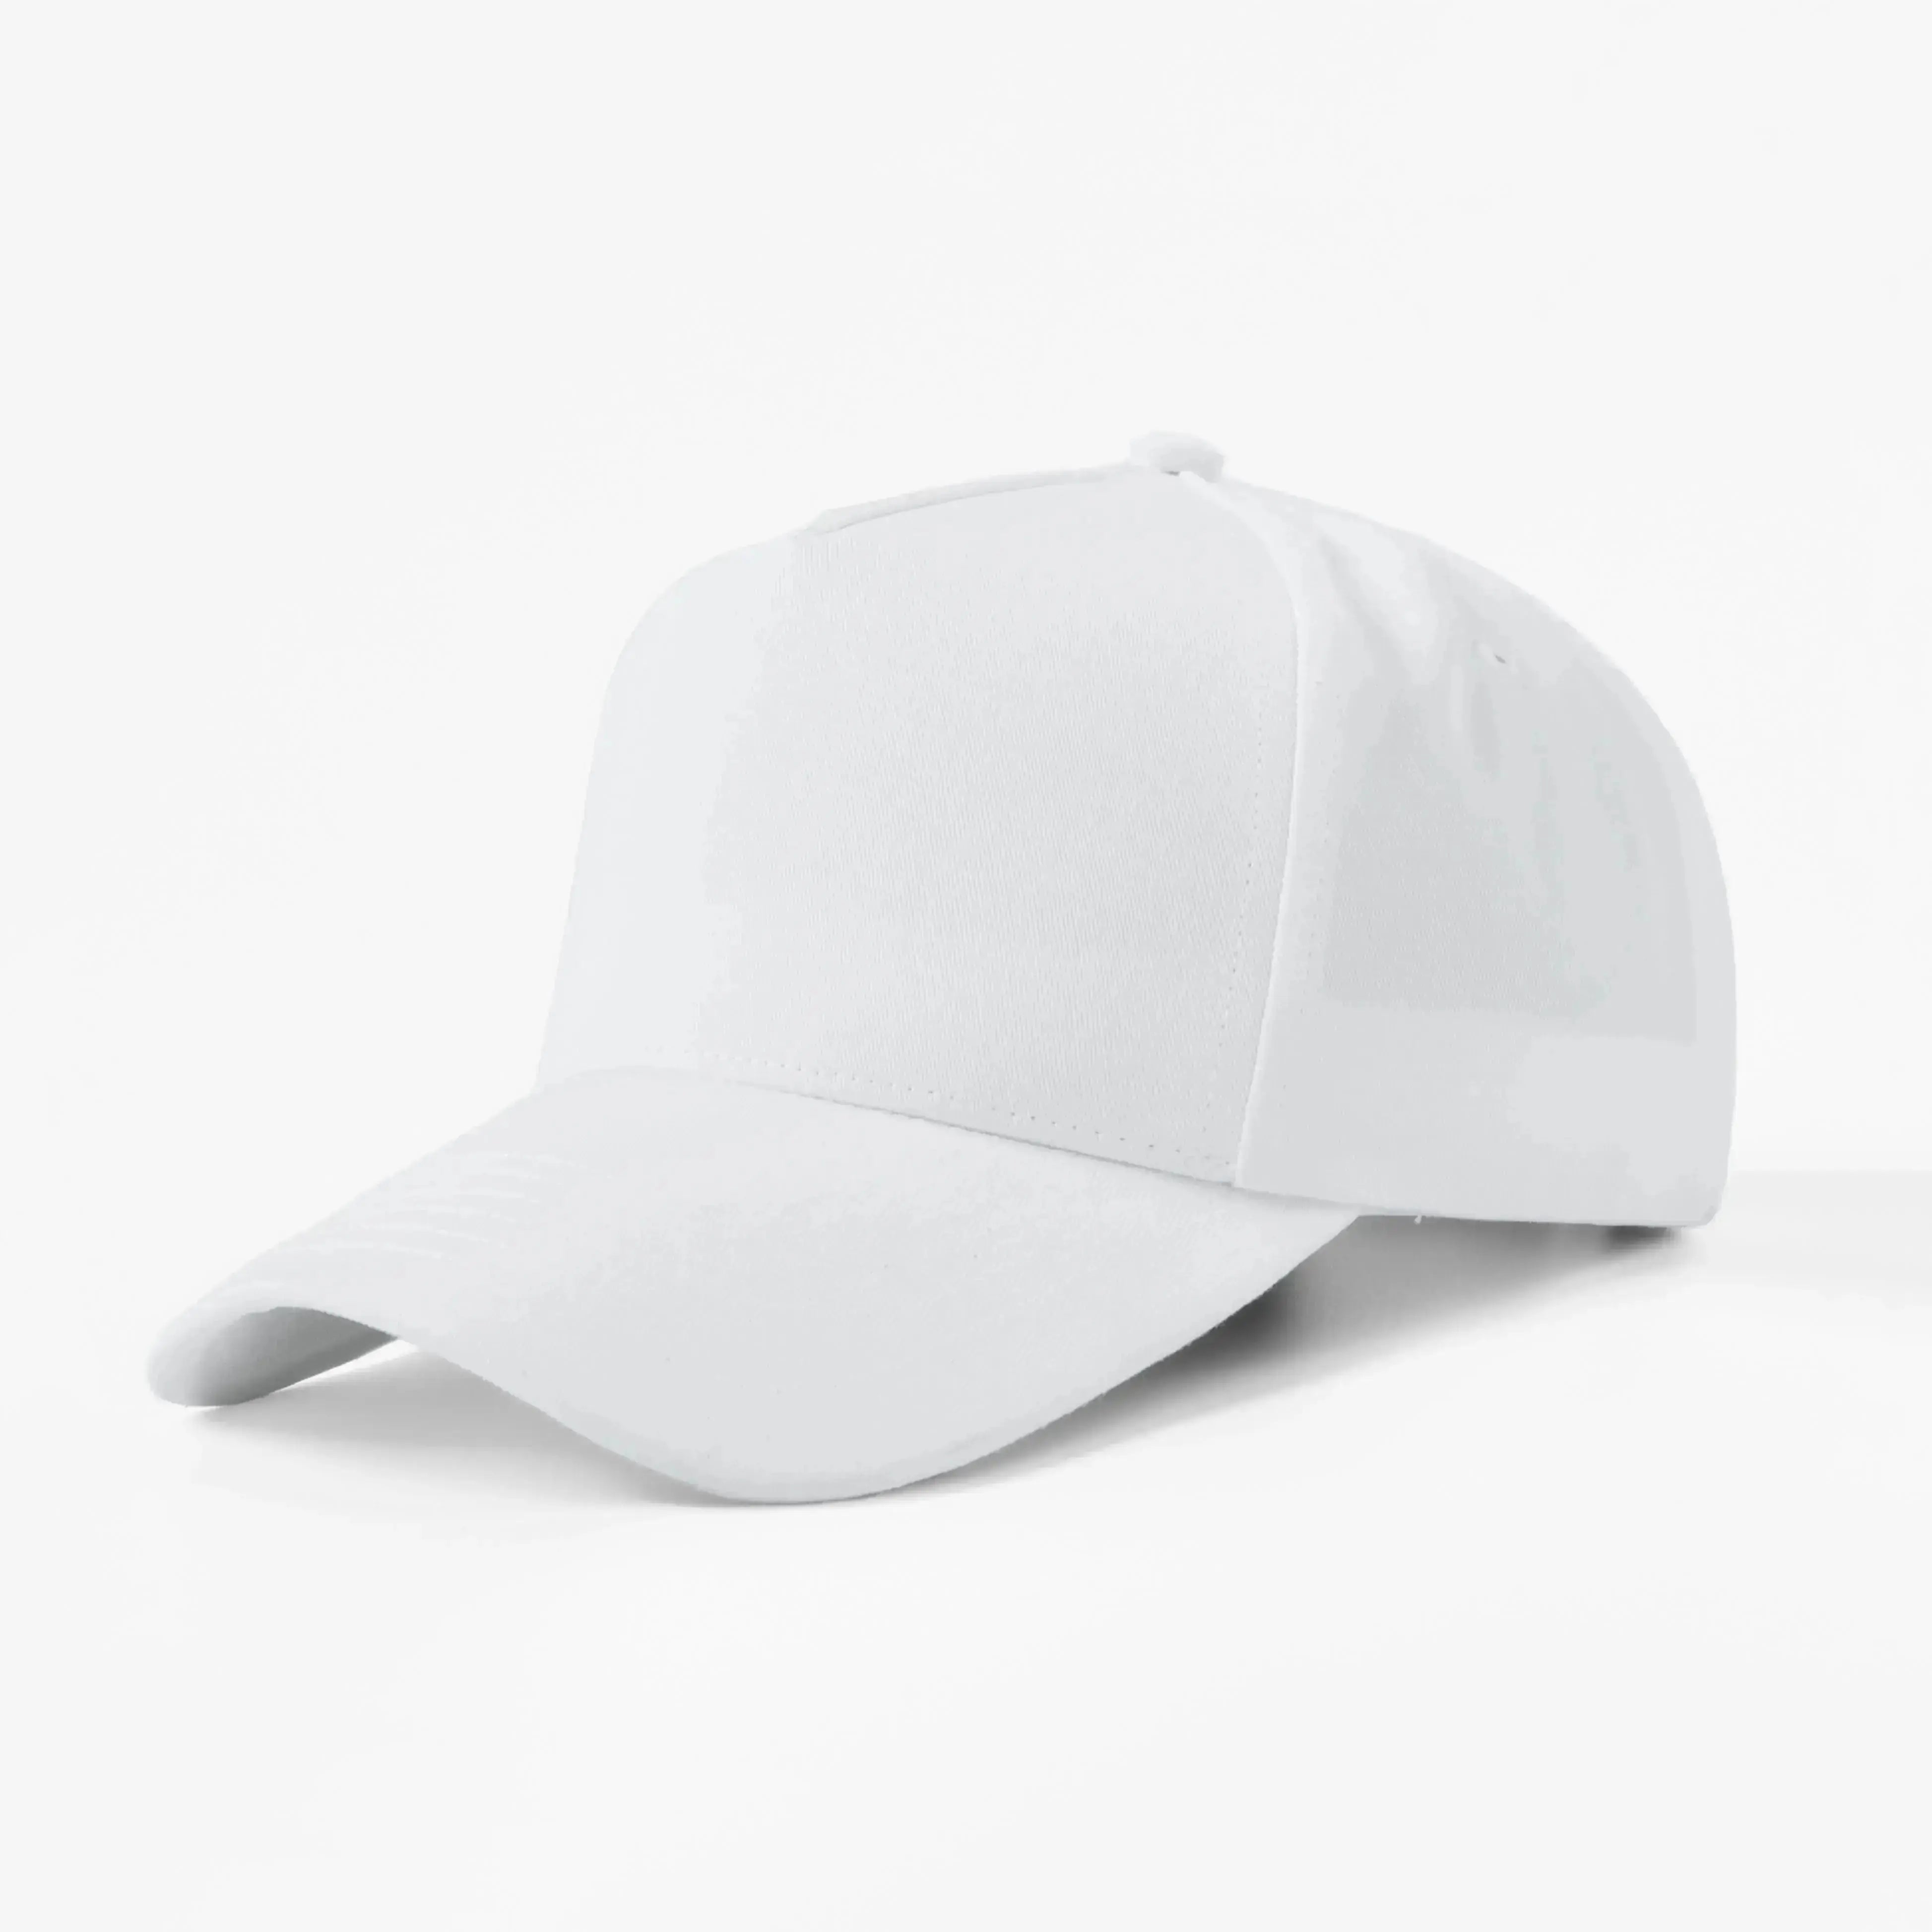
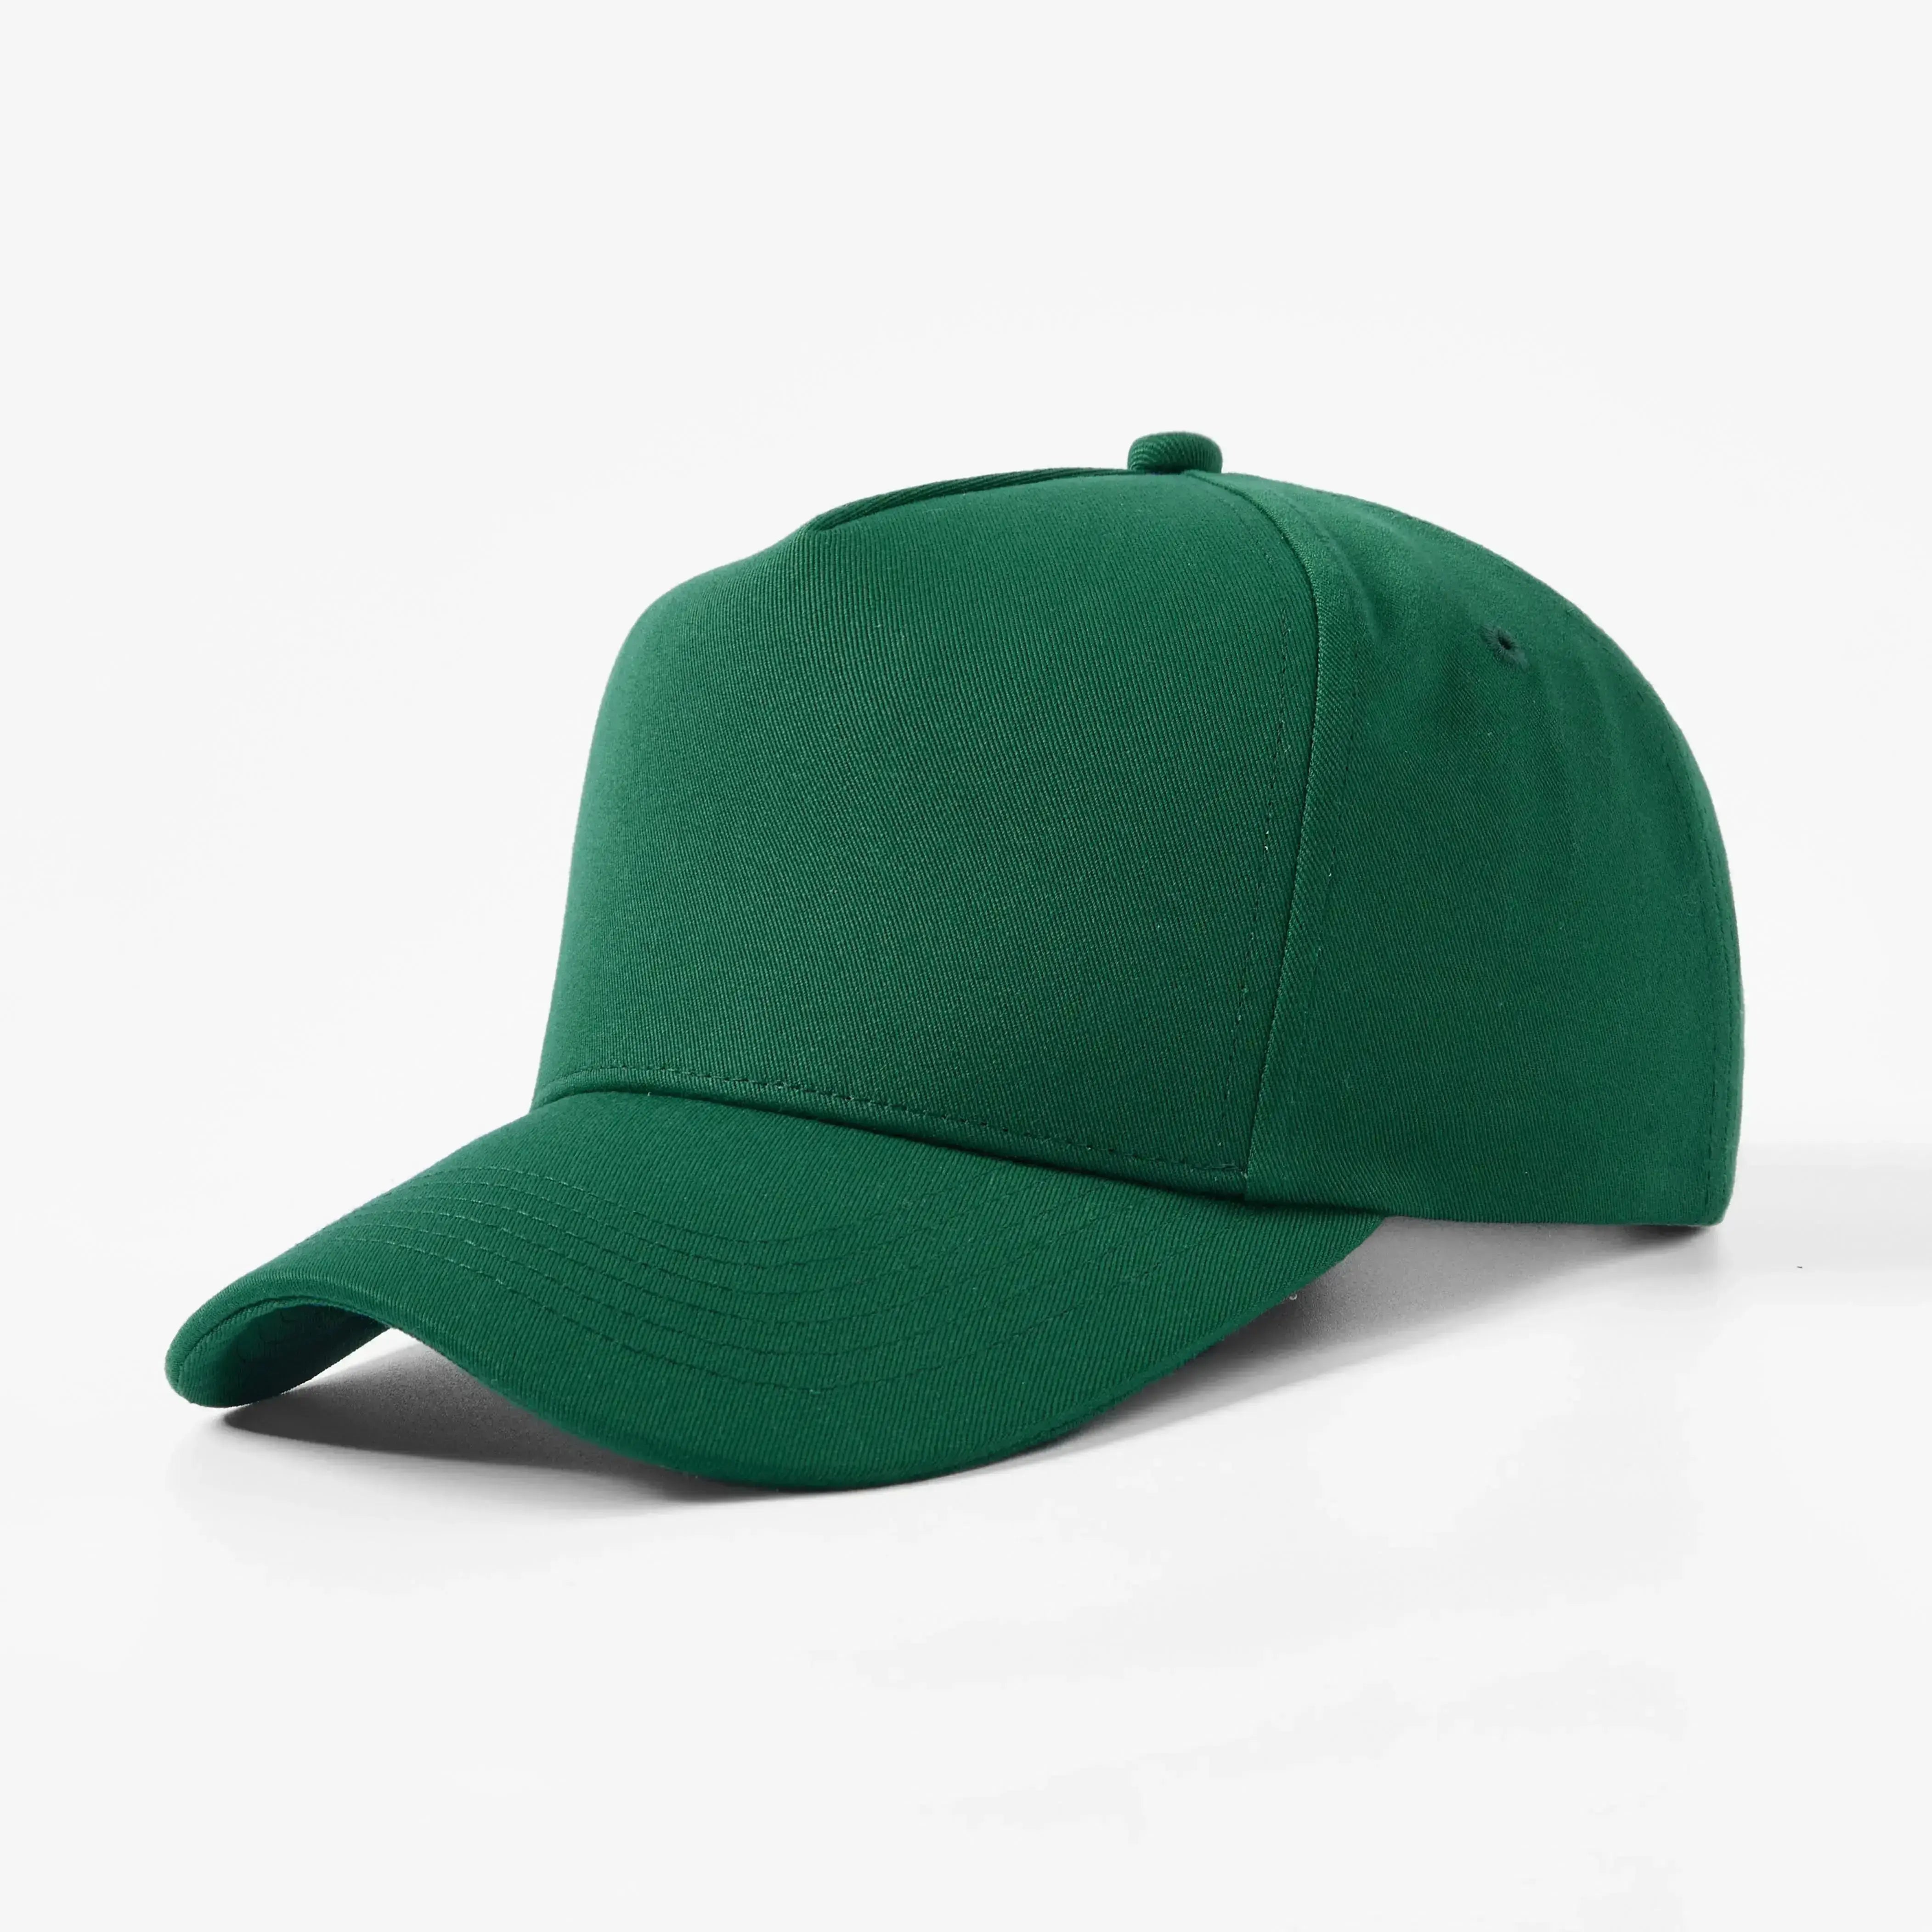
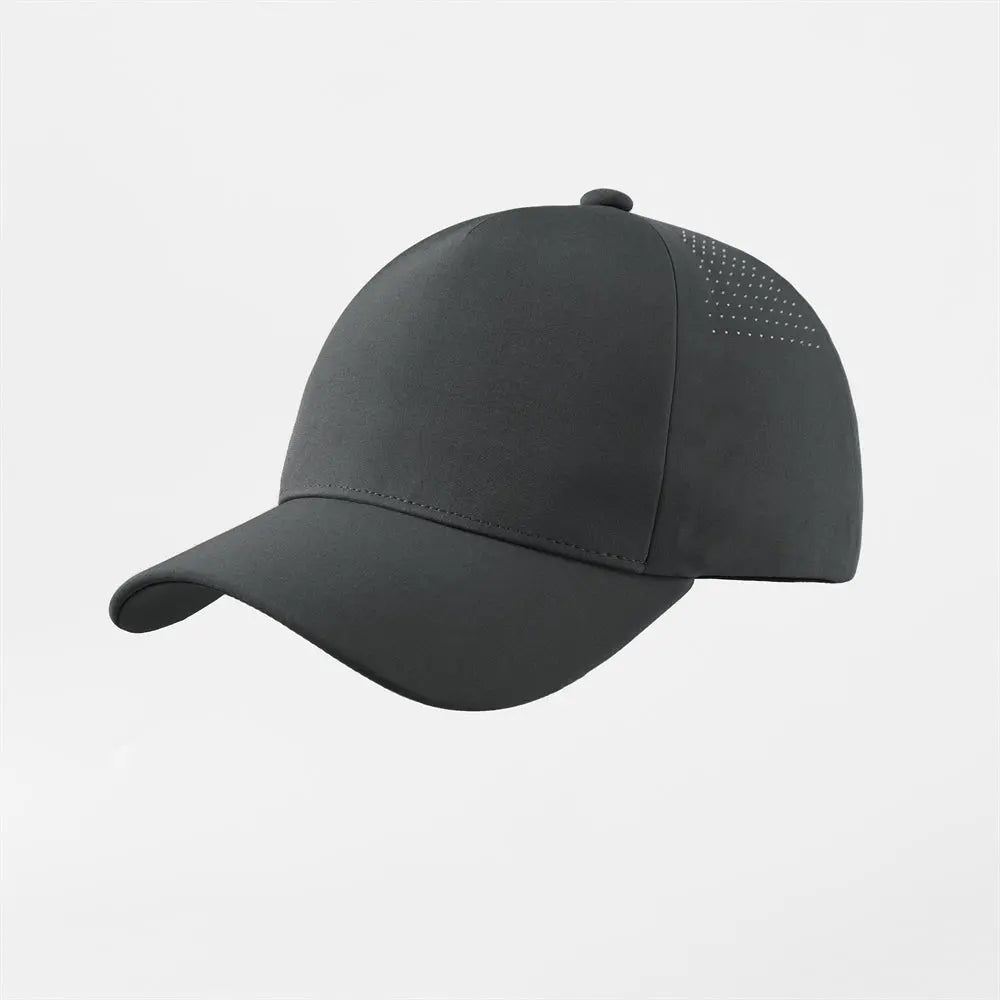
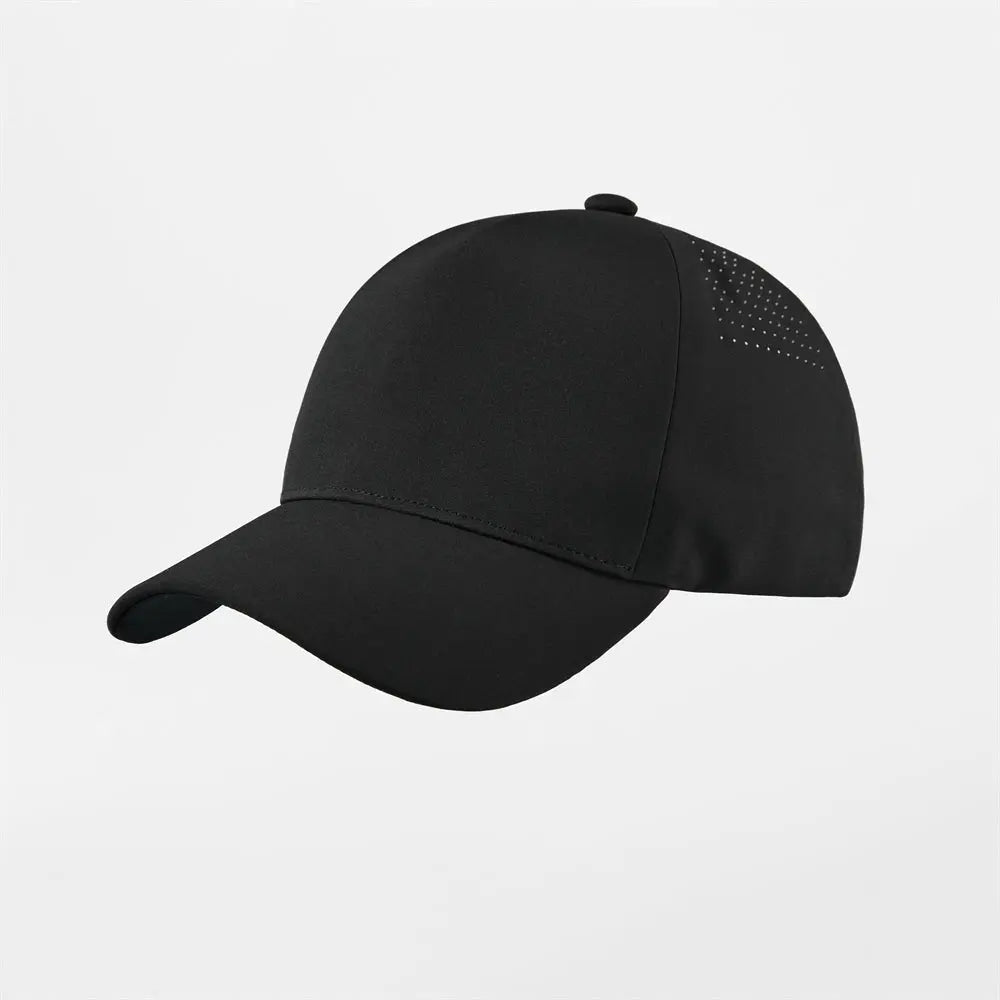
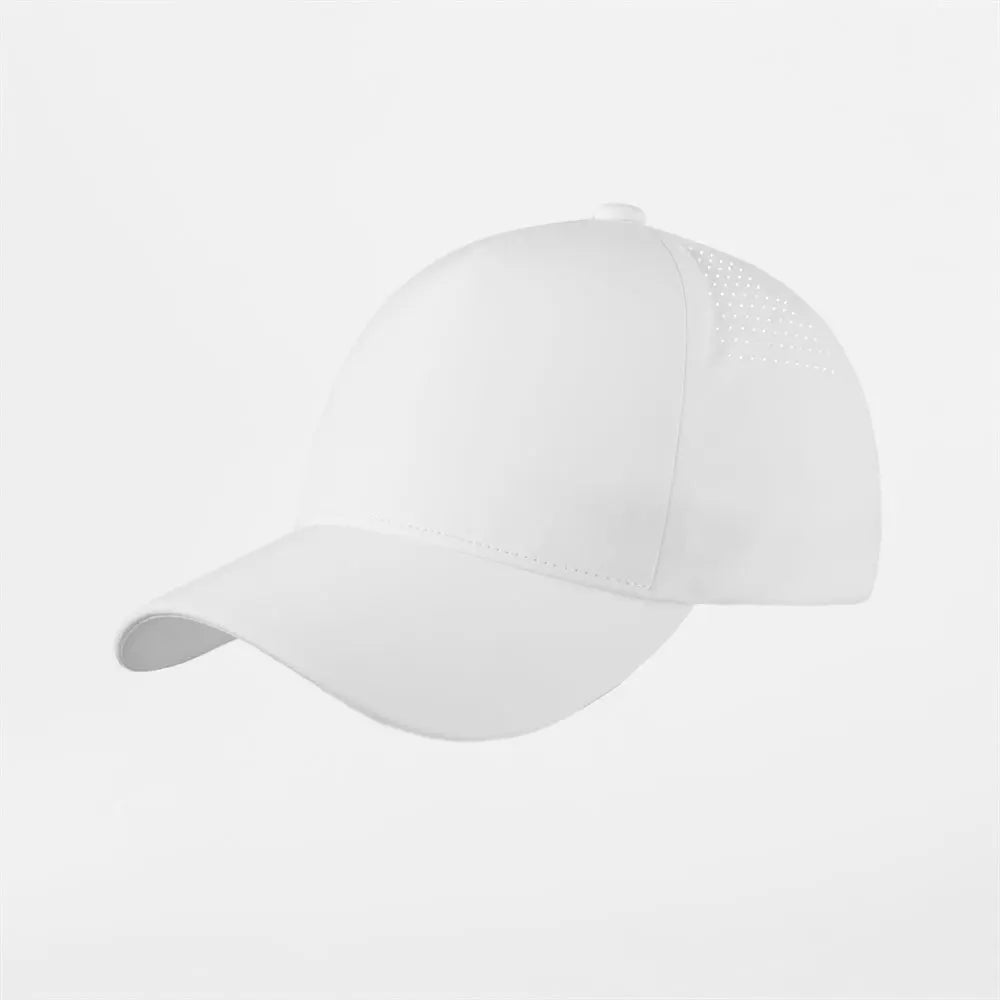
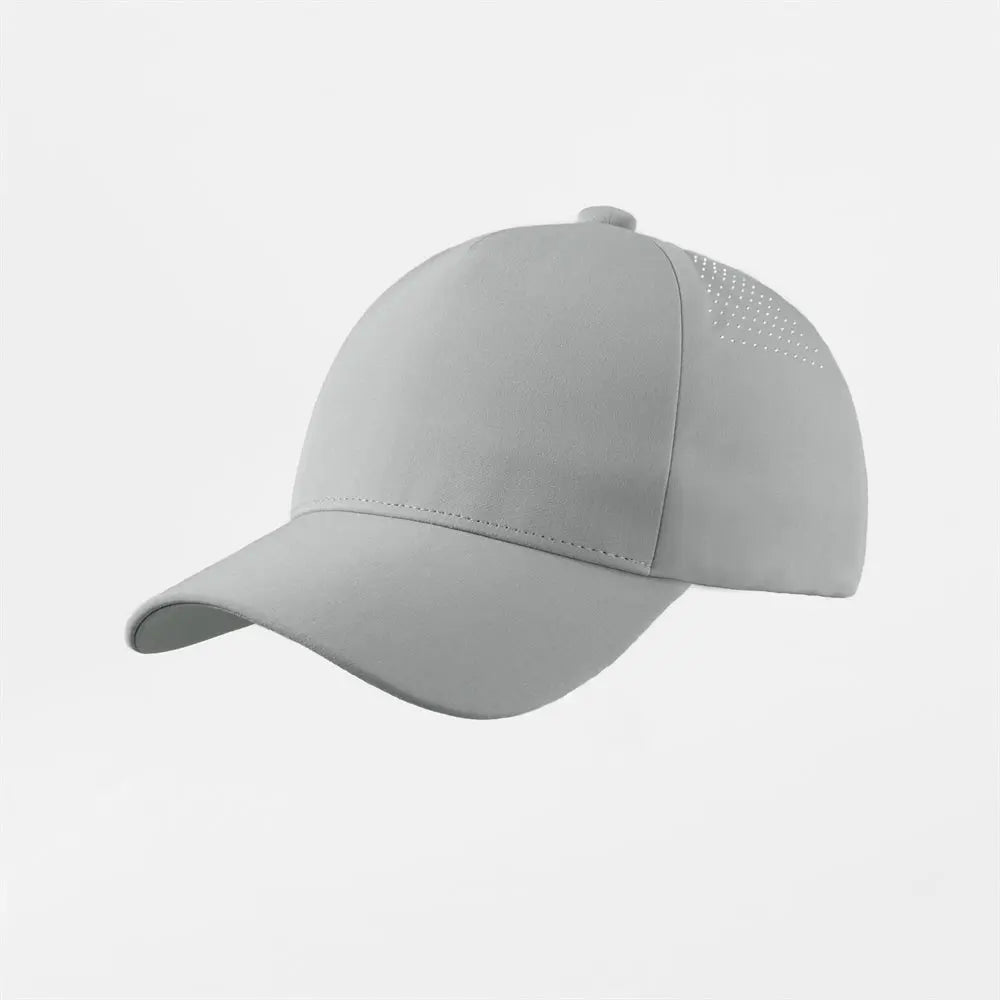
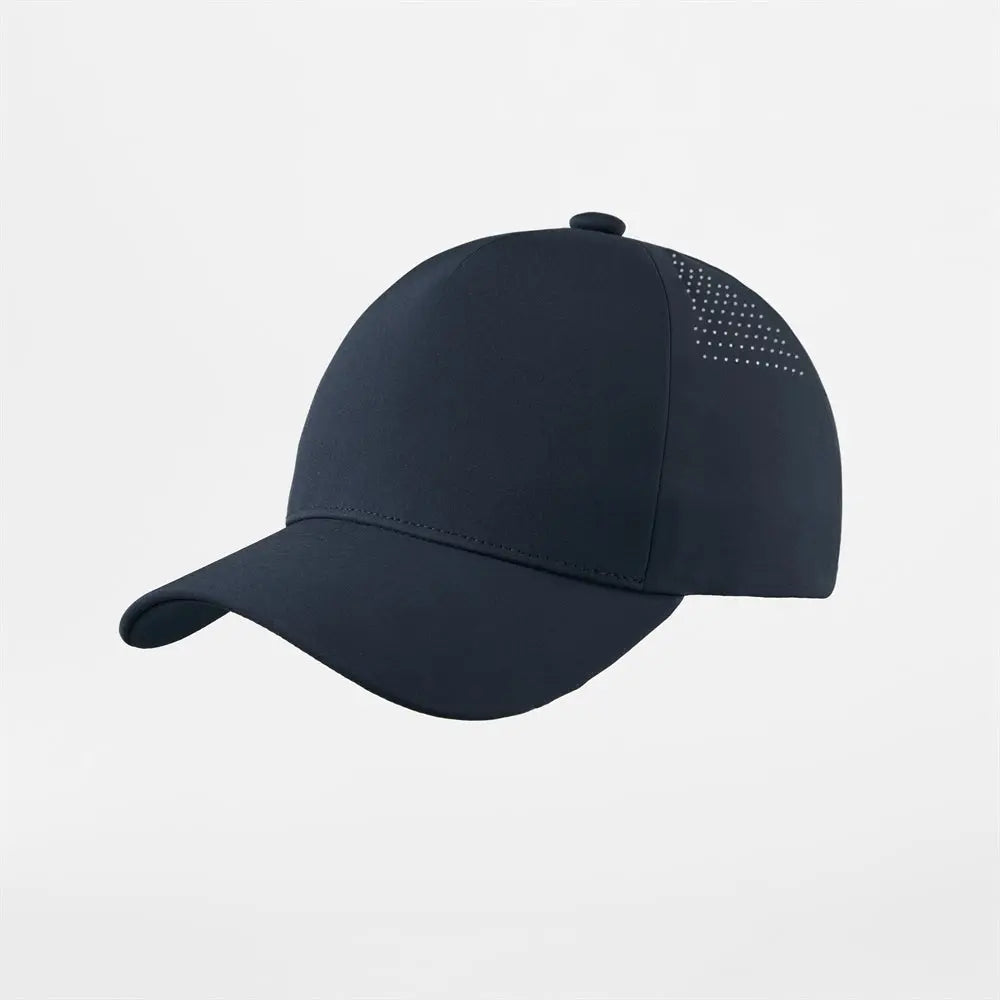
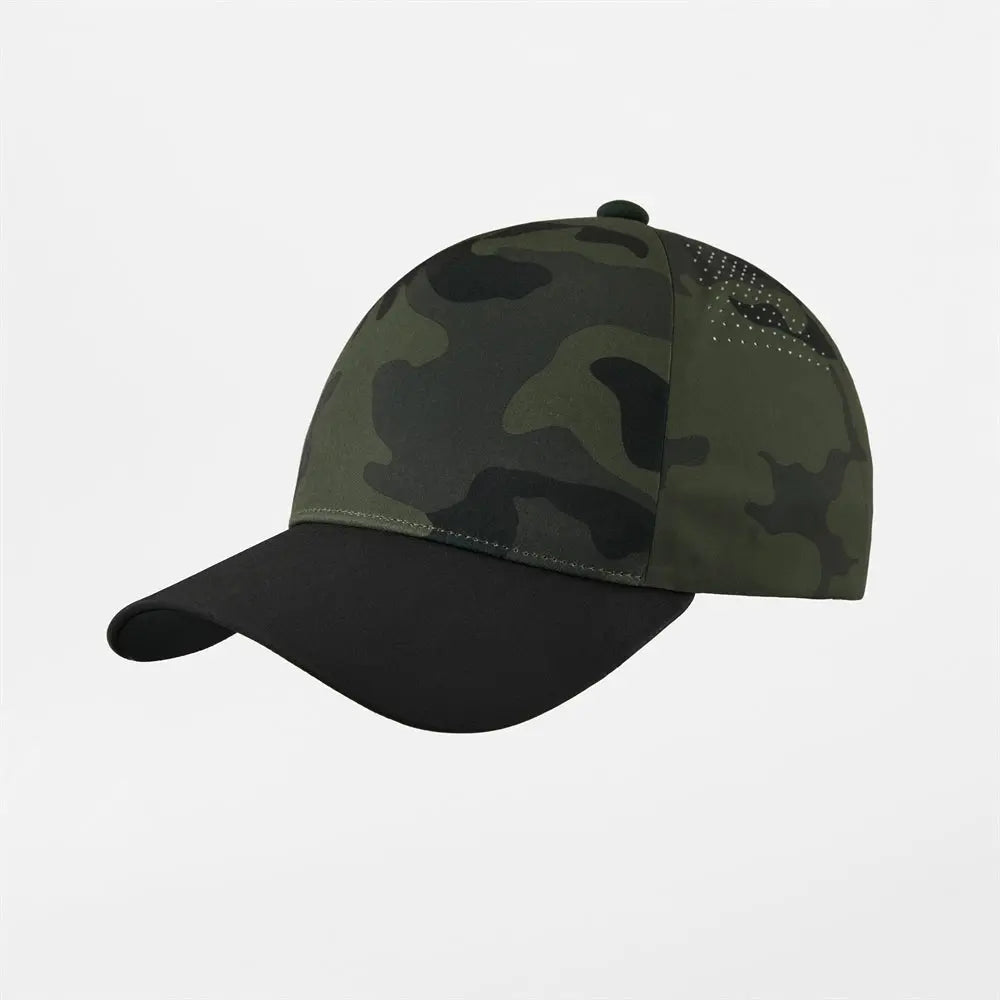
Browse blank hats for embroidery to compare different crown structures, fabrics, and decoration areas.

Step 2: Validate Customer Demand
You do not need to select a permanent niche before accepting your first order. Begin with a small number of products and customers, then track the results.
For each project, record:
- Total revenue
- Product and material cost
- Production time
- Number of revisions
- Errors or replacements
- Customer acquisition source
- Whether the customer reordered
- Final profit
Over time, this information will show which products and customers provide the best balance of profit, efficiency, and repeat business.
Research demand through:
- Local business directories
- School and club websites
- Community events
- Social media
- Online marketplaces
- Competitor websites
- Customer interviews
- Existing personal and business contacts
Look for a specific need instead of relying only on general trends.

Step 3: Start With a Focused Product Range
Offering too many products at the beginning can tie up money in inventory and make production difficult to standardize.
Start with a few products that fit your target customers.
Embroidered Hats
Hats are compact, wearable throughout the year, and suitable for both small and large orders.
Useful starting options include:
- Structured baseball cap
- Trucker hat
- Dad hat
- Rope or golf hat
- Performance cap
- Cuffed beanie

Shirts and Polos
Left-chest embroidery is widely used for uniforms, staff apparel, corporate clothing, and club merchandise.
Jackets and Hoodies
Outerwear supports larger embroidery areas and usually has a higher selling price, but thick seams, pockets, zippers, and linings can make hooping more difficult.
Bags
Tote bags, backpacks, golf bags, and work bags can provide useful decoration areas, although completed pockets and internal structures may restrict machine access.
Home and Gift Products
Towels, blankets, pillows, robes, and napkins work well for monograms, names, wedding gifts, and corporate gifting.
Choose blanks that are consistent, easy to reorder, and compatible with your machine.
Step 4: Choose the Right Embroidery Machine
The best machine depends on your budget, product range, available space, and expected order volume.
Single-Needle Machine
A single-needle machine can be suitable for learning embroidery and producing occasional personalized items.
Advantages include:
- Lower initial investment
- Simpler operation
- Suitable for testing demand
- Useful for flat items and small projects
Limitations include:
- More manual thread changes
- Lower production capacity
- Less efficient for multicolor designs
- Limited hat embroidery capability on some models
Multi-Needle Machine
A multi-needle machine is usually more suitable for regular commercial production.
Advantages include:
- Multiple thread colors loaded simultaneously
- Faster color changes
- Better production efficiency
- Commercial hat-frame options
- Improved handling of repeat orders
- More suitable for business use
Before purchasing, consider:
- Number of needles
- Maximum embroidery area
- Hat-frame capability
- Hoop selection
- Machine speed
- Local service availability
- Training and technical support
- Parts and accessory availability
- File-format compatibility
- Warranty coverage
A machine with features you do not yet need may create unnecessary financial pressure. Choose equipment based on realistic order demand rather than projected sales alone.

Step 5: Decide Whether to Outsource Digitizing
Digitizing is one of the most important factors in embroidery quality.
Outsourcing Digitizing
Outsourcing may be practical when:
- You are new to commercial embroidery.
- You receive only occasional custom logos.
- You want to focus on production and sales.
- The design requires advanced technical knowledge.
- You need a file optimized for hats or 3D puff embroidery.
Always test outsourced files before bulk production. The digitizer may not know the exact fabric, hat structure, thread, needle, stabilizer, or machine being used.
Digitizing In-House
In-house digitizing may be valuable when:
- Order volume is consistent.
- Customers request frequent changes.
- Faster turnaround is important.
- You produce repeat designs on multiple materials.
- You want full control over stitch quality.
Digitizing software alone does not guarantee good results. Learning stitch behavior, fabric movement, underlay, density, and compensation requires testing and experience.

Step 6: Understand the Main Embroidery Techniques
Flat Embroidery
Flat embroidery places stitches directly against the surface of the product.
It is suitable for:
- Detailed logos
- Small text
- Corporate branding
- Side and back hat logos
- Polos and uniforms
- Multicolor graphics

3D Puff Embroidery
3D puff embroidery uses foam beneath the stitches to create a raised effect.
It works best with:
- Bold letters
- Simple shapes
- Thick lines
- Front-center hat designs
Thin lettering, small details, gradients, and complicated shapes are generally not suitable for 3D puff.
On hats, 3D puff is usually recommended for the front panel, where there is enough space and structural support.

Appliqué
Appliqué uses one or more pieces of fabric as part of the design, with embroidery securing the edges.
It can reduce stitch count in large designs while adding texture, color, or patterned fabric.
Embroidered Patches
Patches are produced separately and then sewn or heat-applied to the product.
They are useful when:
- The blank is difficult to embroider directly.
- The logo requires a defined border.
- The same design will be applied to multiple products.
- A removable or dimensional appearance is desired.
- The project requires extra patches for future use.

Step 7: Learn Hat Embroidery Placement
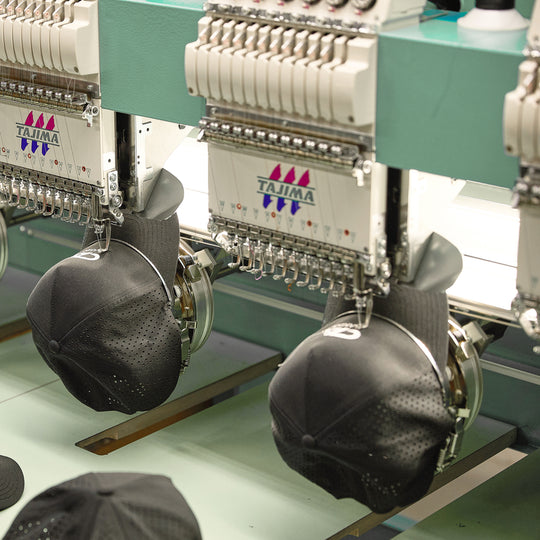
Hat embroidery behaves differently from flat garment embroidery because the crown is curved and may include seams, buckram, mesh, or multiple fabric layers.
Common hat decoration positions include:
Front Center
The front center is the primary location for company logos, team marks, lettering, and 3D puff designs.
Structured five-panel and A-frame hats often provide a larger uninterrupted decoration area. Six-panel hats have a center seam that must be considered during digitizing.
Front Left or Right
An offset front design can create a modern or understated appearance.
Side Panel
Side embroidery is suitable for:
- Small icons
- Dates
- Initials
- Short text
- Sponsor logos
- Certification marks
Designs should remain within the stable embroidery area and away from eyelets, seams, and the lower edge.
Back Arch
The area above the rear opening can be used for small text, websites, dates, or simple logos.
The artwork may need to follow the curve of the opening.

Step 8: Test the Design and Materials
Never assume that one embroidery file will produce the same result on every product.
Test the design using the actual:
- Blank product
- Fabric
- Stabilizer
- Needle
- Thread
- Machine
- Hoop
- Production settings
Check for:
- Puckering
- Gaps
- Uneven borders
- Poor registration
- Thread breaks
- Distorted lettering
- Incorrect density
- Visible bobbin thread
- Damage to the blank
- Incorrect placement
For hats, confirm that the design is centered correctly and positioned at an appropriate distance above the visor seam.
Step 9: Find Reliable Blank Product Suppliers
Your embroidery quality cannot fully compensate for an inconsistent or uncomfortable blank product.
When evaluating suppliers, consider:
- Product quality
- Fit and sizing
- Color consistency
- Reliable inventory
- Wholesale pricing
- Minimum order quantities
- Shipping speed
- Sample availability
- Fabric specifications
- Reorder consistency
- Customer service
For an embroidery business, keeping a limited quantity of proven, frequently ordered blanks can improve turnaround. Less common styles and colors can be ordered after the customer approves the quote.
Working with a supplier that offers low or no minimum order quantities helps reduce inventory risk while testing new products.

Step 10: Calculate Your True Costs
Do not price embroidery based only on stitch count.
Your total order cost may include:
Product Costs
- Blank garment or hat
- Thread
- Bobbin
- Stabilizer
- Topping
- Foam
- Needles
- Packaging
Production Costs
- Artwork review
- Digitizing
- Sample sew-out
- Hooping
- Machine time
- Thread changes
- Trimming
- Finishing
- Quality inspection
Business Costs
- Machine payment or depreciation
- Maintenance and repairs
- Software
- Rent
- Utilities
- Insurance
- Website
- Payment-processing fees
- Marketing
- Shipping supplies
- Labor
- Damaged or rejected products
If these costs are not included in the price, a busy embroidery business can still lose money.
Step 11: Create a Profitable Pricing Structure
A practical pricing formula is:
Selling Price = Blank Product + Decoration Cost + Labor + Overhead + Target Profit
The decoration price can be adjusted based on:
- Stitch count
- Design size
- Number of colors
- Number of placements
- Product difficulty
- Order quantity
- Production deadline
- 3D puff or specialty techniques
- Individual names or numbers
Additional fees may include:
- Digitizing fee
- Setup fee
- Artwork adjustment
- Sample fee
- Additional placement
- Personalization
- Rush production
- Individual packaging
- Shipping
Volume pricing should reflect actual production efficiency. A larger order may justify a lower price per unit because setup and approval costs are spread across more products.
It should not be discounted to a point where the order no longer covers labor, equipment, mistakes, and overhead.
Learn more in this guide to pricing custom hats.
Step 12: Create a Professional Order Workflow
A standardized workflow prevents mistakes and makes it easier to manage multiple customers.
A typical embroidery order process includes:
- Receive the inquiry.
- Confirm the product, color, size, quantity, and deadline.
- Review the artwork.
- Confirm embroidery type, size, colors, and placement.
- Prepare the quote.
- Collect payment or deposit.
- Digitize the artwork.
- Produce a sew-out or sample.
- Send the proof for approval.
- Lock the approved specifications.
- Begin production.
- Inspect and finish every item.
- Package and ship the order.
- Save the file and specifications for reorders.
The approval should clearly include:
- Product style and color
- Quantity
- Logo dimensions
- Placement
- Thread colors
- Spelling
- Embroidery method
- Delivery address
- Required date
Changes requested after approval may require new fees or a revised production schedule.

Step 13: Build Quality Control Into Production
Quality control should happen throughout the order, not only after all pieces have been embroidered.
Before Production
- Inspect the blanks.
- Confirm quantities and colors.
- Check the embroidery file.
- Run a sample.
- Verify placement and thread colors.
During Production
- Monitor thread tension.
- Watch for thread breaks.
- Confirm registration.
- Inspect designs at regular intervals.
- Replace damaged needles.
- Keep finished and unfinished items separate.
After Production
- Trim loose threads.
- Remove excess stabilizer.
- Inspect the front and back.
- Count every item.
- Confirm sizes and colors.
- Photograph the completed order when appropriate.
- Package products cleanly.
Step 14: Market Your Embroidery Business
Create a Professional Website
Your website should clearly show:
- Products and services
- Decoration methods
- Minimum quantities
- Turnaround times
- Previous work
- How to request a quote
- Contact information
- Service area
Use clear photographs of actual embroidery rather than relying only on digital mockups.
Use Social Media
Embroidery is highly visual. Effective content includes:
- Machine production videos
- Before-and-after designs
- Close-ups of stitch quality
- Hat embroidery
- 3D puff examples
- Customer orders
- New blank products
- Behind-the-scenes content
Instagram, TikTok, Facebook, YouTube Shorts, and Pinterest can all support visual discovery.
Create a Google Business Profile
A properly maintained Google Business Profile can help local customers find embroidery services, review completed work, request directions, and contact the business.
Encourage satisfied customers to leave genuine reviews.
Contact Local Businesses
Reach out to:
- Restaurants
- Contractors
- Gyms
- Schools
- Golf clubs
- Sports teams
- Event organizers
- Real estate companies
- Nonprofits
- Breweries and cafés
Show relevant samples and explain how branded hats or apparel can support uniforms, retail merchandise, events, and employee gifts.
Build Referral Partnerships
Potential partners include:
- Screen printers
- Promotional distributors
- Graphic designers
- Sign shops
- Uniform suppliers
- Event planners
- Marketing agencies
- Apparel brands
A business that cannot produce embroidery internally may be able to send regular work to a trusted production partner.
Sell Through the Right Channels
Depending on your products and customers, you may also sell through an online store or marketplace.
Related guides:
- How to Sell Hats on Amazon
- How to Sell Hats on Shopify
- How to Sell Hats on Etsy
- How to Sell Hats on TikTok
- How to Sell Hats on Instagram
In-House Production vs. Outsourcing
Not every embroidery business needs to produce every order internally.
In-House Production
In-house production provides:
- Greater control
- Faster sampling
- Flexible scheduling
- Easier small-order production
- Direct quality management
However, it also requires investment in machines, training, maintenance, labor, and workspace.
Outsourced Production
Outsourcing may be suitable when:
- The order exceeds your capacity.
- You do not have a hat embroidery machine.
- The design requires a specialty technique.
- You want to test demand before purchasing equipment.
- Production deadlines require additional capacity.
A hybrid model allows a small business to produce profitable everyday orders internally while outsourcing large or technically difficult projects.
Common Embroidery Business Mistakes
Underpricing Orders
Failing to include labor, setup, errors, communication, and overhead is one of the fastest ways to lose money.
Buying Too Much Equipment Too Soon
Confirm customer demand before committing to expensive machines or a large workspace.
Offering Too Many Products
A focused collection is easier to stock, test, photograph, price, and market.
Skipping Sample Approval
A digital mockup cannot fully predict embroidery behavior. Run a sew-out or sample before bulk production.
Accepting Poor Artwork Without Clarification
Confirm what can and cannot be embroidered. Small text, thin lines, gradients, and highly detailed artwork may need to be simplified.
Promising Unrealistic Delivery Dates
Allow time for blanks, digitizing, approvals, production, possible mistakes, and shipping.
Failing to Save Reorder Information
Keep organized records of the stitch file, product, logo dimensions, placement, thread colors, stabilizer, and machine settings.
Frequently Asked Questions
How much does it cost to start an embroidery business?
Startup costs vary based on the machine, software, hoops, blanks, thread, stabilizers, workspace, and whether digitizing is outsourced. Beginning with a focused product line can reduce the initial investment.
Can an embroidery business be started from home?
Yes, provided local zoning, lease, insurance, electrical, noise, and business requirements allow it. The workspace should have enough room for safe machine operation, inventory, finishing, and packaging.
Do I need to learn digitizing?
Not immediately. Many new businesses outsource digitizing while learning production. Understanding basic digitizing principles is still helpful for evaluating files and explaining design limitations to customers.
Is a multi-needle machine necessary?
No, but it can improve efficiency for regular commercial orders, multicolor designs, and hat embroidery. A single-needle machine may be sufficient for testing demand and producing smaller projects.
Are embroidered hats profitable?
They can be profitable when the blank, digitizing, setup, production time, stitch count, placements, errors, and overhead are included in the selling price.
What hats are easiest to embroider?
Structured hats with stable front panels are generally easier to embroider than very soft, thin, or heavily perforated hats. Five-panel and A-frame hats also provide an uninterrupted front area without a center seam.
What designs work best for 3D puff embroidery?
Bold letters, thick lines, and simple shapes produce the best results. Small text, fine details, and complex gradients should usually use flat embroidery instead.
Should I keep blank products in stock?
Keep a limited supply of proven, frequently ordered products and colors. Order unusual styles after the customer confirms and pays for the project.
How should I price custom embroidery?
Price the blank product, decoration, labor, overhead, order difficulty, quantity, deadline, and target profit. Avoid relying only on a fixed price per thousand stitches.
Conclusion
Starting an embroidery business requires creative ability, production knowledge, organization, and disciplined pricing. The embroidery itself is only one part of the operation.
Begin with a focused group of customers and products. Test demand before making large investments, outsource difficult tasks when appropriate, and create consistent systems for quoting, approval, production, quality control, and reorders.
For businesses specializing in embroidered hats, reliable blank headwear is especially important. Fit, crown structure, fabric, color consistency, inventory, and decoration compatibility all affect the final result.
Foremost Hat supplies blank and custom hats for embroidery shops, promotional distributors, brands, teams, clubs, schools, and businesses. With no minimum order quantity on blank hats, wholesale pricing, U.S. warehouse inventory, samples, and a broad selection of embroidery-friendly styles, decorators can test new products without committing to excessive inventory.
A successful embroidery business is built one reliable process—and one well-finished order—at a time.