
The Brother SE600 is a popular all-in-one machine that can both sew and embroider, while the Janome HD3000 and Singer 9960 are solid, reliable sewing machines with basic embroidery capabilities. Any of these options would make a good starting point for a beginner looking to get into embroidery.
The excitement of starting machine embroidery comes from a mix of creative freedom, technical fascination, and the instant gratification of creating beautiful, professional-looking designs. This rewarding craft transforms ordinary fabric into personalized, stunning creations, opening up a world of possibilities for both beginners and experienced crafters.
For today’s article, we would talk about how to use an embroidery machine, let’s dive in!!
I. Before You Begin: The Pre-Flight Checklist
Gather Your Supplies: List essential materials like the machine, thread, needles, stabilizers, and fabric.
When beginning a machine embroidery project, you will need to gather your embroidery machine, threads, needles, stabilizers, and fabric. Other important tools include bobbins, various scissors, and a measuring tool.
Thread: Machine embroidery thread is typically a 40-weight thread, which is thicker and more durable than regular sewing thread.
Top thread (needle)
Rayon: Known for its brilliant sheen and wide range of vibrant colors. A good choice for decorative projects and apparel.
Polyester: Very strong and colorfast, making it resistant to fading from washing or bleaching. It has a slight sheen and is excellent for projects that will be laundered frequently.
Cotton: Offers a soft, matte look for a more traditional or vintage feel.
Trusted brands: Consider brands like Madeira, Isacord, Sulky, and Mettler for high-quality thread that prevents breakage and fraying.
Needles: Choosing the correct needle size and type for your fabric is crucial to avoid thread breaks and achieve clean, crisp stitches. Most embroidery machines come with a standard size that works for most projects.
Stabilizers: Stabilizers, or backing, are essential for providing support to the fabric during the embroidery process to prevent stretching, puckering, and distorted stitches.
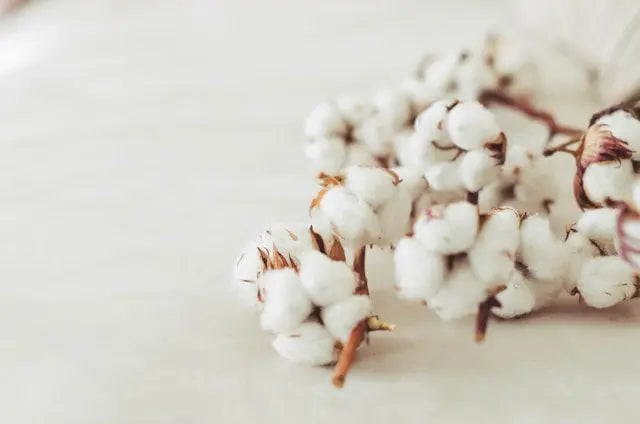
Fabric: The best fabric for machine embroidery is a natural one with a tight weave, but many fabrics can be successfully embroidered with the right stabilizer.

Know Your Machine: Emphasize the importance of reading the machine's manual.
Reading the manual for an embroidery machine is important for safety, proper operation, maintenance, and unlocking the machine's full capabilities. While it may be tempting to jump right into a project, taking the time to understand the machine's specifications and functions will prevent costly mistakes and prolong the equipment's lifespan.
The manual is essential for safe operation
Electrical safety: Manuals contain critical warnings about electrical hazards, such as the risk of fire or shock. They instruct you to always use a surge protector, plug the machine directly into a wall socket, and unplug it when not in use or during maintenance.
Safe handling: Manuals provide guidance on how to safely handle your machine, including keeping hands and fingers away from moving parts like the needle and carriage. They also advise against using the machine in unsuitable locations, such as outdoors or near flammable materials.
Hazard warnings: The manual can warn against using damaged parts, such as a bent needle or an incorrect needle plate, which could cause a needle to break and potentially cause injury.
Workspace Setup: Tips for a clean and organized work area.
To set up a clean and organized workspace, start by decluttering and establishing a filing system for papers. Keep only essential items on your desk and use storage solutions like shelves and drawers for less frequently used items. Organize cables, manage digital files, and avoid eating at your desk. Finally, maintain your workspace with a regular cleaning schedule to prevent clutter from building up.

II. The Embroidery Process: Step-by-Step
Step 1: Prepare Your Design: Briefly mention design sources (pre-made, digitized from a file).
Gather materials: You'll need fabric, embroidery thread, needles, and an embroidery hoop.
Press your fabric: Iron your fabric to remove wrinkles.
Prepare the hoop: Loosen the screw on your embroidery hoop, separate the two rings, place your fabric over the inner ring, and then fit the outer ring on top.
Tension the fabric: Tighten the screw on the outer hoop, gently pulling the fabric to ensure it's drum-tight with no ripples.
Transfer your design: Trace your desired pattern onto the fabric.
Step 2: Hoop Your Fabric:
Explain the function of a hoop.
Detail the proper technique for hooping fabric with a stabilizer to prevent puckering.
Thread your needle:
Cut a length of embroidery thread, thread it through your needle, and tie a knot in the end to secure it on the back side of the fabric.

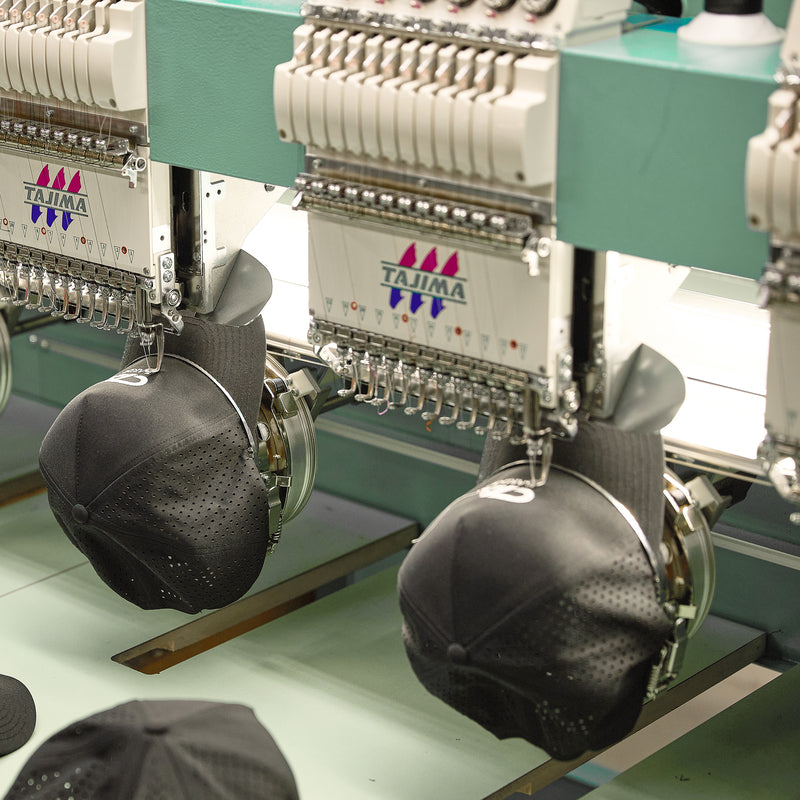
Step 3: Load the Design and Thread:
Walk through transferring a design to the machine (USB, direct connection).
Provide clear instructions on how to thread the machine correctly, including the bobbin.
Start stitching:
Bring the needle up through the fabric to begin your first stitch at the designated point on your design.
Create stitches:
Continue to make various stitches, such as:
Straight Stitch: A simple stitch where you bring the needle up and down to create a line.
Back Stitch: A stitch that creates a continuous, gapless line by coming back through the previous stitch.
Lazy Daisy Stitch: A loop stitch perfect for creating simple flower shapes.
Satin Stitch: Used to fill shapes by making straight, side-by-side stitches to create a solid area of color.
Step 4: Start Stitching:
Explain how to position the hoop and initiate the embroidery process.
Tips for monitoring the machine as it stitches.
Secure your thread: When you've finished a line or section, or when your thread runs out, bring the needle to the back side of the fabric and tie a secure knot, or weave the thread under a few existing stitches before cutting it off.
Remove from hoop: Once your design is complete, remove the fabric from the hoop.
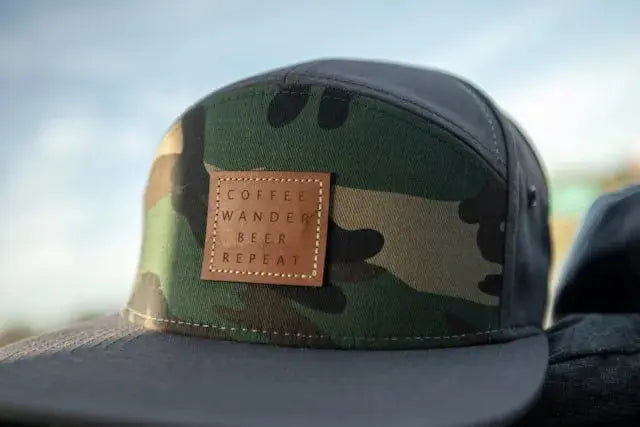
Embroidery Hat Video
III. Common Challenges and Solutions (Troubleshooting)
Broken Threads: Causes and fixes.
Broken thread is often caused by issues with the needle, incorrect threading, wrong tension, machine maintenance, or the quality of the thread itself. To fix it, consistently change your needle, rethread the machine correctly, adjust tension settings, keep your machine clean and lubricated, use high-quality thread, and ensure the fabric is properly stabilized.
Puckering: How to prevent it with proper hooping and stabilizers.
To prevent puckering in machine embroidery, use the correct type and weight of stabilizer, hoop your fabric smoothly and tautly without overstretching, and employ a temporary spray adhesive for extra stability. For lighter or stretchier fabrics, reduce the stitch density and use a lower machine speed, ensuring your needle is sharp and appropriate for the fabric type.
Poor Stitch Quality: Identify issues with thread tension or needle type.
Poor stitch quality, characterized by loose, uneven, or skipped stitches, can be fixed by checking your sewing machine's threading, changing the needle regularly, using the correct type of thread and needle for the fabric, adjusting the thread tension, and ensuring regular machine maintenance. A quality stitch should be tight, straight, and consistent, indicating attention to detail and ensuring the garment's durability.
Needle Breaks: Reasons for breaks and how to avoid them.
Needles break due to mechanical issues, incorrect setup, or user errors, such as improper needle insertion, wrong needle for the fabric, poorly set bobbin, or dull needles. To prevent breakage, use the right needle for your material, ensure it's fully inserted with the flat shank facing the correct direction, check for a properly seated bobbin case, don't pull or force the fabric, and maintain your machine by keeping it clean and in good timing.

IV. Finishing Touches: After the Machine Stops
Removing the Hoop: Gentle techniques to un-hoop your project.
"Removing the hoop" can refer to removing different types of objects, such as hoop earrings, basketball hoops, or an embroidery hoop from fabric, or it can refer to removing hoop marks from fabric. The process for each is distinct: for earrings, you open the clasp or hinge and slide it out; for a basketball hoop, you empty the base and disassemble the pole and rim; and for embroidery hoops, you loosen the screw and lift the hoops off the fabric. To remove hoop marks from fabric, you can use methods like misting with water, steaming, using a sticky roller, or washing the garment.
Trimming Jump Stitches: How to clean up the finished design.
To trim jump stitches from a finished machine embroidery, use fine-tipped embroidery scissors or tweezers and a seam ripper to cut the threads close to the fabric, both front and back, making sure to keep the thread taut with the tool that's in your hand. For automatic cutting, ensure your machine's "Jump Stitch Trim" function is enabled and the minimum trim length is set appropriately in your design software. After trimming, use a lint roller to remove any loose thread trimmings for a clean finish.
Final Steps: Curing or pressing the embroidered piece.
When finishing an embroidery project, you typically press the piece rather than "cure" it. Pressing flattens the fabric, removes wrinkles and hoop marks, and gives the finished work a clean, professional look. The process is best done with an iron, using a gentle technique that protects the stitches.
Conclusion: The Start of a Creative Journey
A summary of the main points covered.
Encouragement for beginners to practice and experiment.
A call to action, inviting readers to share their first projects or ask questions.
Machine embroidery is a multi-step process with many variables that impact the quality of the final product, including the type of fabric to be embellished, design size, stabilizer choice and type of thread utilized.
Free-motion sewing machine embroidery uses a basic zigzag sewing machine and designs are made manually. Chenille embroidery is a decorative technique that uses a looped or tufted yarn to create a soft, velvety texture on fabric. It is typically done with a specialized chenille embroidery machine, where a chain stitch needle and a loop-pile mechanism form raised loops on the surface.
That’s all for today’s article, we look forward to your comments!!