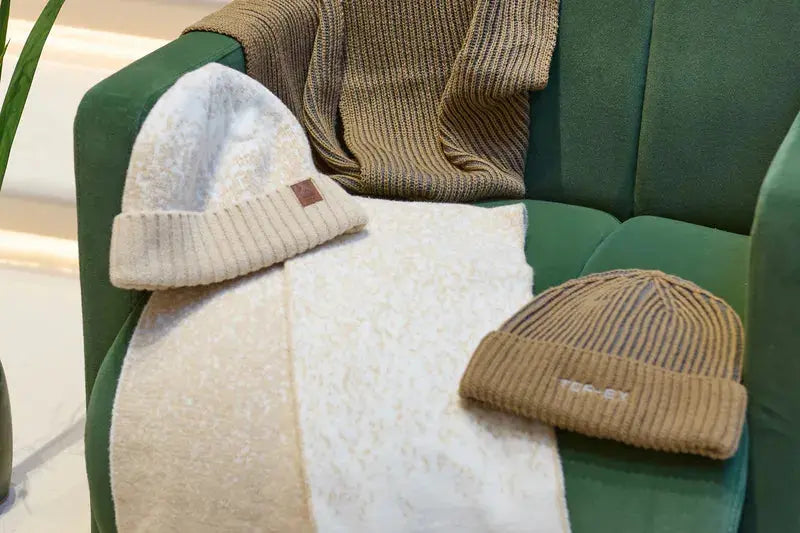


Custom patch hats have become a staple in branding, fashion, and team identity. Whether you’re designing hats for your business, sports club, or personal style, adding a custom patch is one of the easiest ways to make them stand out. From embroidered and woven patches to leather and PVC styles, each type offers a unique texture and personality.
For today’s article, we'll explore three primary methods for attaching patches to hats: Velcro, heat pressing, and sewing. Let’s dive in!!
🔽 Quick Navigation
- 📌 1. Simplest Method: Using Velcro
- 📌 2. Most Secure Method: Sewing
- 📌 3. Professional Method: Heat Pressing
- 📌 Summary Table: How to Add Patches to Hats
1.Simplest Method: Using Velcro

Velcro tape is also used for patches, especially for name tags and other kinds of patches used on uniforms. Hospitals, emergency services, and law enforcement use patches with hook-and-loop (Velcro) fasteners. You can also ask your patch manufacturers to make custom patches products with Velcro tape pre-attached.
Core Concept: This offers a flexible solution for removable and replaceable patches.
patches are available in a wide variety of backings, but they're most commonly ordered with Velcro backings, making them easy to attach and remove from gear, uniforms, and bags.
Materials Required: patch with Velcro backing, hat with Velcro panel.
Instructions: Ensure the hook-side panel on the cap is clean and free of debris. Press the patch directly onto the panel, applying firm pressure to ensure complete adhesion.
Pros and Cons:
Pros: Quick, convenient, reusable, and allows for easy patch swapping.
Cons: Only works on caps with hook-side panels; hook-and-loop may wear out over time. This is the most common and versatile method, particularly suitable for military or tactical hats.
Steps:
1. Determine the location on the hat: Many hats (such as baseball caps or flat caps) already have loop Velcro sewn onto the front or side.
2. Attach the patch: Most custom patches come with hook-side Velcro backing. Simply press the patch directly onto the loop surface on the hat; the hook and loop will bond securely.
Notes: If your hat lacks Velcro loops, you must first sew Velcro loops onto the hat (the most reliable method) or use adhesive-backed Velcro patches. However, adhesive bonding is less durable than sewing.
2.Most Secure Method: Sewing

The most common (and ideal) ways to apply patches on clothing is by stitching. For larger patches, such as boat cover patches, this is the only effective way for durability. Sewn-on patches also generally last longer on everything; you don't have to worry about it coming off after laundry.
Core Concept: A permanent, extremely durable installation solution.
Materials Required: patch with a sewing channel or smooth backing, thick thread, and heavy-duty needle (or sewing machine).
Procedure:
Position the patch on the hat and secure with pins. If a sewing groove is present, stitch along it. Otherwise, sew along the patch's edge with fine, dense stitches. Finally, tie a knot at the seam and trim excess thread.
Pros and Cons:
Pros: Permanently secure, won't come off, suitable for daily heavy use.
Cons: Non-removable, requires some manual or sewing machine skill.
If your patch has a flat back or stitching channel, you can sew it directly or indirectly onto the hat. This is the most permanent and secure attachment method.
Steps:
1. Positioning: Secure the patch in the desired location on the hat (use a small amount of strong adhesive or pins to assist with positioning).
2. Sewing: If the patch has a **sewing channel** around its edge, sew along the channel using thick thread and a large needle (or a sewing machine). If there is no sewing channel, sew along the patch's edge with sparse, dense stitches.
3. Secure: This method best ensures the patch won't detach during washing or heavy use.
Sewing Considerations:
PVC material is thick; manual sewing may require a leather needle or a heavy-duty sewing machine. Choose thread color close to the patch or hat for aesthetic consistency.
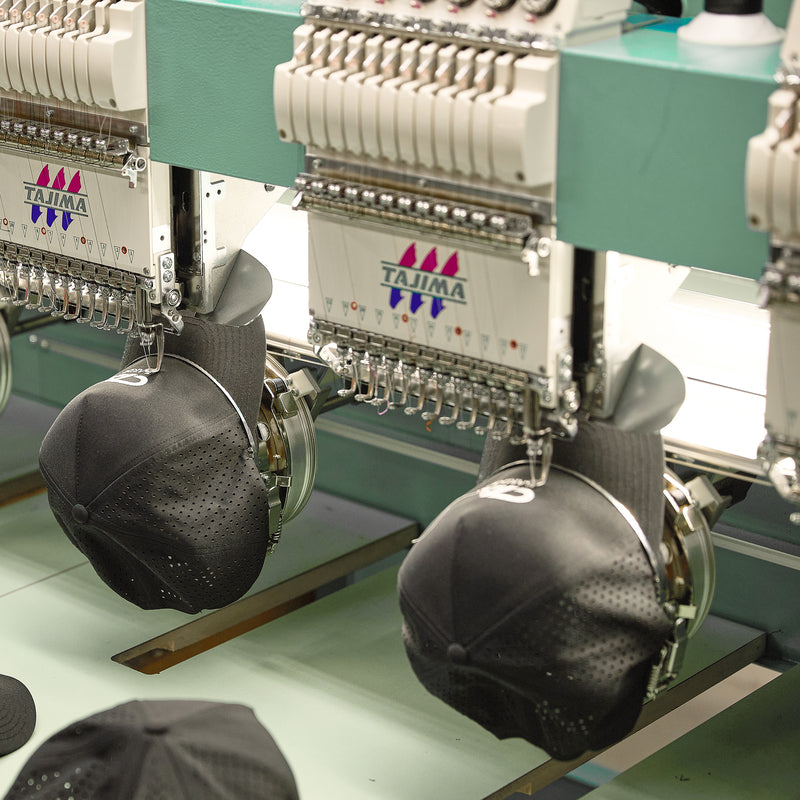
3. Professional Method: Heat Pressing

Core Concept: Permanently bonding patches with adhesive backing using a heat press machine.
Required Materials: patches with heat-activated adhesive backing, heat press machine (recommended), protective Teflon sheet or kraft paper.
Procedure:
Preheat the heat press to the specified temperature (typically 160°C). Position the patch on the hat. Crucial step: Cover the patch surface with a Teflon sheet for protection. Maintain the press at the designated time and pressure. Remove the press and allow the patch to cool naturally.
Pros and Cons:
Pros: Strong adhesion, smooth appearance.
Cons: PVC material is heat-sensitive; improper handling may damage the patch or cap; requires specialized equipment.
Heat Application (Iron-On): If your patch has a heat-activated adhesive backing, you can bond it to the cap using a heat press or household iron.
⚠️ Important Note: PVC is extremely heat-sensitive. NEVER apply high heat directly to the patch surface.** You must use a dedicated heat press machine or implement heat insulation measures.
Professional Heat Press Method:
1. Set Temperature: Generally recommended around $160^\circ C$ (approximately $320^\circ F$). Refer to the patch supplier's instructions for specifics.
2. Positioning: Secure the patch face-up on the cap using heat-resistant tape (if using a heat press, the cap may need to be placed on a dedicated cap press plate).
3. Cover Protection: A Teflon sheet or kraft paper/parchment paper must be placed over the patch for protection.
4. Pressing: Apply moderate to firm pressure for approximately **15-25 seconds**.
5. Cooling: Allow the patch and adhesive backing to cool completely before inspection.
Household Iron Method (Not recommended unless patches are small):
1. Setup: Adjust the iron to medium-low heat (avoid steam).
2. Positioning & Protection: Place the patch face-down on the hat and cover it with a thick cloth or towel.
3. Pressing: Apply steady pressure with the tip of the iron over the patch for approximately **30-45 seconds**. **Do not slide back and forth.
Heat Pressing Precautions:
PVC surfaces cannot be directly heated: High temperatures will melt or damage PVC surfaces. Not all patches are heat pressable: Only patches with heat-activated adhesive backing are suitable for this method.
🧵 Summary Table: How to Add Patches to Hats
| Method | Description | Best For | Pros | Cons | Difficulty |
|---|---|---|---|---|---|
| Heat-Press | Uses heat and adhesive backing to permanently bond the patch to the hat. | PVC, woven, or embroidered patches with heat-activated adhesive backing. | Smooth and professional look; strong adhesion; quick process. | Requires heat-press machine; risk of damaging hat or patch if overheated; not all patches are heat-safe. | ⭐⭐ (Medium) |
| Sewing | Manually or machine stitching the patch onto the hat fabric. | Embroidered, leather, or thick PVC patches; long-term durability. | Most durable and permanent method; withstands washing and wear. | Non-removable; requires sewing tools and some skill. | ⭐⭐⭐ (Hard) |
| Velcro (Hook & Loop) | Attaches patch using Velcro backing for easy removal and replacement. | Tactical, military, or interchangeable logo hats. | Easy to apply and remove; reusable; no special tools required. | Less durable; Velcro may lose grip over time; only works with loop-surface hats. | ⭐ (Easy) |
So today we covered 3 types of PVC methods, velcro (flexible), sewing (permanent), heat pressing (professional). Please choose the most suitable installation method based on personal needs and patch backing type.
Anyway, before any operation, ensure you understand your patch type and follow manufacturer guidelines, especially when heat pressing.
Please share your patch installation experiences or suggest topics you'd like to explore next.