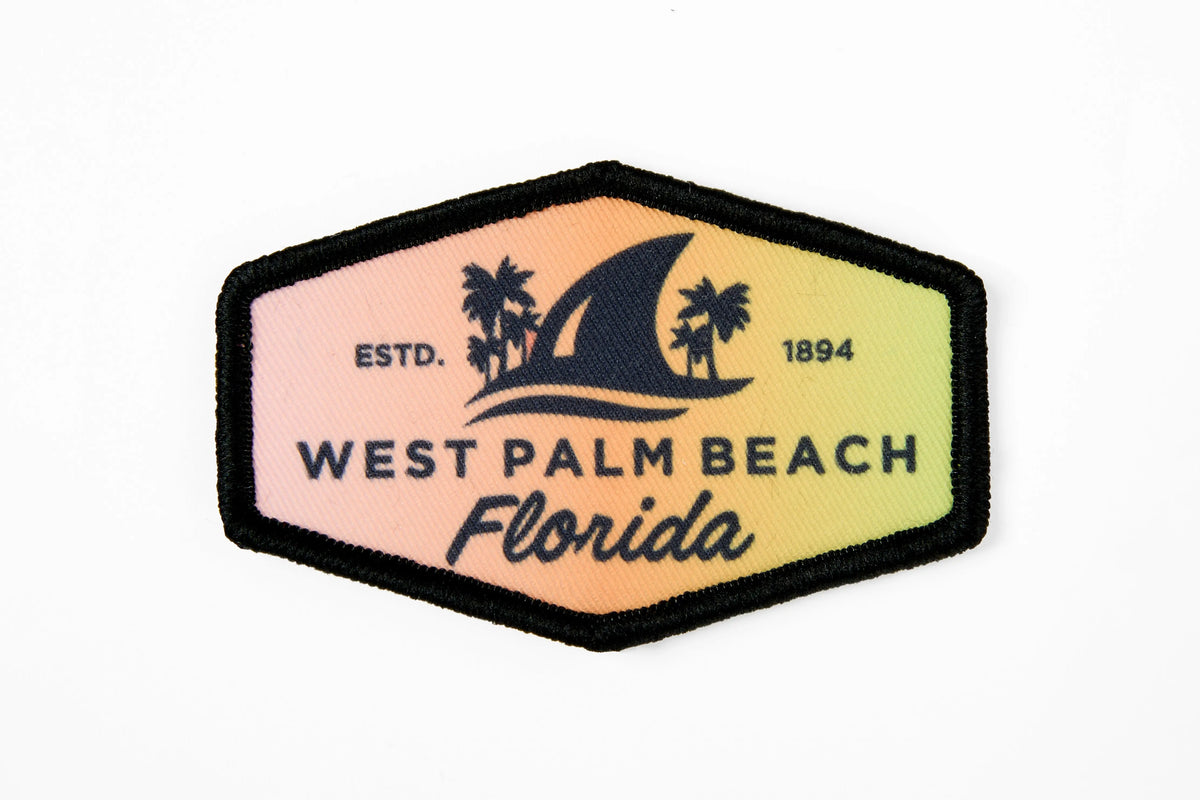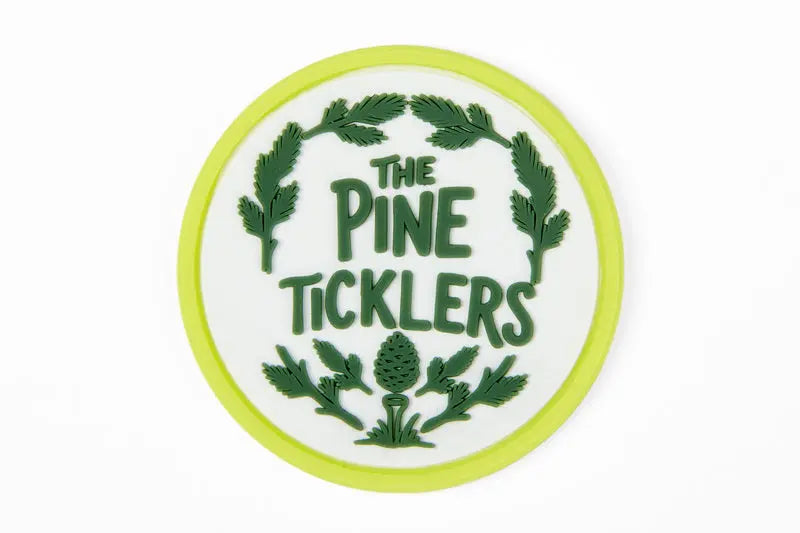


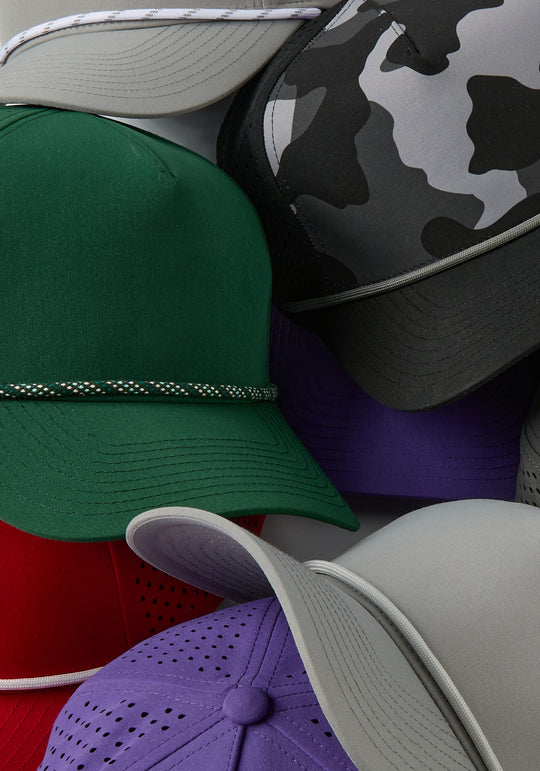
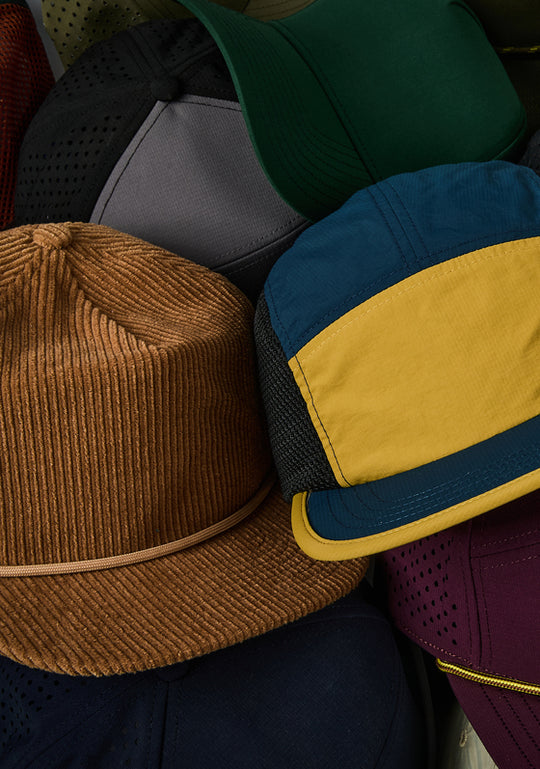









Embroidered patches are a durable and versatile way to add logos, artwork, names, and messages to hats, jackets, uniforms, bags, and branded merchandise. Their raised thread texture creates a classic handcrafted appearance, while the separate patch construction allows brands to achieve a more distinctive look than standard printing.
For businesses, sports teams, schools, outdoor brands, clubs, and promotional programs, custom embroidered patches offer a practical combination of visual impact, durability, and flexibility.
This guide explains what an embroidery patch is, how it is made, which border and backing options are available, and how to design the right patch for custom hats.
What Is an Embroidery Patch?
An embroidery patch is a piece of fabric decorated with stitched thread to create a logo, symbol, name, or graphic. The finished patch is cut into shape and attached to another product by sewing, heat application, hook-and-loop backing, or another suitable method.
Unlike direct embroidery, which stitches the design directly into the product, a patch is produced separately before being attached.
Common applications include:
- Custom hats and beanies
- Employee uniforms
- Sports and team apparel
- Jackets and workwear
- Backpacks and bags
- Military and tactical gear
- School and university merchandise
- Outdoor equipment
- Corporate gifts
- Promotional merchandise
Embroidered patches can be simple and traditional or bold and highly dimensional, depending on the artwork, thread colors, fabric, border, and attachment method.

How Are Embroidered Patches Made?
The production process usually includes the following steps.
1. Artwork Preparation
The customer provides a logo, illustration, wordmark, or concept. Vector artwork is preferred, but a high-resolution image may also be suitable.
The design is reviewed for:
- Patch size and shape
- Text readability
- Line thickness
- Thread colors
- Stitch coverage
- Border construction
- Backing method
- Final application
Small text, thin lines, and complex gradients may need to be simplified before production.
2. Embroidery Digitizing
The artwork is converted into a stitch file that an embroidery machine can read. Digitizing determines the stitch types, directions, density, sequence, and thread changes.
Good digitizing is essential because it affects:
- Logo clarity
- Surface texture
- Edge definition
- Small-detail reproduction
- Production consistency
- Overall durability
A digital image file cannot simply be sent directly to an embroidery machine without this conversion process.
3. Fabric and Thread Selection
The base fabric is selected according to the desired appearance and performance. Common materials include twill, felt, canvas, and polyester.
Thread colors are then chosen to match the artwork. Standard polyester embroidery thread is popular because it offers durability, color consistency, and a wide range of available colors.

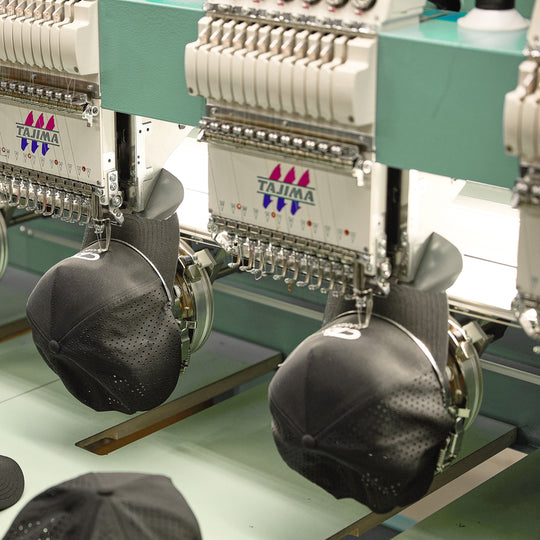
4. Machine Embroidery
The embroidery machine stitches the design onto the base fabric. Depending on the artwork, the patch may use:
- Satin stitches
- Fill stitches
- Running stitches
- Textured stitches
- Metallic thread
- Reflective thread
- Glow-in-the-dark thread
The stitch density must be carefully controlled. Excessive density can make a patch stiff or cause distortion, while insufficient density may leave the base fabric visible.
5. Cutting and Border Finishing
After embroidery, the patch is cut into its final shape. A merrowed border, heat-cut edge, laser-cut edge, or embroidered edge may then be added.
6. Backing Application
The selected backing is attached to the rear of the patch. Options may include sew-on, iron-on, hook-and-loop, adhesive, or no backing.
7. Inspection and Attachment
The finished patch is checked for size, color, stitching, shape, and edge quality. It can then be attached to the hat, garment, bag, or accessory.
Types of Embroidered Patches
Standard Embroidered Patches
Standard embroidered patches combine thread with a visible fabric background. They are ideal for logos with larger solid areas, bold lettering, and clearly defined shapes.
They offer a classic appearance suitable for uniforms, workwear, sports teams, clubs, and promotional products.
100% Embroidered Patches
A fully embroidered patch uses thread to cover nearly the entire visible surface. This creates a richer texture and more premium appearance.
Because more stitches are required, fully embroidered patches may be heavier, stiffer, and more expensive than partially embroidered designs.
They work best for:
- Bold logos
- Emblems and badges
- Simple illustrations
- Premium merchandise
- Designs with strong color blocks

3D Embroidered Patches
A 3D embroidered patch uses foam beneath selected stitches to create a raised effect. It is similar to 3D puff embroidery but is produced as a separate patch.
This technique works best for:
- Large letters
- Bold initials
- Simple symbols
- Sports logos
- Streetwear branding
Very small text, thin outlines, and detailed illustrations are generally unsuitable for 3D embroidery.
Chenille Patches
Chenille patches use thick looped yarn to create a soft, textured surface. They are strongly associated with varsity jackets, school letters, sports teams, and retro-inspired merchandise.
Chenille works well for large letters and simple shapes but is less suitable for fine details.
Combination Patches
Combination patches use more than one technique or material. A patch might combine flat embroidery with chenille, woven details, printed elements, or 3D embroidery.
This approach can add visual contrast but requires careful planning to prevent the design from becoming overly complicated.
Embroidered Patch Border Options
The border finishes the patch edge and affects both appearance and durability.
Merrowed Border
A merrowed border is a thick, rounded stitched edge created using an overlock-style machine.
It works best for simple shapes such as:
- Circles
- Ovals
- Squares
- Rectangles
- Shields
- Standard badges
A merrowed border provides a traditional patch appearance, but it is usually not suitable for highly irregular shapes or sharp internal corners.

Heat-Cut or Laser-Cut Border
Heat-cut and laser-cut borders create a thinner, cleaner edge. They are suitable for detailed custom shapes that cannot be finished with a traditional merrowed border.
These borders work well for:
- Custom logo outlines
- Letters
- Irregular shapes
- Detailed silhouettes
- Modern minimalist patches
Embroidered Border
An embroidered border is stitched as part of the patch design. It can provide a cleaner transition between the artwork and patch edge, especially for custom shapes.
Embroidered Patch Backing Options
Sew-On Backing
Sew-on patches are attached by stitching around the edge. This is generally the most secure option for custom hats, uniforms, jackets, and products that will be washed or worn frequently.
Sew-on attachment is recommended for:
- Curved hat panels
- Thick fabrics
- Outdoor products
- Workwear
- Long-term use
- Products exposed to repeated washing
Iron-On or Heat-Seal Backing
Iron-on patches include a heat-activated adhesive layer. Heat and pressure bond the patch to the product.
This method works best on compatible, relatively flat, heat-resistant fabrics. Results depend on the fabric, patch construction, temperature, pressure, and application time.
Heat application may not be suitable for:
- Heat-sensitive materials
- Waterproof coatings
- Highly curved surfaces
- Open mesh
- Textured fabrics
- Certain nylon products
For hats, a professional heat press and suitable curved platen may provide more consistent results than a household iron.
Hook-and-Loop Backing
Hook-and-loop backing allows patches to be removed or replaced. It is frequently used for tactical products, uniforms, clubs, teams, and interchangeable branding.
The receiving product must include the corresponding loop panel.
Adhesive Backing
Temporary adhesive backing allows a patch to be positioned like a sticker. It is useful for short-term applications, placement assistance, or selected event merchandise.
It is generally less durable than sewing or professional heat application.
No Backing
A patch may be supplied without an adhesive or attachment layer when the customer plans to sew it onto the finished product.
Embroidered Patch vs. Direct Embroidery
Both methods create a stitched appearance, but they serve different design and production needs.
| Feature | Embroidered Patch | Direct Embroidery |
|---|---|---|
| Production | Made separately and attached later | Stitched directly onto the product |
| Appearance | Defined patch shape and border | Integrated into the product surface |
| Texture | Layered and badge-like | Clean, traditional stitched finish |
| Flexibility | Can be produced before selecting the final product | Requires the final product during embroidery |
| Custom shapes | Excellent | No separate outer shape |
| Replacement | May be removable depending on backing | Permanent |
| Best for | Badges, emblems, outdoor and vintage branding | Names, logos and clean corporate branding |
Choose an embroidered patch when the border, shape, or badge appearance is an important part of the design. Choose direct embroidery when you want the logo to appear fully integrated into the hat or garment.

Embroidered Patch vs. Woven Patch
Embroidered patches use thicker thread and produce a more textured surface. Woven patches use thinner threads woven together to reproduce smaller text and finer details.
Choose an embroidered patch for:
- Bold logos
- Traditional badges
- Visible thread texture
- Outdoor and workwear styles
- Simple lettering
- Vintage-inspired branding
Choose a woven patch for:
- Small text
- Thin lines
- Complex illustrations
- Detailed logos
- Smooth, lightweight construction
If the artwork contains extremely fine details, a woven or printed patch may produce a clearer result.

Embroidered Patch vs. Sublimation Patch
Embroidered and sublimation patches offer very different visual effects. Embroidered patches create designs with stitched thread, while sublimation patches use heat and pressure to transfer printed ink into a polyester fabric surface.
| Feature | Embroidered Patch | Sublimation Patch |
|---|---|---|
| Surface | Raised thread texture | Smooth, flat fabric surface |
| Detail level | Best for bold, simplified artwork | Excellent for fine details and small elements |
| Colors | Limited by available thread colors | Supports full-color designs |
| Gradients | Limited | Excellent |
| Photo reproduction | Not recommended | Suitable for photo-style artwork |
| Small text | May require simplification | Can reproduce smaller text more clearly |
| Appearance | Classic, textured and premium | Modern, detailed and print-focused |
| Best for | Logos, badges, uniforms and vintage designs | Photos, illustrations, gradients and complex artwork |

Choose an embroidered patch when you want a traditional textile appearance with visible thread texture and dimensional stitching.
Choose a sublimation patch when the artwork contains:
- Photographic images
- Color gradients
- Complex illustrations
- Multiple colors
- Fine lines
- Small text
- Detailed backgrounds
Because sublimation printing works best on polyester-based materials, the patch fabric and color should be selected accordingly. White or light-colored polyester typically provides the clearest and most vibrant results.
For custom hats, embroidered patches are ideal for bold logos and classic branding, while sublimation patches are better for detailed artwork that cannot be reproduced clearly through embroidery.
Why Use Embroidered Patches on Hats?
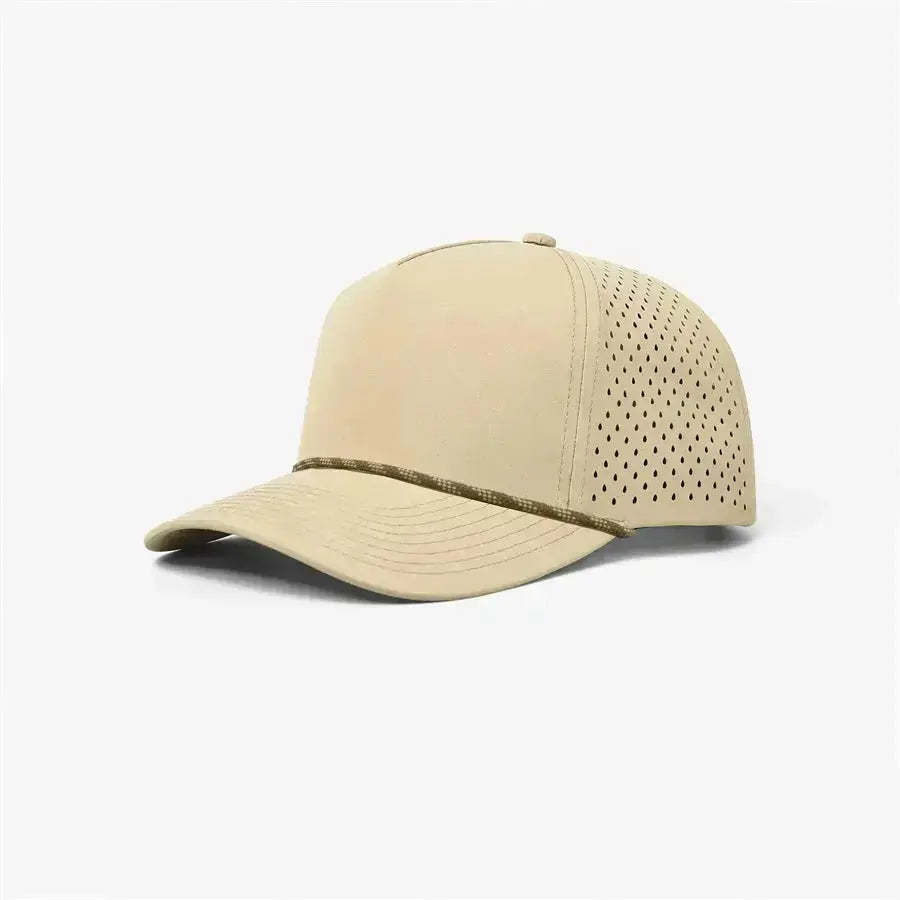
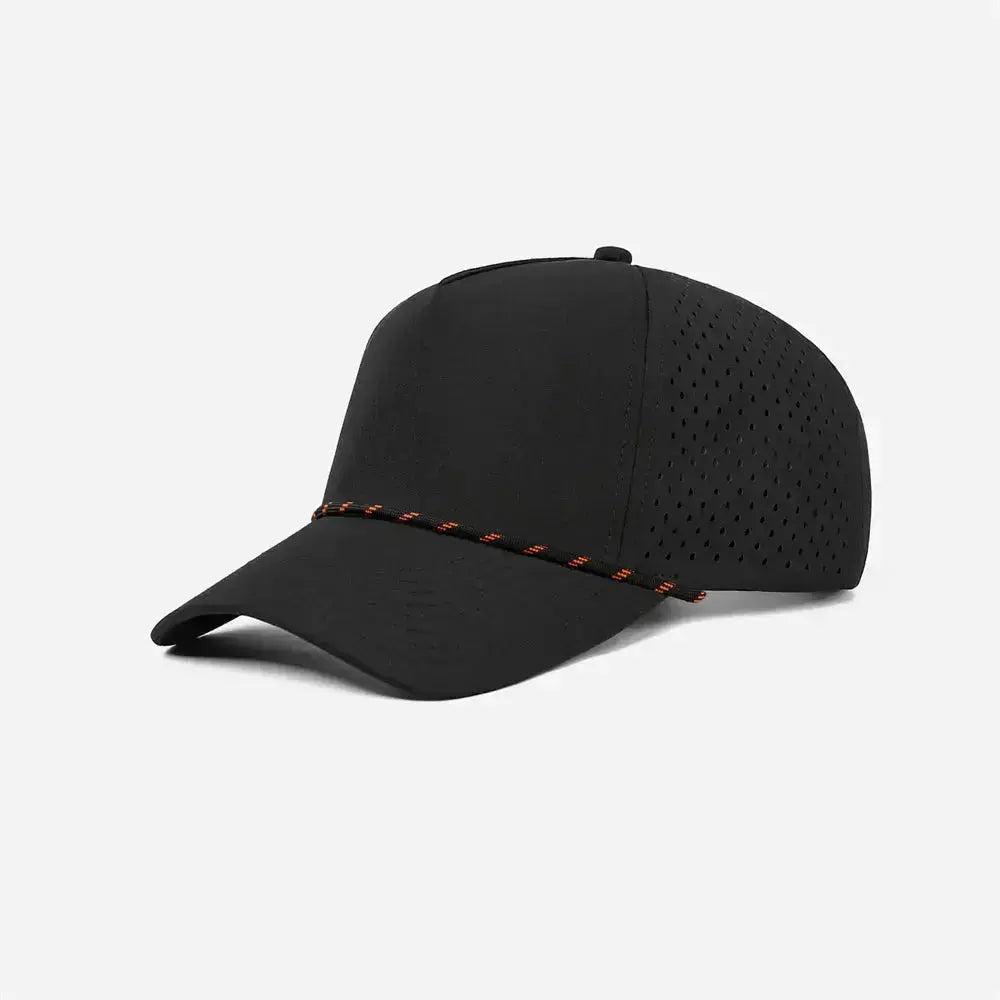
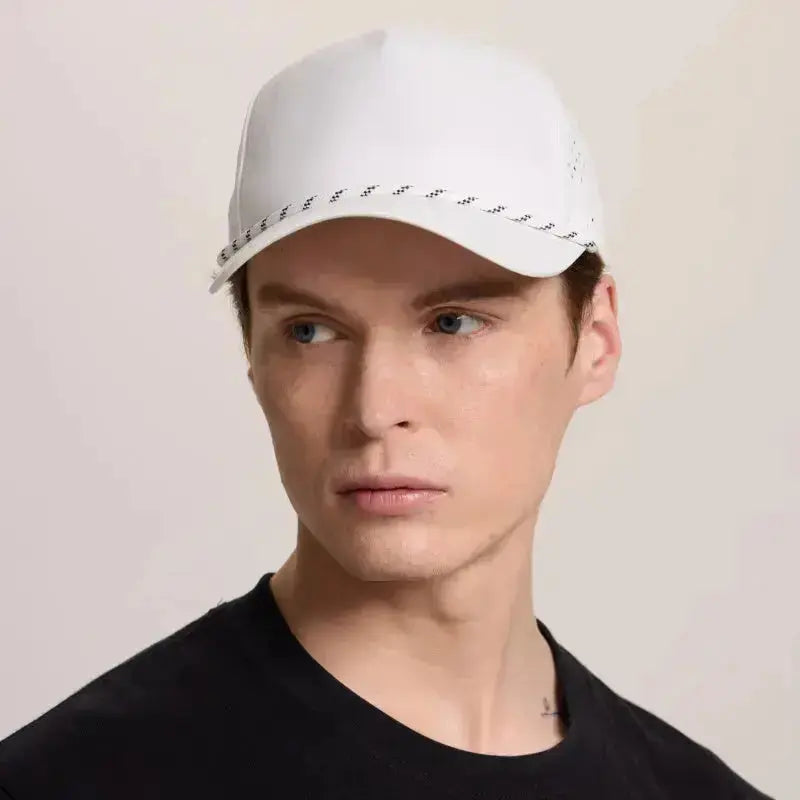
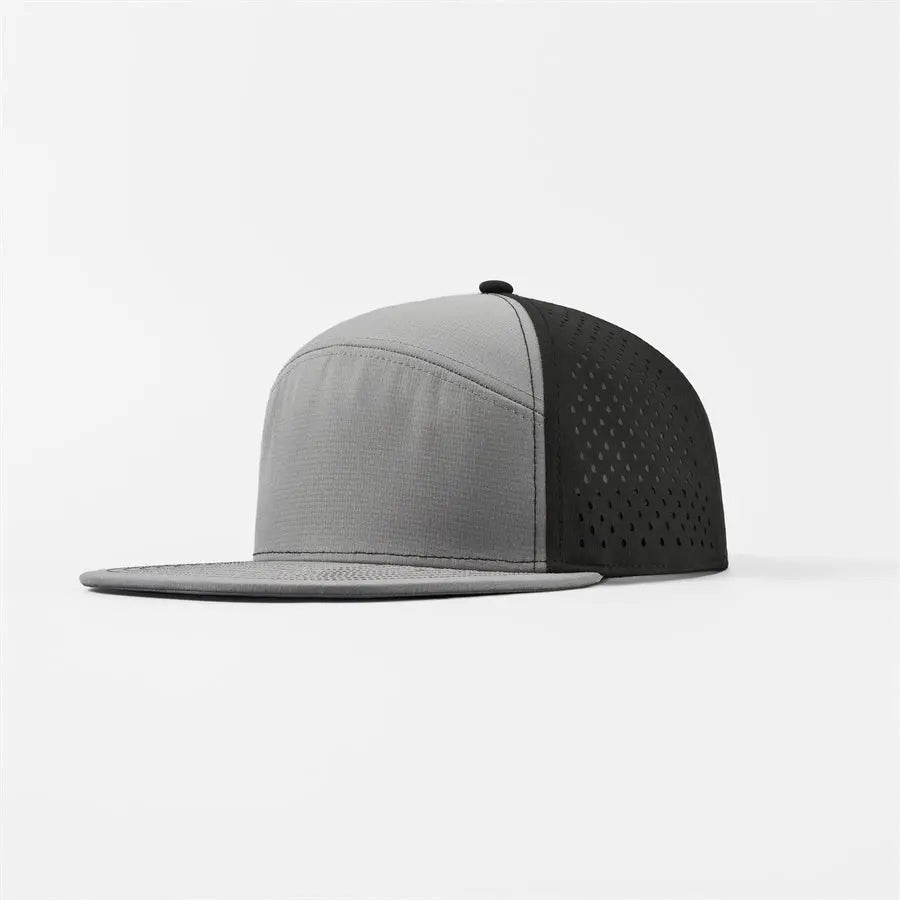
Custom embroidered patch hats provide a distinctive appearance that works across casual, outdoor, workwear, sports, and lifestyle markets.
Key benefits include:
Strong Visual Identity
The patch border creates a defined shape that helps the logo stand out from the hat fabric.
Textured, Premium Appearance
Embroidery adds depth and texture, making the design feel more substantial than a flat print.
Flexible Design Placement
Patches can be attached to the front, side, or back of many hat styles, depending on available space and construction.
Consistent Branding
Patches can be produced in batches and applied to different hat colors or styles, helping maintain a consistent brand presentation.
Suitable for Many Hat Styles
Embroidered patches work well on:
- Baseball caps
- Trucker hats
- Snapbacks
- Dad hats
- Five-panel caps
- Seven-panel caps
- A-frame hats
- Rope caps
- Camper hats
- Beanies
Choosing the Right Hat for an Embroidered Patch
The hat structure can affect how the finished patch looks.
Structured Caps
Structured front panels provide a stable surface and are ideal for medium or large patches. Snapbacks, A-frame hats, and structured trucker caps are popular choices.
Unstructured Caps
Dad hats and other unstructured caps can support smaller, lighter patches. A large or heavy patch may change the way the crown drapes.
Foam-Front Trucker Hats
Foam-front caps provide a broad decoration area, but the attachment process must be controlled to avoid compressing or damaging the foam.
Beanies
Small embroidered patches can be sewn onto a beanie cuff. Flexible patches and careful stitching help the cuff retain its stretch and comfort.
Performance Caps
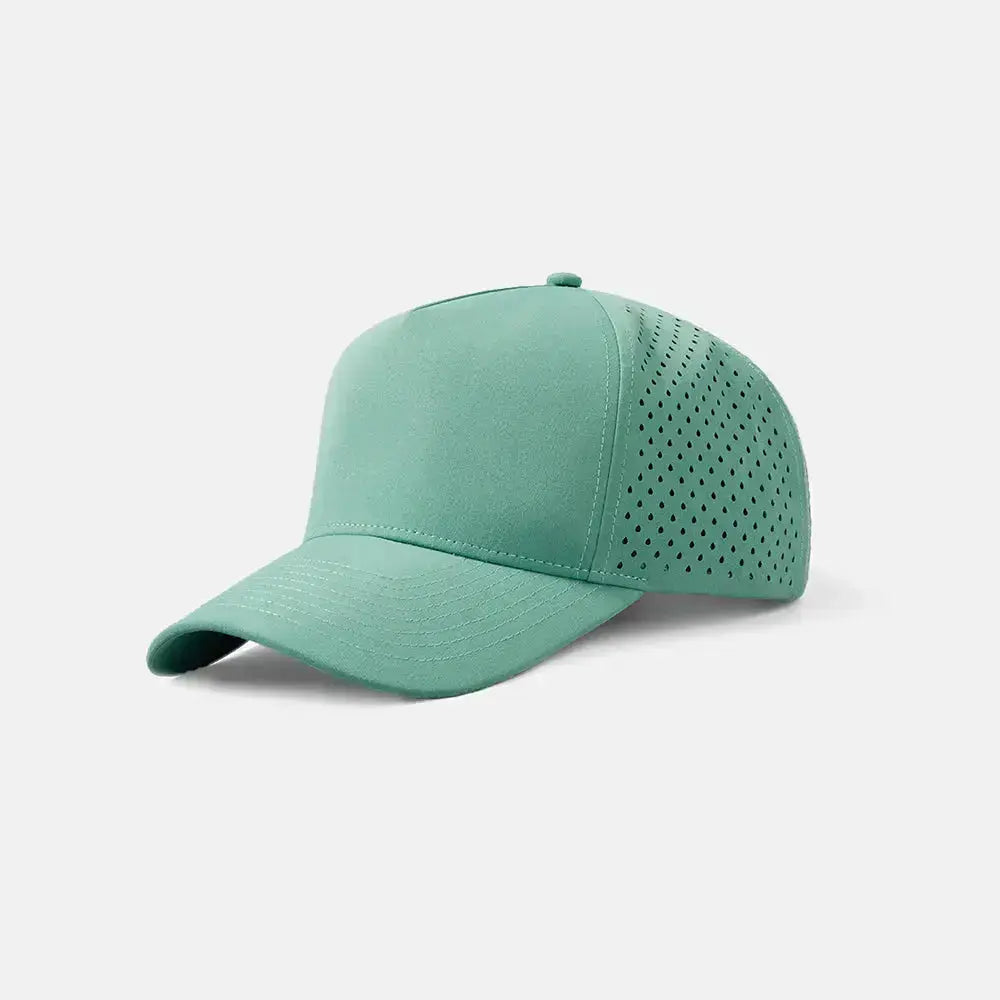
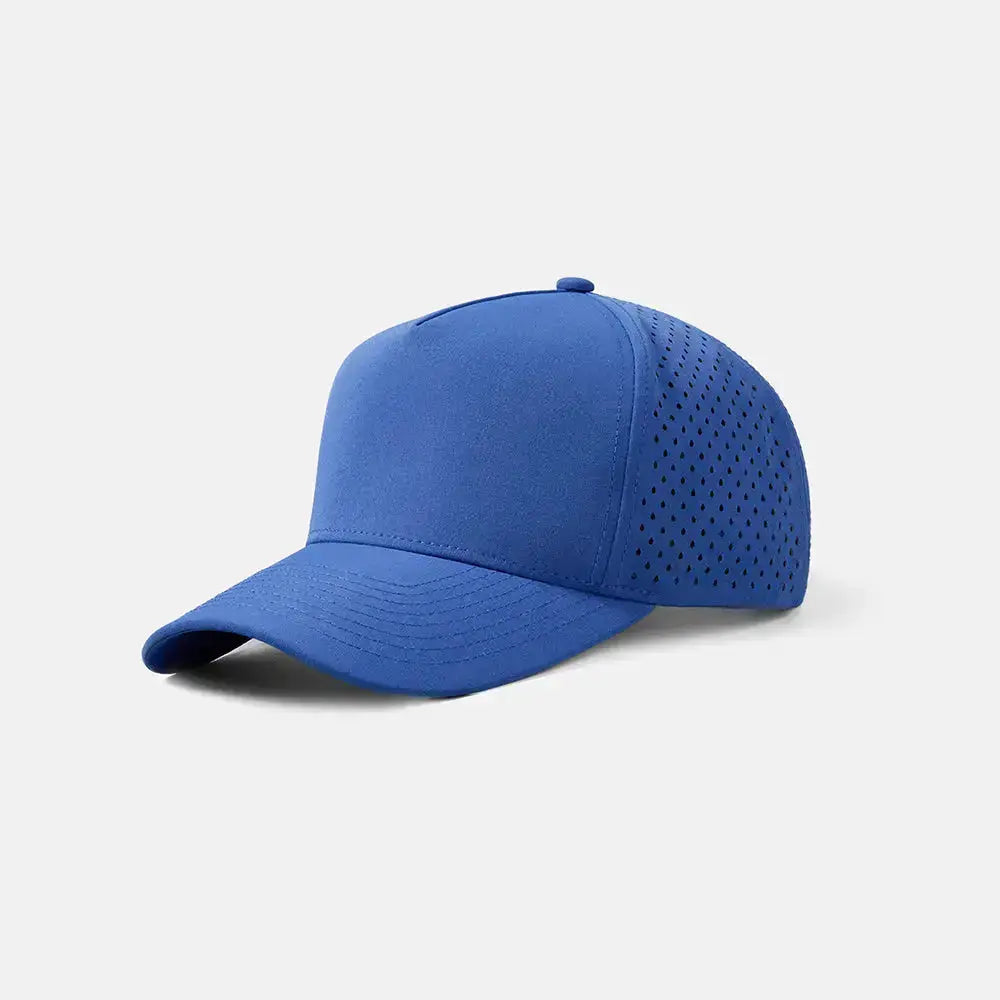
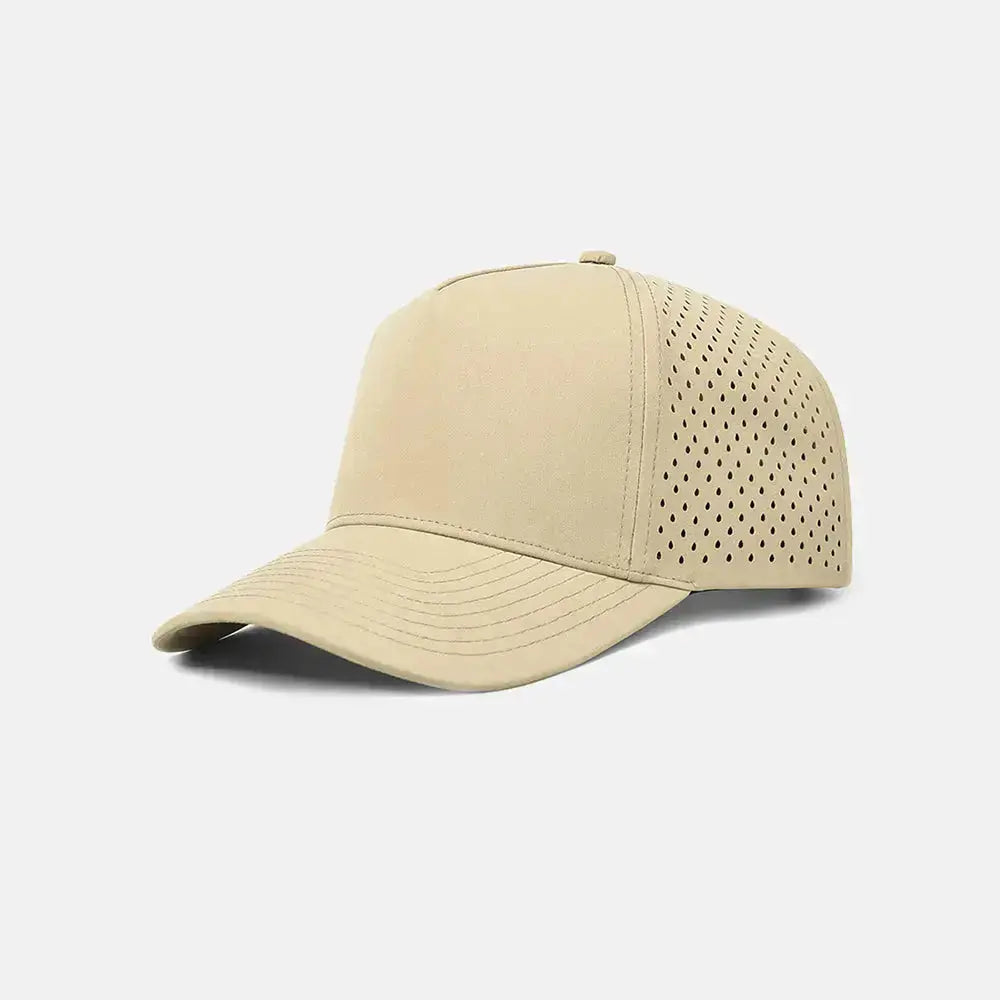
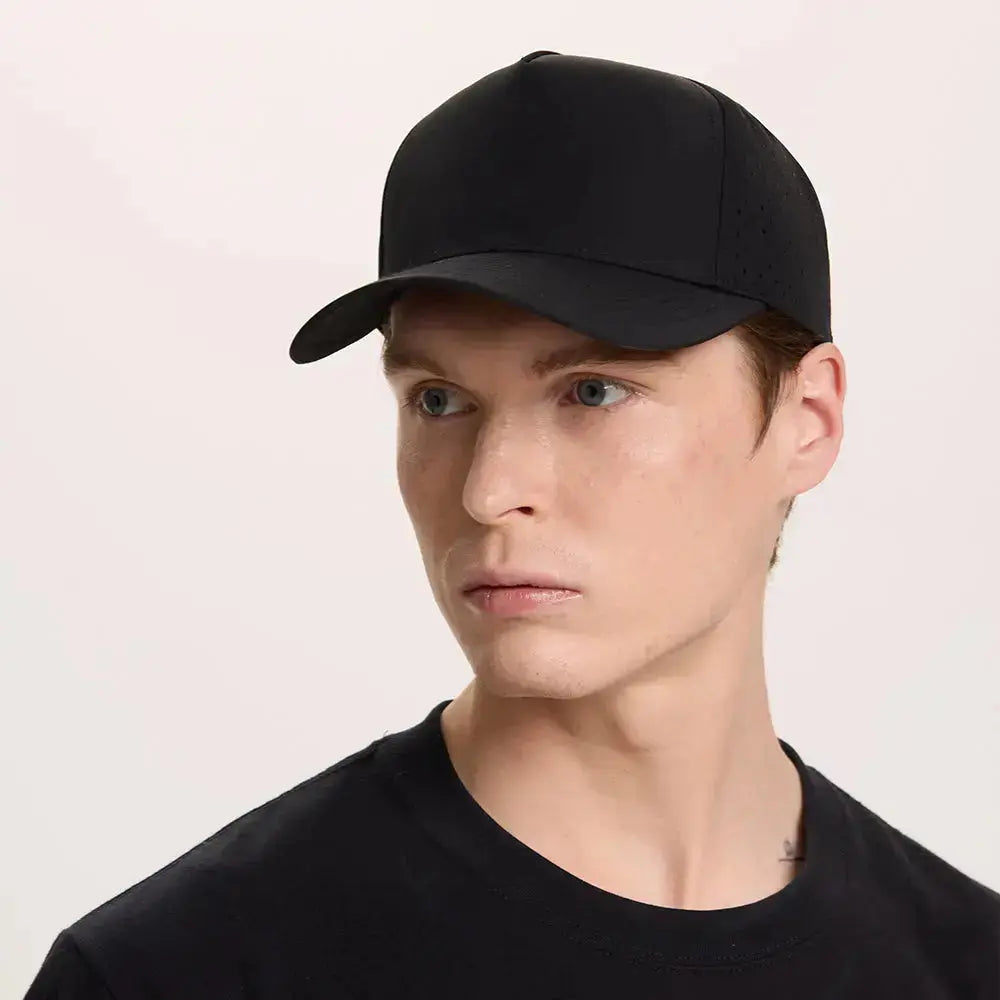
Lightweight performance fabrics may not support heavy, dense patches. Patch weight, backing, fabric stretch, and heat sensitivity should be tested before production.
How to Design a Custom Embroidered Patch
Keep the Design Clear
Bold shapes and readable lettering usually produce the strongest result. Avoid unnecessary details that may disappear when converted into stitches.
Use an Appropriate Size
The patch should fit naturally within the available decoration area without interfering with seams, eyelets, the visor, or the crown shape.
Common positions include:
- Front center
- Front left or right
- Side panel
- Back panel
- Above the rear opening
- Beanie cuff
Avoid Text That Is Too Small
Small lettering may fill in or become difficult to read. The minimum practical size depends on the font, stitch type, thread, and patch construction.
Limit Unnecessary Colors
Using fewer colors can make a logo clearer and easier to recognize. It may also help simplify production.
Consider the Border Early
The border is part of the overall design. A thick merrowed edge creates a traditional badge look, while a thin heat-cut edge supports modern and irregular shapes.
Match the Patch to the Hat
Consider contrast between the patch and hat colors. A tonal patch creates a subtle premium effect, while a contrasting patch produces stronger visibility.
Common Embroidered Patch Design Mistakes
Avoid these common issues:
- Using text that is too small
- Including lines that are too thin
- Selecting too many thread colors
- Ignoring the hat’s center seam
- Making the patch too large for the crown
- Using a heavy patch on lightweight fabric
- Applying heat to an incompatible material
- Choosing a merrowed border for an irregular shape
- Skipping sample approval
- Expecting embroidery to reproduce photographic gradients
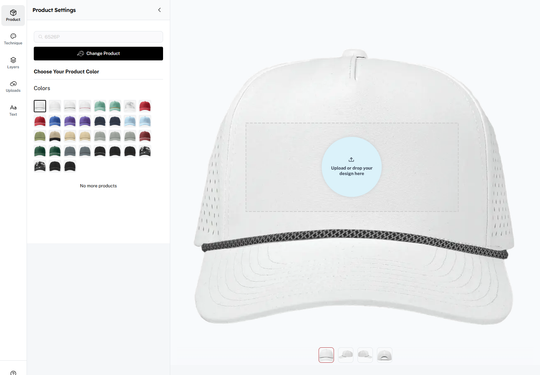
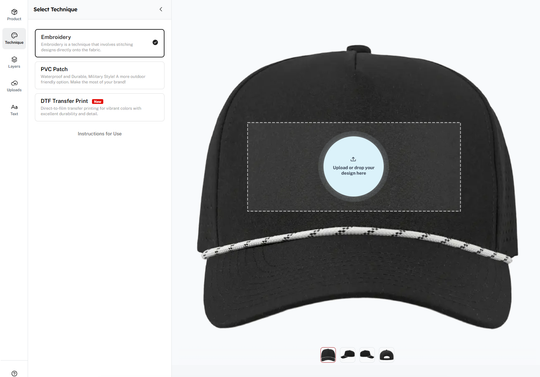
A digital mockup helps evaluate scale and placement, but a physical sample provides a more accurate view of the finished colors, texture, fit, and attachment.
How to Order Custom Embroidered Patch Hats
Before requesting a quote, prepare the following information:
- Hat style or SKU
- Hat color
- Order quantity
- Logo or artwork file
- Desired patch dimensions
- Patch shape
- Thread colors
- Border type
- Backing or attachment method
- Patch placement
- Required delivery date
- Shipping location
For the best results, approve a sample before bulk production. Check the logo proportions, spelling, colors, border, patch size, placement, and attachment quality.
Custom Embroidered Patch Hats from Foremost Hat
Foremost Hat provides custom embroidered patch hats for companies, brands, schools, teams, clubs, retailers, events, and promotional programs.
Our custom services include:
- No minimum order quantity
- Wholesale pricing
- Online customization
- Free digital mockups
- Sample approval before production
- Multiple blank hat styles and colors
- Custom embroidered patches
- Fast custom production
- U.S.-based customer support
Custom patch orders can be delivered in approximately 20 days, depending on artwork approval, product availability, quantity, and shipping destination. Customers should review and approve the sample promptly to help keep production on schedule.
Frequently Asked Questions
What is an embroidered patch?
An embroidered patch is a separate piece of fabric decorated with stitched thread and attached to a hat, garment, bag, or accessory.
Are embroidered patches durable?
Yes. A properly made and securely sewn patch can withstand regular wear. Durability depends on the thread, base fabric, border, backing, attachment, washing, and intended use.
Can embroidered patches be attached to hats?
Yes. They can be applied to baseball caps, trucker hats, snapbacks, dad hats, five-panel caps, beanies, and many other headwear styles.
Is sewing or heat application better for hats?
Sewing generally provides the most secure attachment, especially on curved surfaces and products exposed to repeated wear. Heat application may work when the hat fabric, patch backing, and equipment are compatible.
What is the best patch for a detailed logo?
A woven or printed patch may be better for very small text, thin lines, gradients, or highly detailed artwork. Embroidered patches work best for bold designs with clear shapes.
Can an embroidered patch have a custom shape?
Yes. Heat-cut, laser-cut, or embroidered borders can support irregular custom shapes. Traditional merrowed borders are better suited to simple shapes.
How large should a hat patch be?
The ideal size depends on the crown style and placement. The patch should fit within the available panel area without touching the visor, eyelets, or major seams.
Can I order custom embroidered patch hats without a minimum quantity?
Yes. Foremost Hat offers custom embroidered patch hats with no minimum order quantity, making them suitable for samples, small teams, events, growing brands, and larger wholesale programs.
Conclusion
Embroidered patches combine traditional thread texture with flexible shapes, borders, colors, and attachment options. They are an excellent choice for custom hats, uniforms, corporate merchandise, team apparel, outdoor products, and retail collections.
The best results begin with clear artwork and the right combination of patch size, stitch coverage, border, backing, hat structure, and placement. A digital mockup can confirm the general concept, while a physical sample helps verify the actual appearance before production.
Whether you need a small order for an event or wholesale embroidered patch hats for a brand, careful design preparation and sample approval will help ensure a professional, durable finished product.