



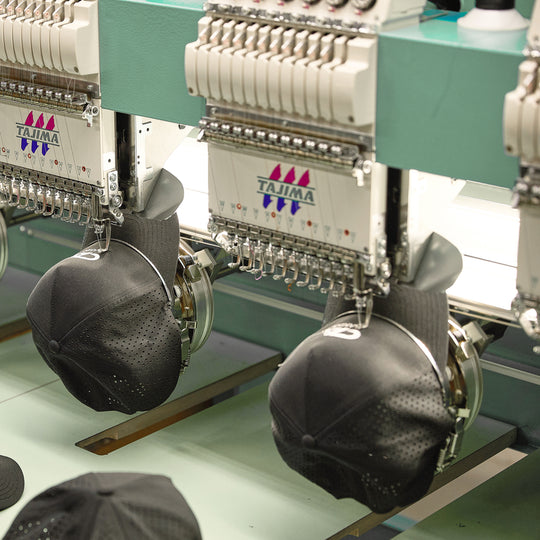



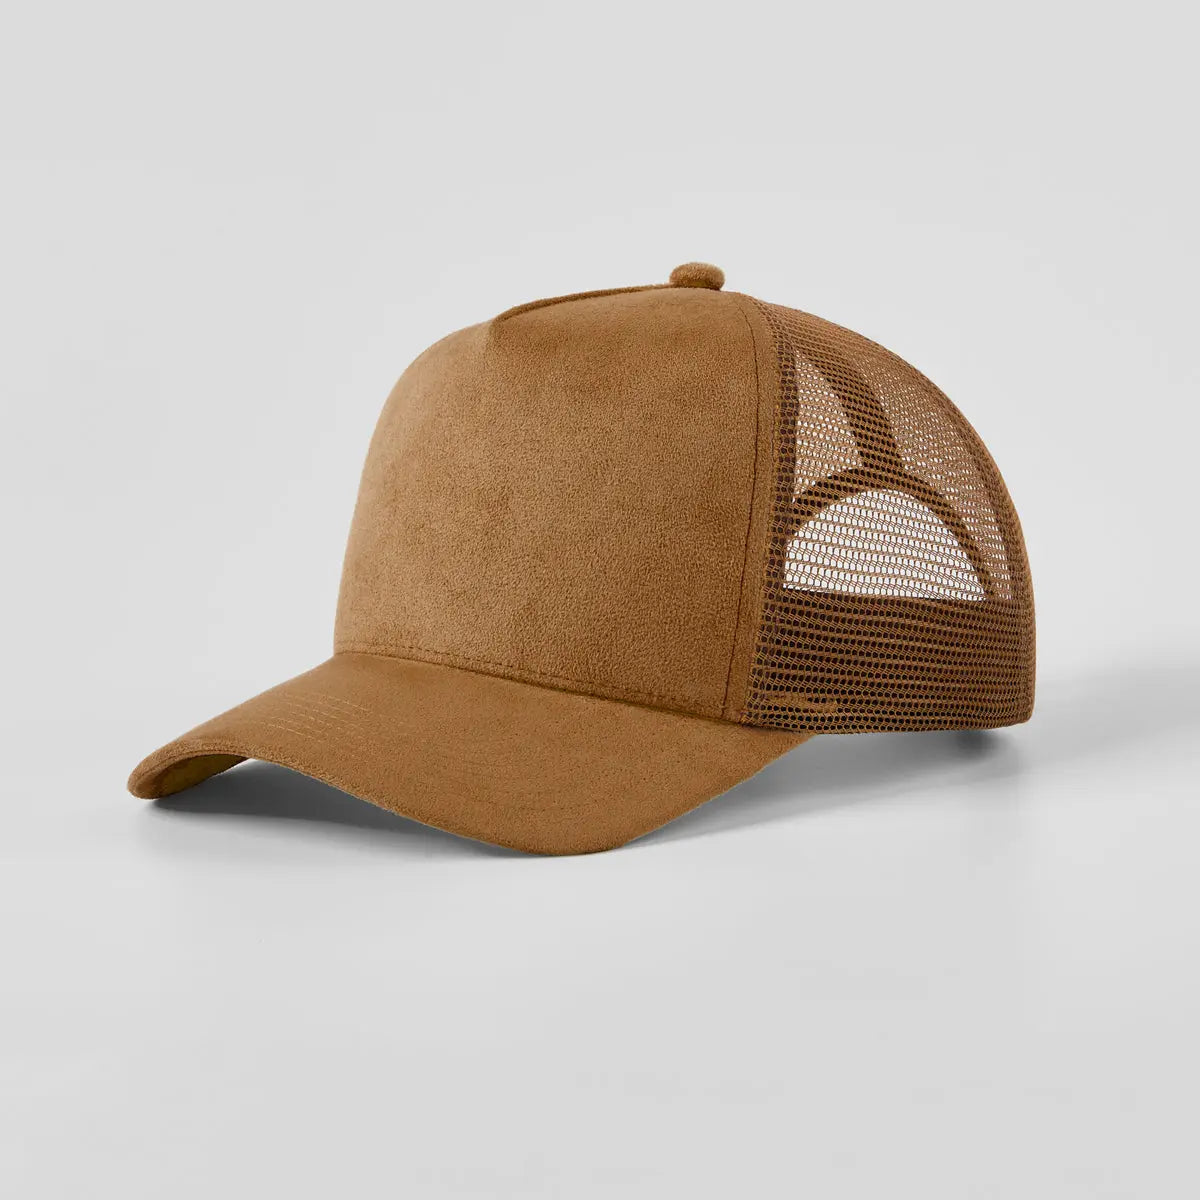



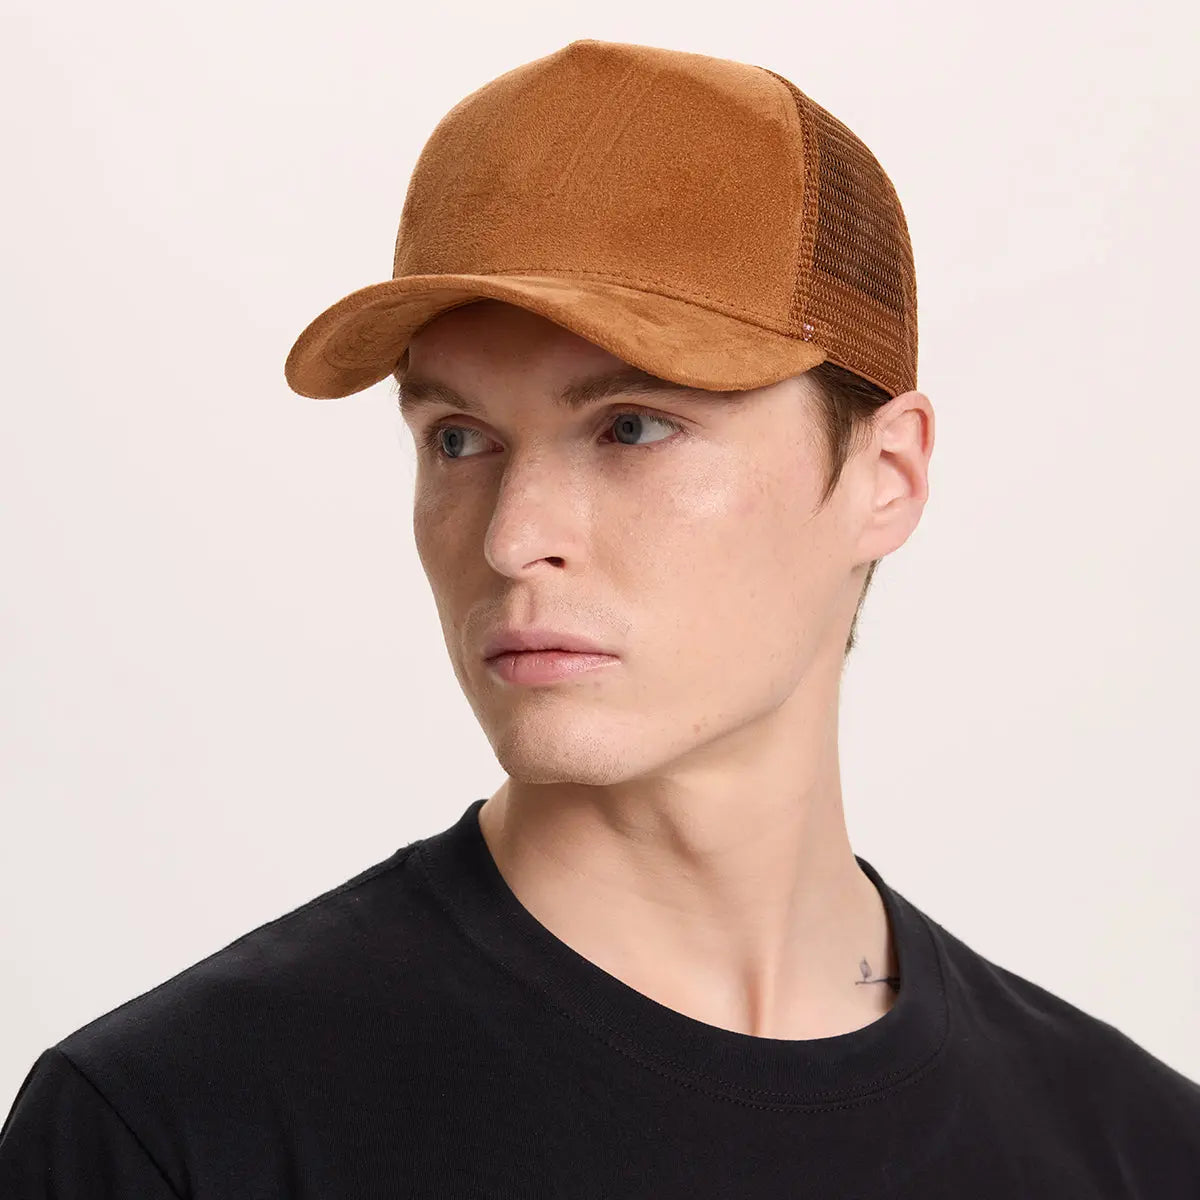






Embroidery digitizing is the process of converting artwork, such as logos, text, illustrations, or designs, into a stitch file that an embroidery machine can read. Whether you're creating custom hats, apparel, uniforms, merchandise, or promotional products, proper digitizing is the key to achieving clean, professional embroidery.
Professional embroidery digitizing involves much more than importing an image and clicking an automatic conversion button. A digitizer must determine how the thread will interact with the fabric, which stitch types to use, how dense the stitching should be, where the machine should start and stop, and how the design will behave during production.
A well-digitized design should look clean, remain soft and flexible, run smoothly on the embroidery machine, and avoid unnecessary thread breaks, puckering, gaps, misalignment, and excessive trims.
In this guide, we’ll walk you through everything you need to know about embroidery digitizing—from the basics to professional best practices.

What Is Embroidery Digitizing?
Embroidery digitizing is not just “converting an image.” It is the process of using specialized software to manually map out how stitches will be placed, including stitch types, directions, density, sequence, start and stop points, trims, and jumps.
A digitized file tells the machine:
- Where to stitch
- Which stitch type to use
- What direction the stitches should run
- In what order to sew
- When to change thread colors
- Where to trim or jump
- Where each section should begin and end
Common embroidery file formats include:
- DST
- PES
- EXP
- JEF
Digitizing combines software skills with a practical understanding of embroidery. Software provides the tools, but the digitizer still needs to understand how needles, thread, stabilizers, tension, fabrics, and embroidery machines behave during production.
Proper digitizing helps prevent common embroidery problems such as gaps between colors, misaligned outlines, distorted lettering, fabric puckering, excessive stiffness, thread breaks, bird nesting, uneven coverage, and unnecessary trims.

Step-by-Step: How to Digitize for Embroidery
1. Start with High-Quality Artwork
The quality of your embroidery depends heavily on your artwork.
Common source files include:
- AI
- EPS
- SVG
- PNG
- JPEG
Best practices:
- Use vector files such as AI, EPS, or SVG when possible
- Ensure clean lines and solid colors
- Remove unnecessary background elements
- Separate the design into logical shapes, colors, and layers
- Simplify overly complex designs
Vector artwork is generally easier to work with because its lines and shapes remain clean when resized. Raster images such as PNG and JPEG files can also be used as visual references, but they may require additional manual tracing.
💡 Tip: Avoid gradients, shadows, extremely thin lines, and very fine details. These elements do not always translate well into thread and may need to be simplified.
Before beginning, confirm the final embroidery width, height, placement location, product type, and maximum embroidery area. The design should be digitized at approximately the size at which it will be embroidered.
Avoid digitizing a very large design and simply shrinking it later. Major resizing can affect stitch density, lettering, underlay, spacing, and pull compensation.

2. Choose the Right Digitizing Software
Popular embroidery digitizing software includes:
- Wilcom
- Hatch Embroidery
- Brother PE-Design
- Pulse
These tools allow you to manually control stitch types, stitch angles, density, underlay, pathing, pull compensation, color changes, and trims.
Many digitizing programs also include fabric recipes or presets for products such as structured caps, unstructured caps, cotton shirts, performance polos, fleece, towels, canvas, leather, and beanies.
These presets are useful starting points, but they should still be reviewed and adjusted for the actual material.
For example:
- Leather and vinyl generally require fewer needle penetrations
- Towels and high-pile fabrics may need additional coverage and stronger underlay
- Stretch fabrics usually require better stabilization
- Structured caps may require different settings from unstructured hats
- Lightweight performance fabrics may need reduced density to prevent puckering
Automatic digitizing features can save time, but they should not replace manual review. Automatic conversion may create unsuitable stitch types, poor sequencing, excessive trims, incorrect density, or unnecessary details.
3. Select the Correct Stitch Types
Different elements of your design require different stitch types.
Running Stitch
A running stitch is the most basic embroidery stitch type.

It is commonly used for:
- Fine lines
- Small details
- Outlines
- Hand-drawn effects
- Connecting stitches and hidden travel paths
- Realistic designs
Recommended guidelines:
| Setting | Suggested Range |
|---|---|
| Minimum stitch length | No shorter than approximately 0.5 mm |
| Common safe range | Approximately 1–1.5 mm |
| Maximum for wearable products | Approximately 5–7 mm |
| Maximum for non-wearable products | Approximately 7–12.1 mm |
Stitches that are too short may cause the needle to repeatedly penetrate nearly the same location. This can increase the risk of thread breaks, excessive density, fabric damage, and needle deflection.
Stitches that are too long may snag during use or trigger automatic trimming functions on some embroidery machines.
The correct stitch length should always be adjusted based on the artwork, product, fabric, and machine settings.
Satin Stitch
Satin stitches run back and forth across a narrow shape, creating a smooth, clean, and slightly raised surface.

They are suitable for:
- Text
- Medium-width outlines
- Borders
- Small logo elements
- Smooth, glossy lines
Satin stitches allow the digitizer to control:
- Stitch width
- Stitch direction
- Stitch angle
- Density
- Underlay type
The direction of the stitches strongly affects how light reflects from the thread. Gradual changes in stitch angle can improve visual flow and add depth to curved elements.
Very narrow satin columns may sink into the fabric, especially on terry cloth, fleece, sherpa, or other high-pile materials.
As a general guideline, satin columns should usually remain at least approximately 1–1.5 mm wide. Narrower elements may need to be converted into running stitches or simplified.
Wider satin areas may require stronger underlay, greater pull compensation, or conversion to a fill stitch.
Fill Stitch
Fill stitches, also known as tatami stitches, are mainly used to cover larger design areas.

They are suitable for:
- Large blocks of color
- Logo backgrounds
- Large letters
- Large graphic elements
Fill stitches should not use excessively short stitch lengths. Too many needle penetrations concentrated in a small area can cause:
- Stiff embroidery
- Fabric puckering
- Wave-like distortion after washing
- Increased machine strain
- Thread breaks
A common fill-stitch length is approximately 4–6 mm, depending on the fabric, shape, thread, and desired appearance.
Random fill patterns, patterned fills, and decorative stitch directions can also be used to add surface texture and visual interest.
Choosing the correct stitch type improves durability, clarity, flexibility, and production efficiency.
4. Set Stitch Direction and Pathing
Stitch direction affects how light reflects on the embroidery, how smooth the design looks, and how the fabric behaves during stitching.
Key considerations:
- Maintain consistent stitch angles where appropriate
- Use direction changes to create depth and visual contrast
- Gradually rotate stitch angles around curved shapes
- Plan the stitching path to minimize trims and jumps
- Use logical start and stop points
- Hide connecting stitches underneath later embroidery objects
Pathing is the process of deciding how the embroidery machine moves through the design.
A well-planned file should have a logical:
- Starting point
- Stitching order
- Travel path
- Color sequence
- Ending point
Good pathing reduces:
- Jump stitches
- Unnecessary trims
- Machine stops
- Registration problems
- Production time
Whenever possible, hide connecting running stitches underneath later fill stitches, satin columns, or borders.
Small manual adjustments to stitch angles can significantly improve lettering, curves, leaves, circular logos, and other detailed elements.

5. Adjust Stitch Density
Density refers to the distance between neighboring rows of stitches.
A smaller spacing value creates more stitches and heavier coverage. A larger spacing value creates fewer stitches and a softer, lighter result.
Most embroidery software uses a default density of approximately 0.4 mm, but this setting should not be applied universally to every fabric, stitch type, and design.

Too dense:
- Fabric puckering
- Thread breaks
- Excessive stiffness
- Needle damage
- Longer production time
- Fabric distortion
Too loose:
- Gaps in the design
- Visible base fabric
- Uneven coverage
- Weak-looking embroidery
Recommended starting point:
- Standard density: approximately 0.4–0.5 mm
Density should be adjusted based on:
- Thread size
- Stitch width
- Fabric thickness
- Fabric stretch
- Number of overlapping layers
- Design size
- Desired coverage
General density guidelines for different materials:
| Material | Density Recommendation |
| Leather, PVC, and vinyl | Reduce density and limit needle penetrations |
| Standard cotton fabric | Use regular density as a starting point |
| Terry cloth, sherpa, and high-pile fabrics | Increase coverage where necessary |
| Multi-layer designs | Gradually reduce density in upper layers |
When multiple full-density layers are stacked on top of one another, the embroidery can become extremely thick and rigid.
The finished design may feel like a hard plate attached to the fabric rather than embroidery that naturally integrates with the material.
Excessive density can also increase the risk of:
- Thread breaks
- Needle breaks
- Registration problems
- Fabric damage
- Puckering
- Production delays
Ideal embroidery should remain soft, flexible, and naturally connected to the fabric.
6. Apply Underlay Stitches
Underlay is the foundation layer beneath the visible top stitches.

Types of underlay include:
- Center-run underlay
- Edge-run or contour underlay
- Zig-zag underlay
- Double-zig-zag underlay
- Tatami underlay
- Combined edge-run and zig-zag underlay
Benefits:
- Stabilizes the fabric
- Prevents stitches from sinking
- Improves stitch quality
- Supports wide satin stitches
- Reduces distortion
- Improves edge definition
- Enhances final appearance
- Improves registration
A narrow satin column may only require center-run underlay, while a wider satin column may need zig-zag or combined edge-run and zig-zag underlay.
Fill-stitch underlay often runs in a different direction from the visible top stitching to stabilize the fabric before the fill is applied.
Underlay settings should be adjusted according to the fabric and stitch type. Too little underlay may cause poor coverage, while too much can create unnecessary thickness.
Pull and push compensation should also be considered at this stage.
Pull compensation adds extra width to an object to offset the inward pulling caused by thread tension.
The required amount depends on:
- Stitch width
- Fabric type
- Stabilizer
- Thread tension
- Design structure
Wide satin stitches and soft fabrics generally require more pull compensation than narrow stitches on stable materials.
Push compensation addresses distortion at the open ends of stitch objects. As stitches pull inward from the sides, the ends may extend outward. A digitizer may shorten the open ends slightly so the finished embroidery matches the intended shape.
Pull and push compensation are especially important for lettering, borders, outlines, and multi-color designs.
7. Consider Fabric and Product Type
Digitizing for hats is different from digitizing for T-shirts, polos, towels, leather, or beanies.
The same artwork may require a different file depending on the product.
For hats:
- Use appropriate underlay for the hat structure
- Reduce stitch density slightly when necessary
- Avoid overly small text
- Consider the curve of the front panel
- Account for center seams
- Keep the artwork within the available embroidery area
- Digitize from the center outward when appropriate
- Adjust settings for structured and unstructured caps

Structured hats contain stiff front support, while unstructured hats are softer and may move more during embroidery. Different digitizing files may be required for each style.
A six-panel hat usually has a center seam that can interfere with small text, thin lines, and detailed artwork.
💡 Example: A structured five-panel hat often provides a larger, uninterrupted front area, making it suitable for detailed logos and small lettering. However, the front-panel fabric, hat shape, structure, and embroidery placement should also be considered.
Finished hats also have limited embroidery height. A design that works on a shirt may be too tall for a cap and may need to be reformatted.
As a general guideline, embroidered text should usually be at least 4–5 mm high. The exact minimum depends on the font, fabric, thread size, stitch type, and machine setup.
It is good practice to save separate embroidery files for:
- Structured caps
- Unstructured caps
- Left-chest embroidery
- Knitwear
- Towels
- Leather
- Other specialty fabrics
Simply resizing one master file may not provide the correct density, underlay, compensation, or pathing for every product.

8. Sequence the Design Properly
The stitching order matters.

A typical sequence is:
- Background elements first
- Larger main shapes next
- Smaller details and text later
- Borders and outlines last
Before digitizing, break the design into logical objects such as:
- Background fills
- Main shapes
- Lettering
- Outlines
- Highlights
- Shadows
- Small details
Consider which objects visually sit behind or in front of other elements.
Proper layering helps:
- Hide travel stitches
- Improve registration
- Reduce visible gaps
- Minimize unnecessary trims
- Improve production efficiency
Some additional color changes may be necessary to complete connected sections in the correct order. However, unnecessary trims should be minimized.
Every trim requires the machine to slow down, tie off, cut the thread, move to a new location, tie in, and accelerate again.
Before sending the file to production, review the design using the software’s stitch simulation or slow-redraw function.
Check:
- Stitching order
- Start and stop points
- Color changes
- Trims
- Jump stitches
- Long stitches
- Underlay
- Overlapping objects
- Gaps
- Registration
- Stitch count
A slow redraw often reveals problems that are difficult to notice in a static preview.
9. Test and Adjust
Always run a sample before production.
A software preview cannot fully predict how thread will behave on the actual product.
Whenever possible, test the design on the same material or on a closely matched sample.
Check for:
- Thread breaks
- Misalignment
- Fabric puckering
- Gaps between objects
- Edge clarity
- Letter readability
- Design stiffness
- Color accuracy
- Color registration
- Overall size
- Final placement
Make adjustments as needed.
You may need to modify:
- Stitch density
- Underlay
- Pull compensation
- Push compensation
- Stitch angles
- Stitch sequence
- Object overlap
- Stitch length
- Start and stop points
Testing is especially important when embroidering:
- Finished hats
- Stretch materials
- Leather
- High-pile fabrics
- Small lettering
- Multi-layer designs
- 3D puff embroidery
10. Special Considerations for Hat Embroidery
Hat embroidery is different from flat garment embroidery and requires additional planning.
1. Hat Panel Construction
The construction of the hat affects how the fabric behaves during embroidery.
Structured caps have stiff backing behind the front panels, which generally provides greater stability during stitching.
Unstructured caps are softer and more flexible. They may require stronger stabilization, additional underlay, or adjusted density to reduce movement and distortion.
Six-panel caps usually have a center seam. This seam may interfere with:
- Small lettering
- Thin lines
- Closely spaced details
- Precise outlines
- Small satin columns
Five-panel caps usually provide a larger uninterrupted front area, making them more suitable for detailed logos and complex artwork.
However, the digitizer should also consider:
- Fabric type
- Crown shape
- Front-panel stiffness
- Embroidery placement
- Seam thickness
- Available embroidery area

2. Embroidery Sequence
For many finished-cap designs, it is recommended to stitch from the center of the design toward the outer sides.
This can help reduce:
- Fabric movement inside the cap frame
- Distortion
- Registration problems
- Shifting around the center seam
The exact sequence should still be adjusted based on the design structure, color changes, and object layering.
3. Design Height
Finished caps have a limited embroidery height.
A logo that works well on a flat garment may be too tall to run correctly on a cap embroidery machine.
Before digitizing, confirm:
- Maximum embroidery height
- Crown shape
- Frame limitations
- Placement above the visor
- Distance from the top of the crown
Tall designs may need to be:
- Reduced
- Reproportioned
- Simplified
- Divided into separate locations

4. Detail Limitations
Extremely small text, very thin lines, complex gradients, and highly detailed artwork may not be suitable for direct embroidery.
Alternative decoration options may include:
- Woven patches
- Embroidered patches
- DTF printing
- PVC patches
- Silicone patches
These methods may reproduce small details, gradients, and intricate artwork more clearly than direct embroidery.
5. Save Different Versions of the Same Logo
The same logo should be digitized separately for different products and placements.
Recommended versions include:
- Left-chest version
- Structured-cap version
- Unstructured-cap version
- Knit-fabric version
Depending on the project, separate versions may also be needed for:
- Towels
- Leather
- Beanies
- Performance fabrics
- 3D puff embroidery
Do not rely only on resizing one master embroidery file.
Changing the size of a file can affect:
- Density
- Underlay
- Stitch length
- Letter readability
- Pull compensation
- Pathing
- Object overlap
Each version should be reviewed and tested for its intended product.
Common Digitizing Mistakes to Avoid
- Using low-resolution images
- Ignoring fabric type
- Using the default density everywhere
- Adding too many stitches
- Overly dense stitching
- Too many small details
- Poor stitch direction planning
- Poor pathing
- Ignoring pull compensation
- Using automatic conversion without manual editing
- Using one file for every product type
- Skipping the test stitch
More stitches do not automatically create better embroidery. Excessive stitching can increase stiffness, thread breaks, production time, and fabric distortion.
Pro Tips for Better Embroidery Digitizing
- Simplify your design for better results
- Use bold, clear shapes
- Keep text above the minimum size, typically 4–5 mm in height
- Use open, readable fonts
- Match thread colors to Pantone references when possible
- Adjust density for each fabric and stitch type
- Use underlay strategically rather than automatically
- Add pull and push compensation where necessary
- Minimize unnecessary trims and jump stitches
- Hide travel stitches beneath later objects
- Review the entire design in slow redraw
- Always test on the actual material
- Create separate files for hats, apparel, knitwear, leather, and other products
Before approving a digitized file, confirm:
- The final size is correct
- The artwork has been simplified where necessary
- The correct fabric or product setting is selected
- Running, satin, and fill stitches are used appropriately
- Density is adjusted for the material and overlapping layers
- Underlay supports the visible top stitching
- Pull and push compensation are included
- The stitching sequence is logical
- Travel stitches are hidden where possible
- Unnecessary trims have been removed
- Stitch angles flow naturally
- Small lettering remains readable
- The design has been reviewed in slow redraw
- A physical test stitch has been completed
When to Outsource Digitizing
If you’re not experienced, professional digitizing services can save time and ensure quality.
Embroidery digitizing requires more than software knowledge. It also requires an understanding of thread, fabric, stabilizers, tension, stitch behavior, machine movement, and production efficiency.
Professional digitizing can help:
- Improve embroidery quality
- Reduce production errors
- Prevent fabric waste
- Minimize machine downtime
- Reduce unnecessary stitches and trims
- Improve consistency across bulk orders
- Adapt artwork for different hat styles and fabrics
At Foremost Hat, we offer:
- Free digitizing setup on embroidery orders over 12 pieces
- Expert embroidery optimization for hats
- Sample approval before production
- Wholesale pricing
- No minimum order quantity for many custom hat projects
- A wide selection of blank and custom hat styles
- Fast production and delivery options
Final Thoughts
Embroidery digitizing is both a technical skill and an art. With the right tools, techniques, and attention to detail, you can transform almost any design into high-quality stitched artwork.
Professional results come from understanding how stitches, thread, fabric, stabilizers, tension, and machine movement work together.
A high-quality digitized design should be:
- Clean and visually balanced
- Soft and flexible
- Efficient to produce
- Appropriate for the selected material
- Free from unnecessary stitches and trims
- Tested before bulk production
Whether you're creating custom hats for your brand, team, school, club, business, or event, proper digitizing will ensure your embroidery looks clearer, runs more smoothly, and remains consistent across production.
Frequently Asked Questions
1. What is embroidery digitizing?
Embroidery digitizing is the process of converting artwork, logos, or text into a stitch file that an embroidery machine can read. A digitized file determines stitch types, stitch direction, density, underlay, sequencing, and thread color changes to produce clean, professional embroidery.
2. Can I convert an image directly into embroidery?
Not exactly. While some software offers automatic digitizing, professional embroidery usually requires manual adjustments. A digitizer must optimize stitch types, density, underlay, stitch direction, and pull compensation to ensure the design stitches correctly on the chosen fabric.
3. What is the best stitch type for embroidery?
The best stitch type depends on your design:
- Running Stitch – Ideal for fine lines, outlines, and small details.
- Satin Stitch – Best for text, borders, and narrow shapes.
- Fill (Tatami) Stitch – Used for large areas, logos, and solid backgrounds.
Most embroidery designs combine multiple stitch types for the best results.
4. Why is stitch density important?
Stitch density determines how closely the stitches are packed together. If the density is too high, embroidery can become stiff, cause puckering, or lead to thread breaks. If it's too low, the fabric may show through the design. Proper stitch density creates smooth, durable, and professional-looking embroidery.
5. Is digitizing for hats different from digitizing for shirts?
Yes. Hats require different digitizing settings because of their curved surface, structured front panels, and limited embroidery area. Hat embroidery often needs adjusted stitch density, stronger underlay, proper stitch sequencing, and additional pull compensation to achieve the best results.
6. Do you offer embroidery digitizing services?
Yes. Foremost Hat provides professional embroidery digitizing and custom embroidery services for hats. We optimize every design based on the product type and fabric, and digitizing is free on embroidery orders of 12 pieces or more. Samples are also available for approval before production begins.